Here is a recipe for Ultra Smooth Hummus that is far more delicious than just about any store-bought tub. This fantastic, much-loved, Middle Eastern dip made from chickpeas has all the classic ingredients – tahini, garlic, and lemon juice. Prep this easy base recipe, then use it infinite ways.
Sliding into September this year has been more challenging than usual. So much uncertainty lying ahead and finding that home-work balance is crucial to maintain some sort of sanity. September, to me, is also a month filled with January-esque resolutions. Bye-bye margaritas, chips by the truckload, al-fresco baguettes with burrata for dinner, and many other indulgences I tell myself are okay because it’s summer and summer is so short here in Ontario. You know, the same self-talk we use during holiday seasons so we can feel okay about over-indulging.
I’m not ready to give up on all things summer quite yet (a bottle of rosé is currently chilling in the fridge) but since I am working from home more than ever, I am starting by stepping up my snack game. Having better-for-me things that are ready and easy to grab between meals, is essential to keep me away from said chips. Hummus, with lots of crunchy veggies to dip in, is a pretty great start.

Hummus recipe credit
You could easily say that Michael Solomonov and Yotam Ottolenghi are the two leading experts on making breathtakingly good hummus. They each have different techniques and both result in seductively smooth and delicious hummus. For this recipe, I have borrowed from both their methods tweaking here and there. Not because any tweaking is necessary, but because some slight adaptations might be helpful to the home cook.
Why make your own hummus
Sure, you can hit the supermarket to bring home tubs of ready-made hummus. Some are actually pretty good. But. If you want creamy, ultra-smooth, fluffy like a cloud, slightly garlicky and lemony hummus that actually tastes like chickpeas, you must make it at home. It really is so simple to make – with just a few ingredients and very little effort, you have billowy soft homemade hummus for days.
It is no surprise that a homemade hummus will always be far superior to a store-bought (unless you are in Tel Aviv, then by all means grab it from as many hummus shops as you can). The real debate is whether to use canned chickpeas, or cooked-from-scratch beans. In the past few years I have made a lot of hummus both at home and at the cooking studio for classes. I have no doubt that taking the extra time to cook your own will definitely give you the best results. That said, making hummus with canned chickpeas is so much easier and faster that the bit of flavour you might lose in the can, becomes pretty negligible. Here, I will be giving you all the tips and tricks to make ultra-smooth hummus by using either canned, or cooked-from-scratch, chickpeas.
To peel or not peel the skins
Another huge debate. Peeling the skins off the cooked chickpeas is believed to make a smoother hummus. Maybe? I have done it a few times, it’s not fun, and I can’t say the extra-fussy step is worth it. If you see loose skins floating around, pick them out. Otherwise, blend them well and you won’t notice much difference.
Blender or food processor to make ultra-smooth hummus
Of course you can use either one to make hummus, but my preference is the food processor. Here are the pros and cons for both:
Blender: A high-powered blender will hands down produce a fluffier, silkier hummus and in less amount of time. Another bonus is that there is no need to peel the skins off the chickpeas since they will pulverize in a blender. But it does have two drawbacks. 1) The thick hummus will need extra liquid to blend well. 2) It is a huge pain to scoop out of the blender jar. In fact, you will for sure lose some hummus that is impossible to scoop out from the bottom.
Food processor: No matter how long you process hummus in a food processor, it will never be as silky smooth as when blended in a powerful blender. That said, I find the processor makes very acceptable, smooth-enough, hummus. Plus, it is so mush easier to scoop out and you don’t have to leave any precious hummus behind.
If you own both appliances, you can play around to decide which suits you best. Below I give instructions to make hummus using both.
Ingredients for classic homemade hummus
Few ingredients are needed to make this Middle Eastern staple which is full of complex yet simple layers of flavours.
- Baking soda: Adding a pinch of baking soda to the water will help make the chickpeas more tender.
- Cooked chickpeas. Classic hummus is made with very soft, cooked chickpeas. You can use store-bought canned chickpeas or cook your own. The key to getting the hummus to be ultra-smooth is to soak the dried chickpeas overnight and then cook them until they are very, very soft, as in almost mushy.
- Tahini. Made from toasted sesame seeds, tahini is the key ingredient in a classic hummus. I like to use a generous amount of good-quality tahini in my hummus. If possible, seek out a brand that is smooth and pourable with a mild flavour that is not too bitter. This tahini brand, which I have tried and loved, is famously good. Unfortunately I can’t find it in my area (not even online) so this is the brand I usually use with good results. In Canada, you can find it at most Middle Eastern markets, or here. It may be tempting to buy this brand which is readily available everywhere in Canada. I highly recommend you avoid it because it has a very bitter and fake taste.
- Fresh lemon juice. For the fresh tang we all love in hummus.
- Garlic. I use 3 garlic cloves in my basic recipe, but you could use less if you don’t like it as garlicky.
- Ice Water. A few tablespoons help make the hummus light and fluffy.
- Salt. Add to taste but I find a teaspoon to be about right in my hummus.
- Extra-virgin olive oil. To finish, hummus should always be served with a generous drizzle of good-quality olive oil over top.
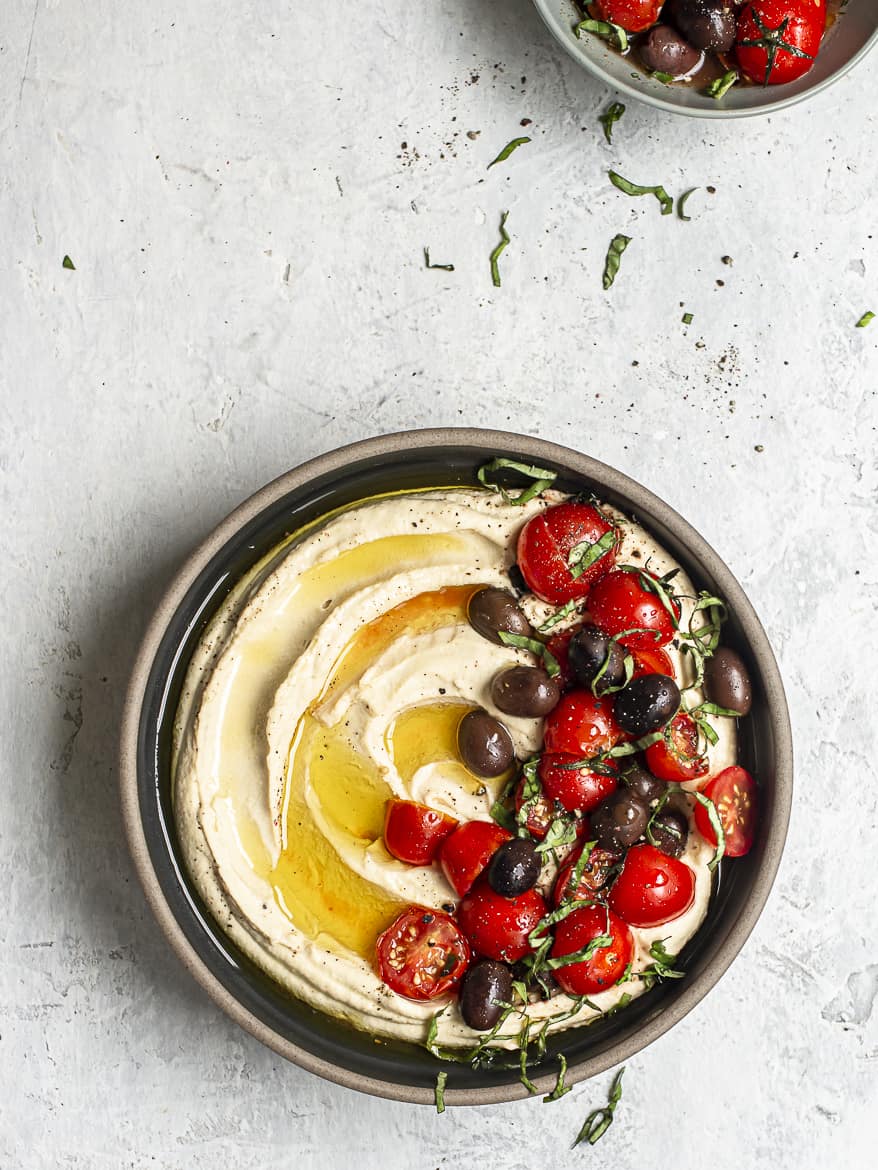
- Garnishes. This recipe for classic hummus is delicious served as is or garnished with other ingredients. I topped my hummus (seen in photo) with some marinated cherry tomatoes and olives I already had on hand. You can add feta cheese, spices, herbs, or other chopped vegetables such as cucumbers or radishes.
How to make ultra-smooth hummus
Homemade hummus is a cinch to make and totally worth it. It just takes a little planning ahead if you aren’t using canned beans. Use this classic recipe as your base, then play around with different additions and toppings. In the printable recipe card below, I include instructions for using both canned, and dried chickpeas.
To cook chickpeas from scratch:
- Soak the chickpeas: Place 1 1/4 cup dried beans with 1 tablespoon kosher salt into a large heavy-bottomed pot and cover with 2 inches of water (roughly 1 quart). Soak for 12 hours or overnight. You really do need to soak the chickpeas overnight for at least 12 hours in advance of cooking, or they will not become soft enough in the cooking process.
- Cook the chickpeas: The next day, drain and rinse the chickpeas. Place the chickpeas back in the same pot they soaked in with three times their volume of water, 1/2 teaspoon baking soda, and a bit of salt (adding a little baking soda to the water will help tenderize the beans). Bring to a boil, then lower to a simmer and cook until the chickpeas are extremely soft and just beginning to crumble, straining the scum and skins that float to the top from time to time. This could take anywhere from 50 minutes, to 2 hours, depending on the age of the beans. Once cooked, agitate the beans in the cooking liquid a few times to loosen their skins and strain off any that float to the top.
- Reserve cooking water: Before draining the cooked chickpeas, scoop out a few cups of the cooking liquid. I don’t always use the liquid but if your tahini is very thick, you may need it.
Make the hummus:
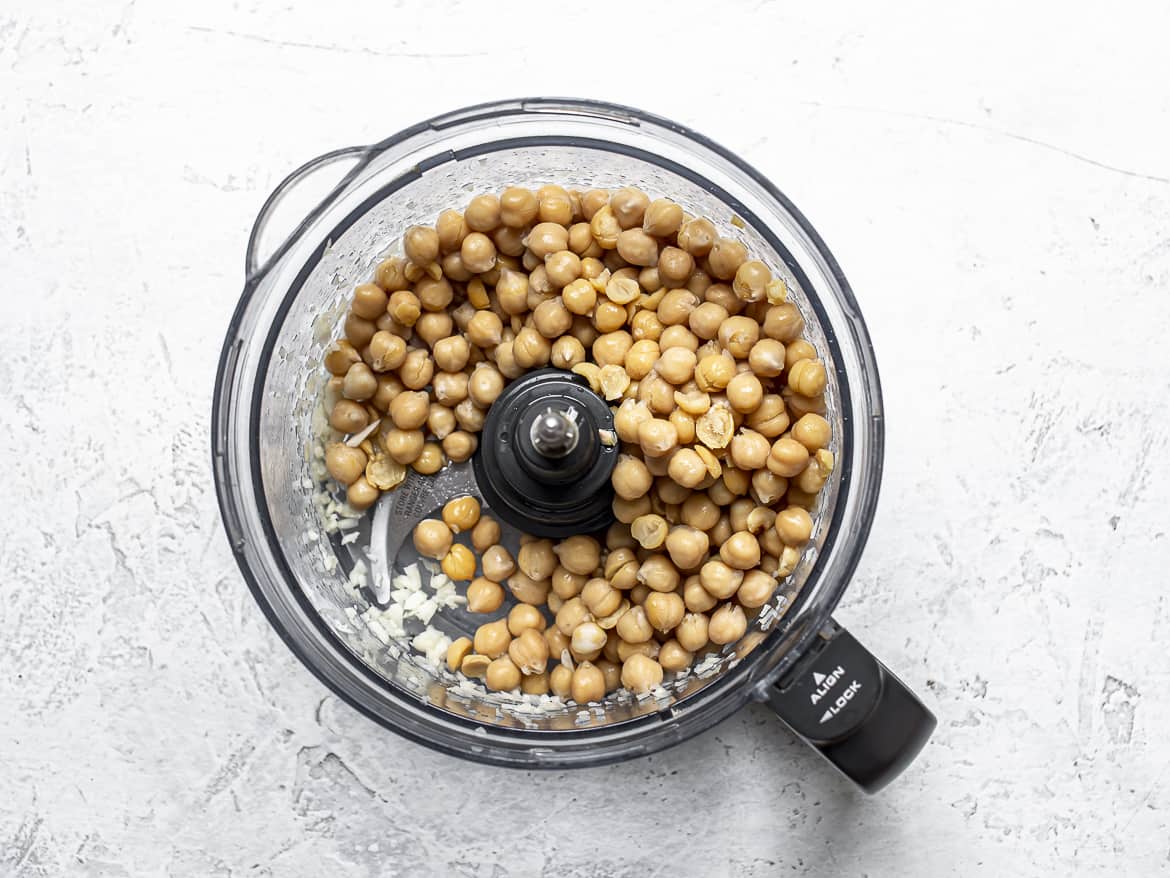
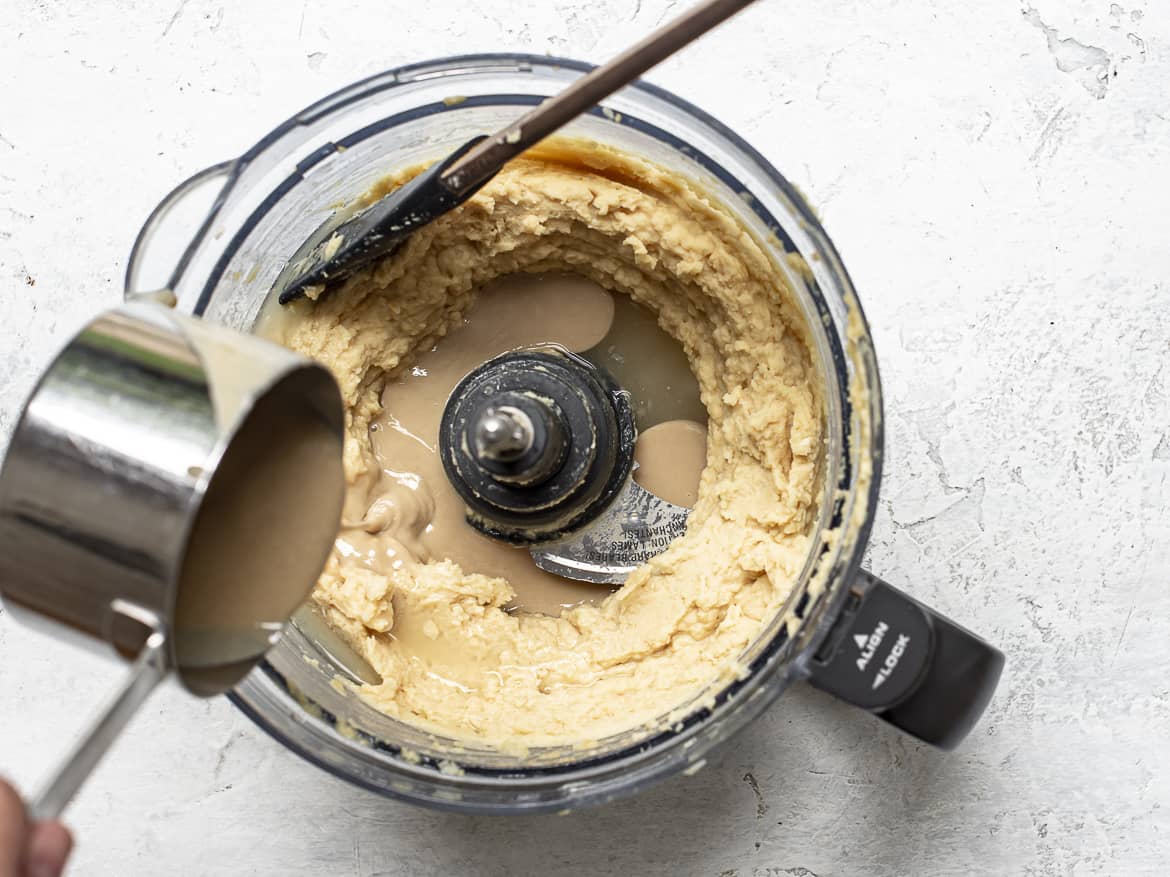
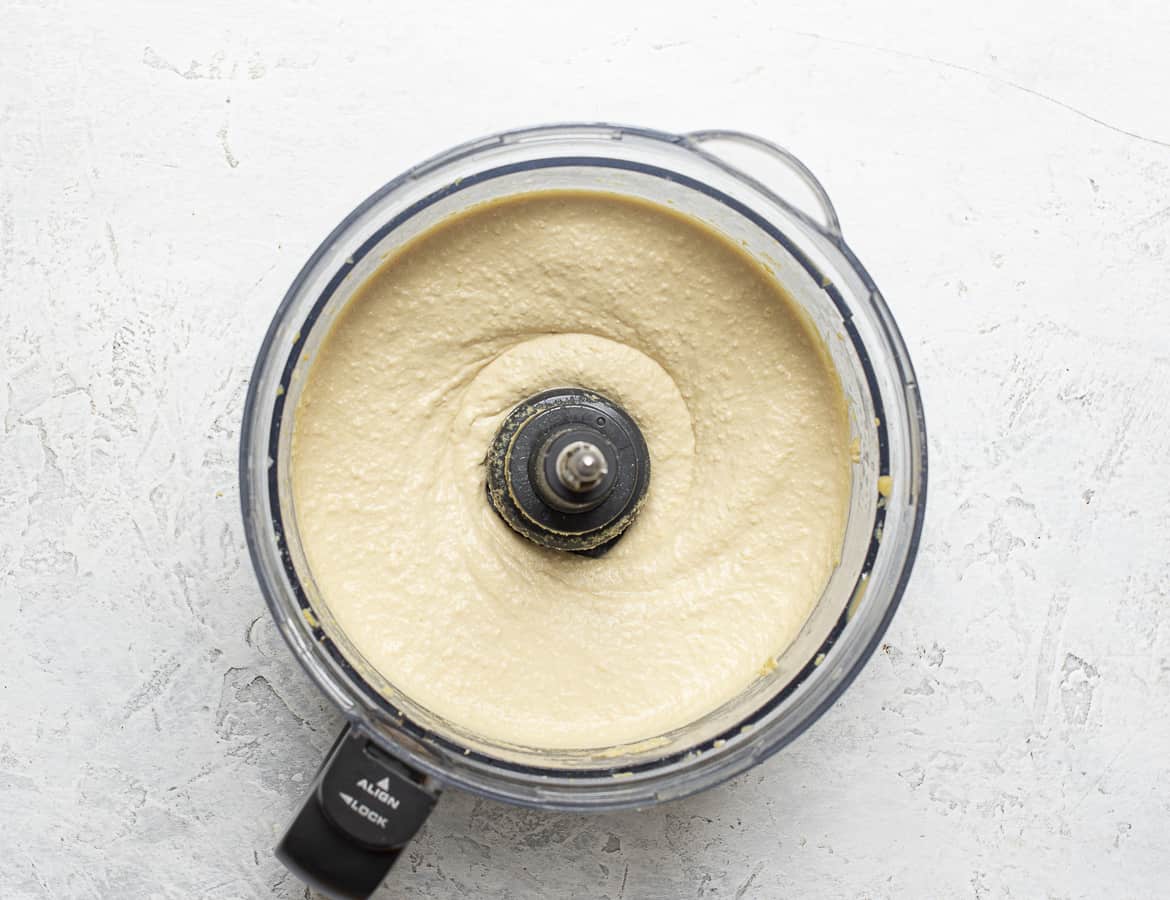
- Food processor method: With the processor running, add the garlic cloves through the feed tube and blend for a few seconds. Stop the processor and add the cooked chickpeas and salt. Process for about 3 minutes until a paste forms, scraping down the sides a few times, and adding a few splashes of cooking liquid, if necessary. Add the tahini, lemon juice, a few more splashes of cooking liquid, and the ice water. Blend until really smooth, light, and fluffy. If it seems too thick, add a little more cooking liquid or ice water.
- Blender method: If you have a powerful blender, you can add the cooked chickpeas, tahini, lemon juice, garlic, cooking liquid, and salt all at once and simply blend until really smooth, about 1-2 minutes. As it is blending, you may need to add quite a bit more liquid, and use the baton (while running) or a spatula (not while running) to push down the ingredients and help it along.
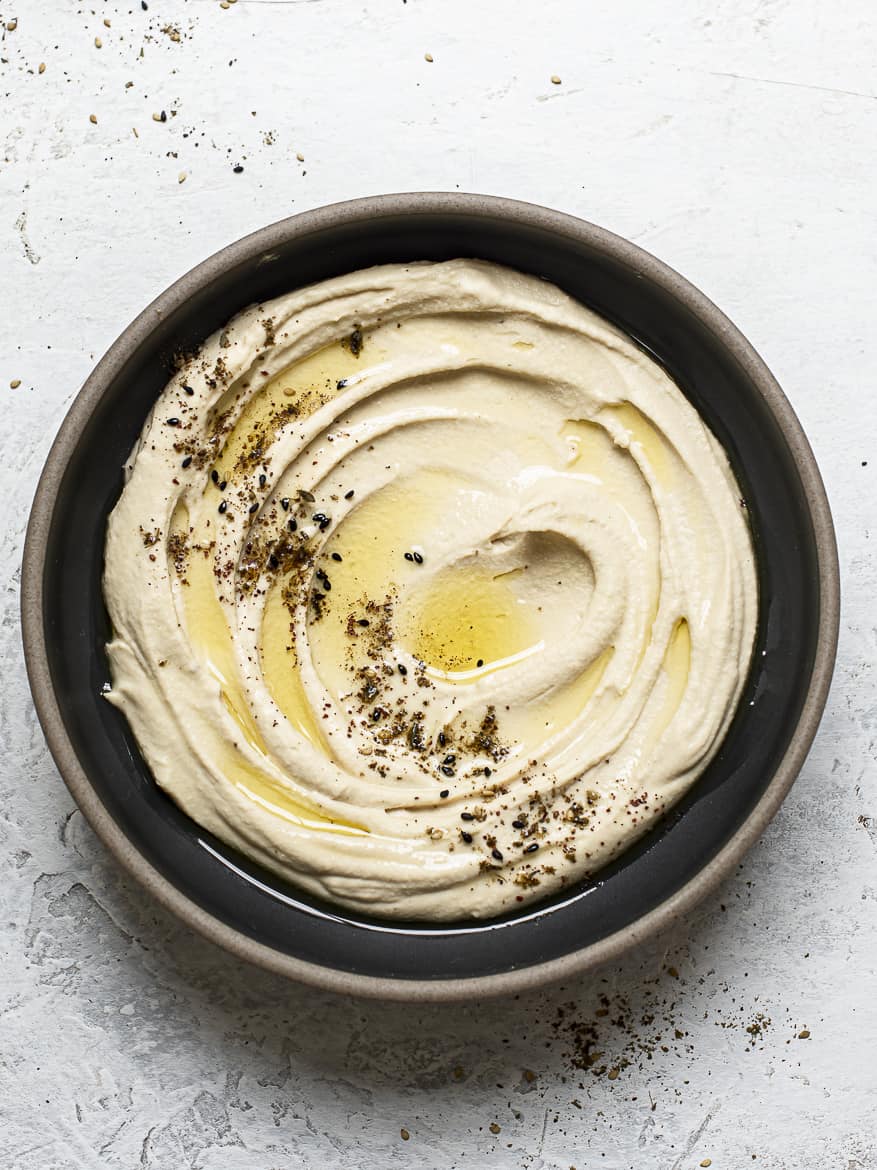
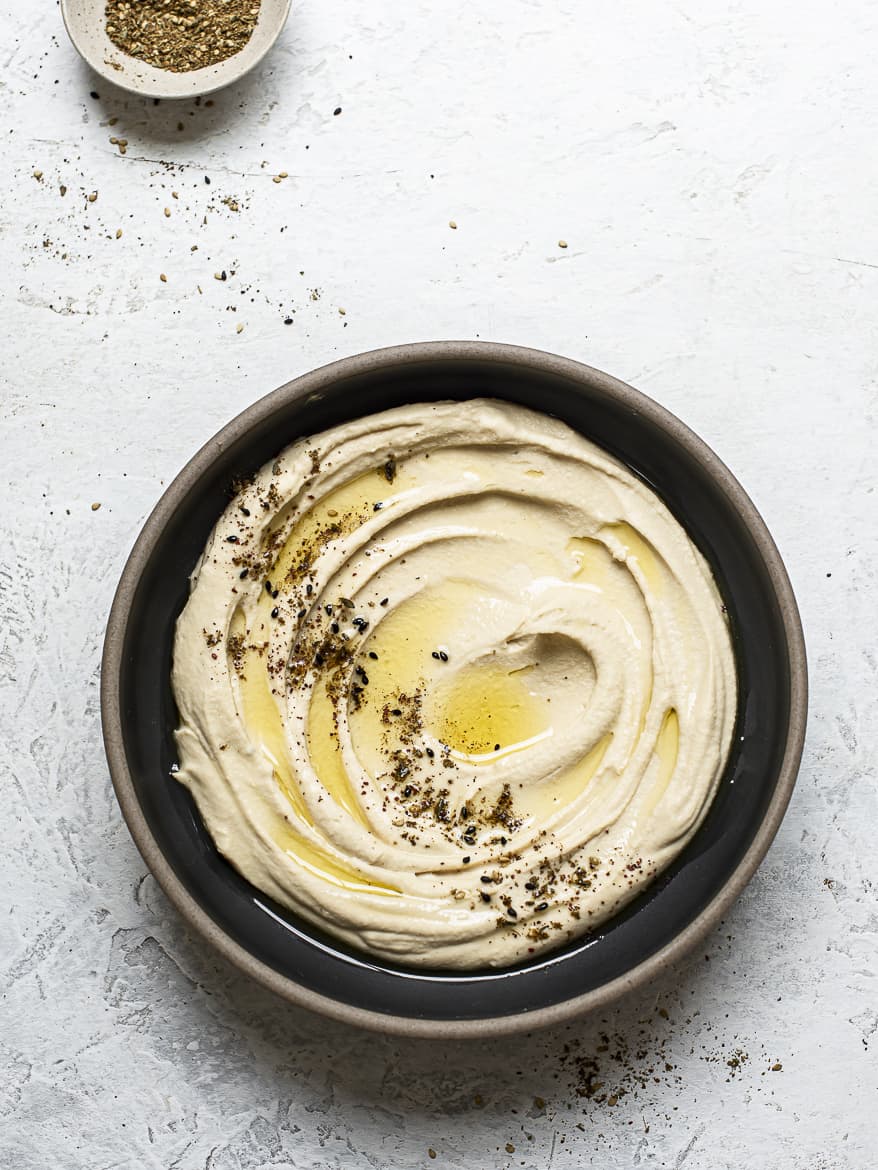
- To serve: Spoon into a serving bowl and swirl with the back of a spoon to make a few swooshes. Drizzle with your best olive oil and serve with torn pita bread or naan. See below for other optional garnishes.
A few tips to remember
- Soak the chickpeas. Unlike other legumes, dried chickpeas will simply not soften enough if not soaked. Don’t skip this step or the hummus will not be creamy enough.
- The cooked chickpeas must be super soft. If cooking the chickpeas from dried to make hummus, make sure you cook them until they are super tender. You can take them until they are almost mushy, in fact. I cook mine for about 1 1/2 hour. Some canned chickpeas can be quite hard. Pinch one between your fingers and if it isn’t super soft boil them for 20 minutes, or until they are almost mushy.
- Boil canned chickpeas. Yes, you can boil canned chickpeas — some canned chickpeas can be quite hard. Pinch one between your fingers and if it isn’t super soft boil them for 20 minutes, or until they are almost mushy.
- Remove some of the skins. Removing the skins does give you a less grainy hummus but you don’t have to spend a lot of time on this. Just scoop out the ones that easily came off and are floating around.
- Use good-quality tahini and a good amount. As mentioned above, a bad tasting tahini will ruin your hummus. Seek out brands that are recommended to you or that you have already tried and loved. For a richer, great tasting hummus, use at least 1/2 cup per 3 cups of cooked chickpeas.
- Don’t forget the ice water. It really helps make the hummus creamier and fluffier and a bit lighter in colour.
- Process for longer than you think. 4-5 minutes seems long to have the food processor running but it really makes a difference. The hummus will get creamier the longer you run it. If it over heats and shuts off, let it cool down then process some more.
- Let the hummus rest before serving. If you taste the hummus straight out of the food processor, you may wonder where the garlic flavour went. Taste again after it has rested and you will be amazed at how garlicky it now tastes.
Other additions and toppings
I almost always stick to this classic hummus recipe. But once you’ve mastered the base recipe to make hummus, you can play with different additions and toppings:
Additions: Blend the hummus with roasted vegetables such as red peppers, beets, carrots, or sweet potatoes.
Toppings: Here, the sky is the limit. Try it with braised lamb with pine nuts (Ottolenghi style), confit tomatoes, crispy chickpeas, briny olives, feta cheese, nuts, seeds, and spices. I love it sprinkled with za’atar and sumac – both Middle Eastern spice blends that you can now find at most well-stocked supermarkets. Shown below, I also love my hummus topped with marinated cherry tomatoes and olives – divine.
To serve
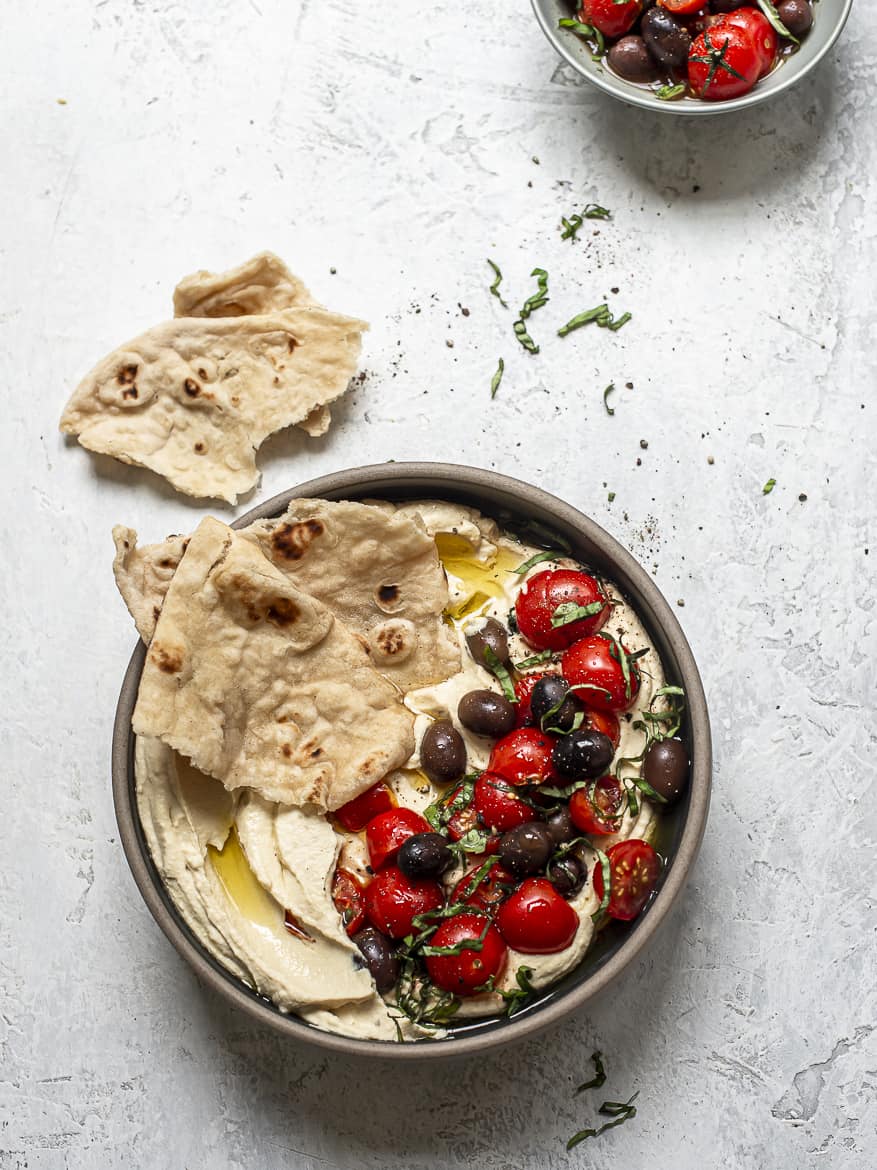
The obvious is to serve your delicious, ultra smooth hummus as a dip with warm pita bread or flatbread. For now, I am trying to be really good and dip only with crunchy veggies. Hummus is also fantastic in wraps, on veggie burgers and in grain bowls with roasted vegetables. My favourite is on a mezze platter, with lots of flatbreads, salty feta and olives. So good.
Other ways to use hummus
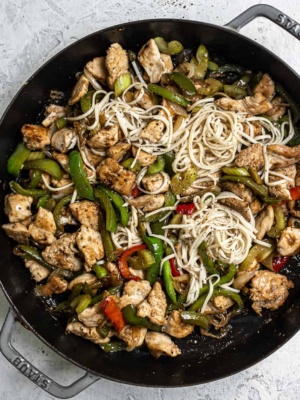
Be creative with the beautiful hummus you make; ditch the mayo in deviled eggs and replace it with hummus, blend the hummus with feta cheese and stuff little mushroom caps with it, and for a game-changer, no-dairy creamy sauce, use hummus to make this crazy delicious Creamy Hummus Pasta.
Ultra Smooth Classic Hummus
Ingredients
- 3 cups cooked chickpeas (canned or cooked from scratch) *See notes for cooking dried chickpeas and for softening canned chicpeas
- 2-3 garlic cloves
- 1 teaspoon kosher salt
- Juice of 1 large lemon
- 1/2 cup tahini paste
- 1/4 cup ice water
- extra virgin olive oil to finish
Instructions
- Add garlic through the feed tube of a food processor while running and process for a few seconds until garlic is minced. Stop the processor and add the cooked chickpeas and salt. Puree until a smooth, paste-like mixture forms, adding a few splashes of cooking liquid if necessary.
- Add tahini, lemon juice and 2 tablespoons ice water. Blend for about 4 minutes or so, scraping down any tahini stuck to the sides and bottom of the processor as necessary. If the consistency is too thick, add a little more ice water, one tablespoon at a time. Blend again until the hummus is fluffy and smooth.
- At this point it is important to taste, and adjust seasoning as necessary—I almost always add another pinch of salt and few more squirts of lemon juice.
- Spoon into a serving bowl and swirl with the back of a spoon to make a few swooshes. Drizzle with your best olive oil and serve with warm pita bread, flatbread, or veggies. Leftover hummus keeps well in the refrigerator, in a tight-lid container, for up to 1 week.
Notes

Lisa
I made this hummus for the second time last night and it is divine! My absolute favourite hummus! I always use chickpeas from dry and great middle eastern tahini you recommended (not my go-to tahini for everything). I use my food processor and its perfect! Thanks Sandra!
Sandra Valvassori
So happy to hear this, Lisa! Love that you use chickpeas from dried — the flavour is so much better. Thank you so much for your kind review!