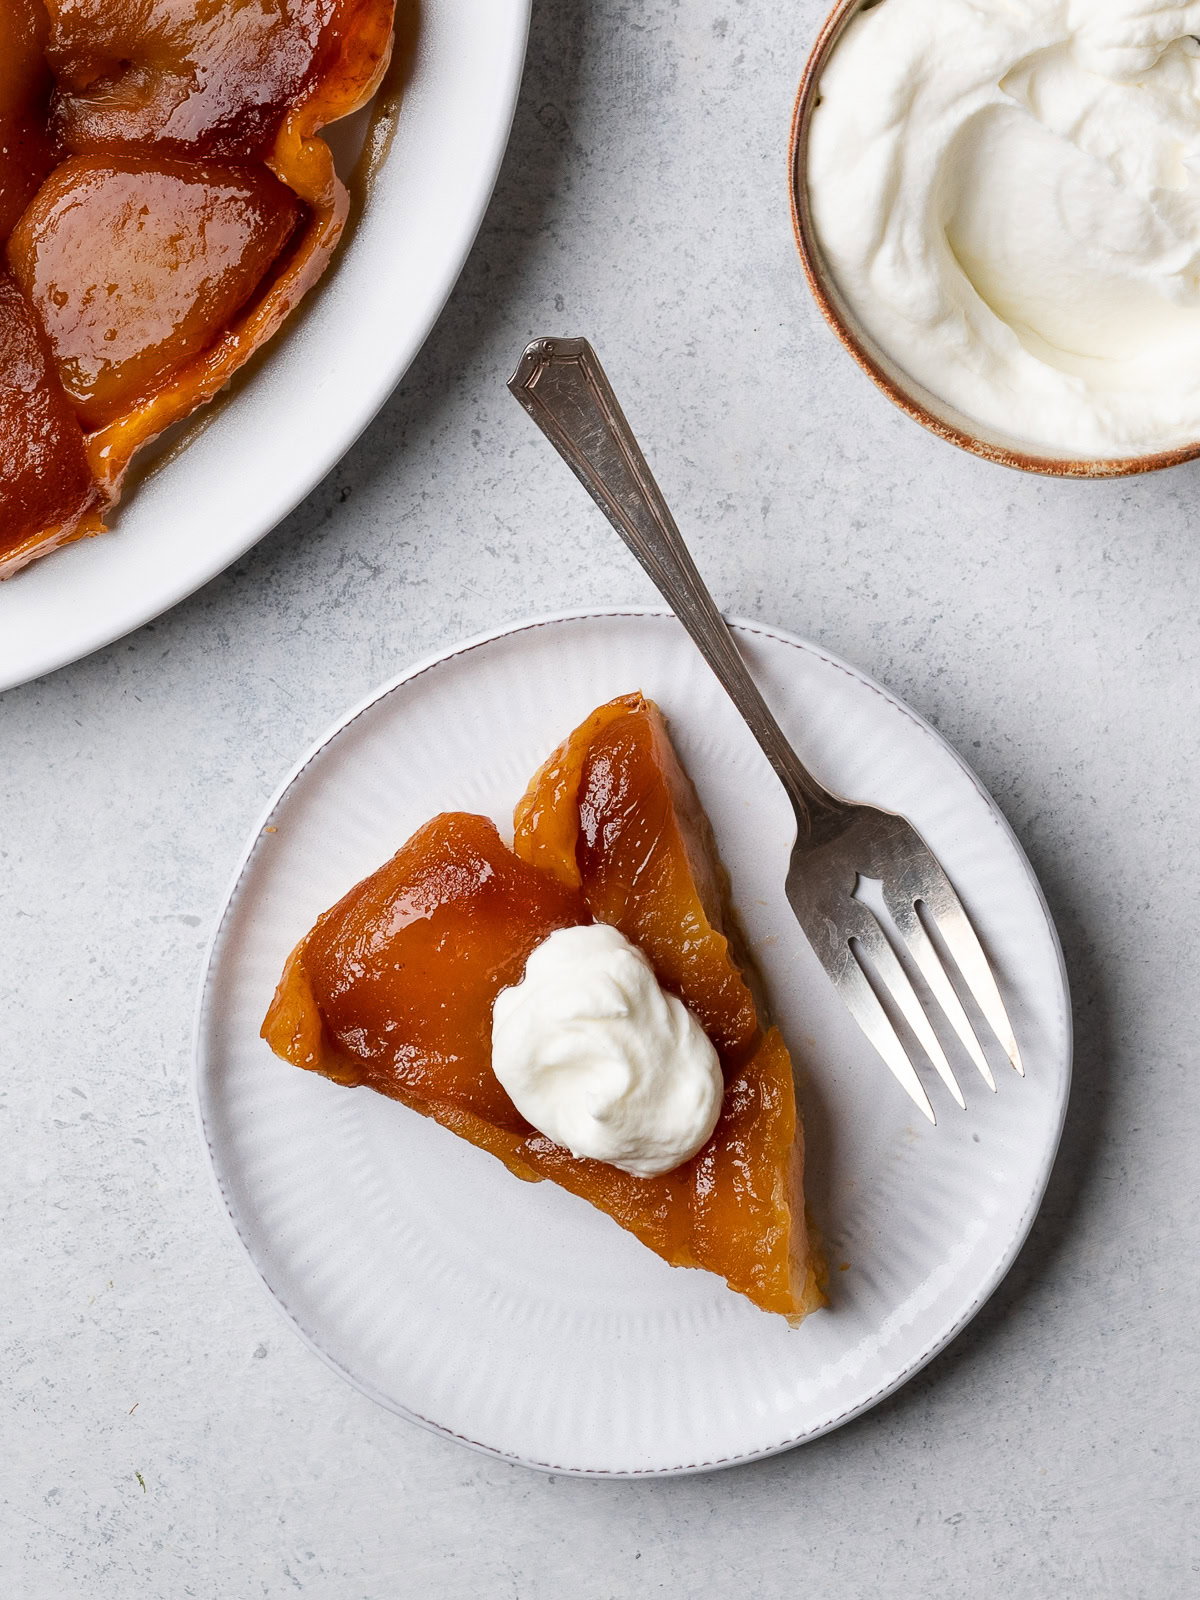
This classic French Apple Tarte Tatin comes together quickly with only 4 ingredients. A stunningly beautiful upside-down tart that lets the tender, caramelized apples shine.
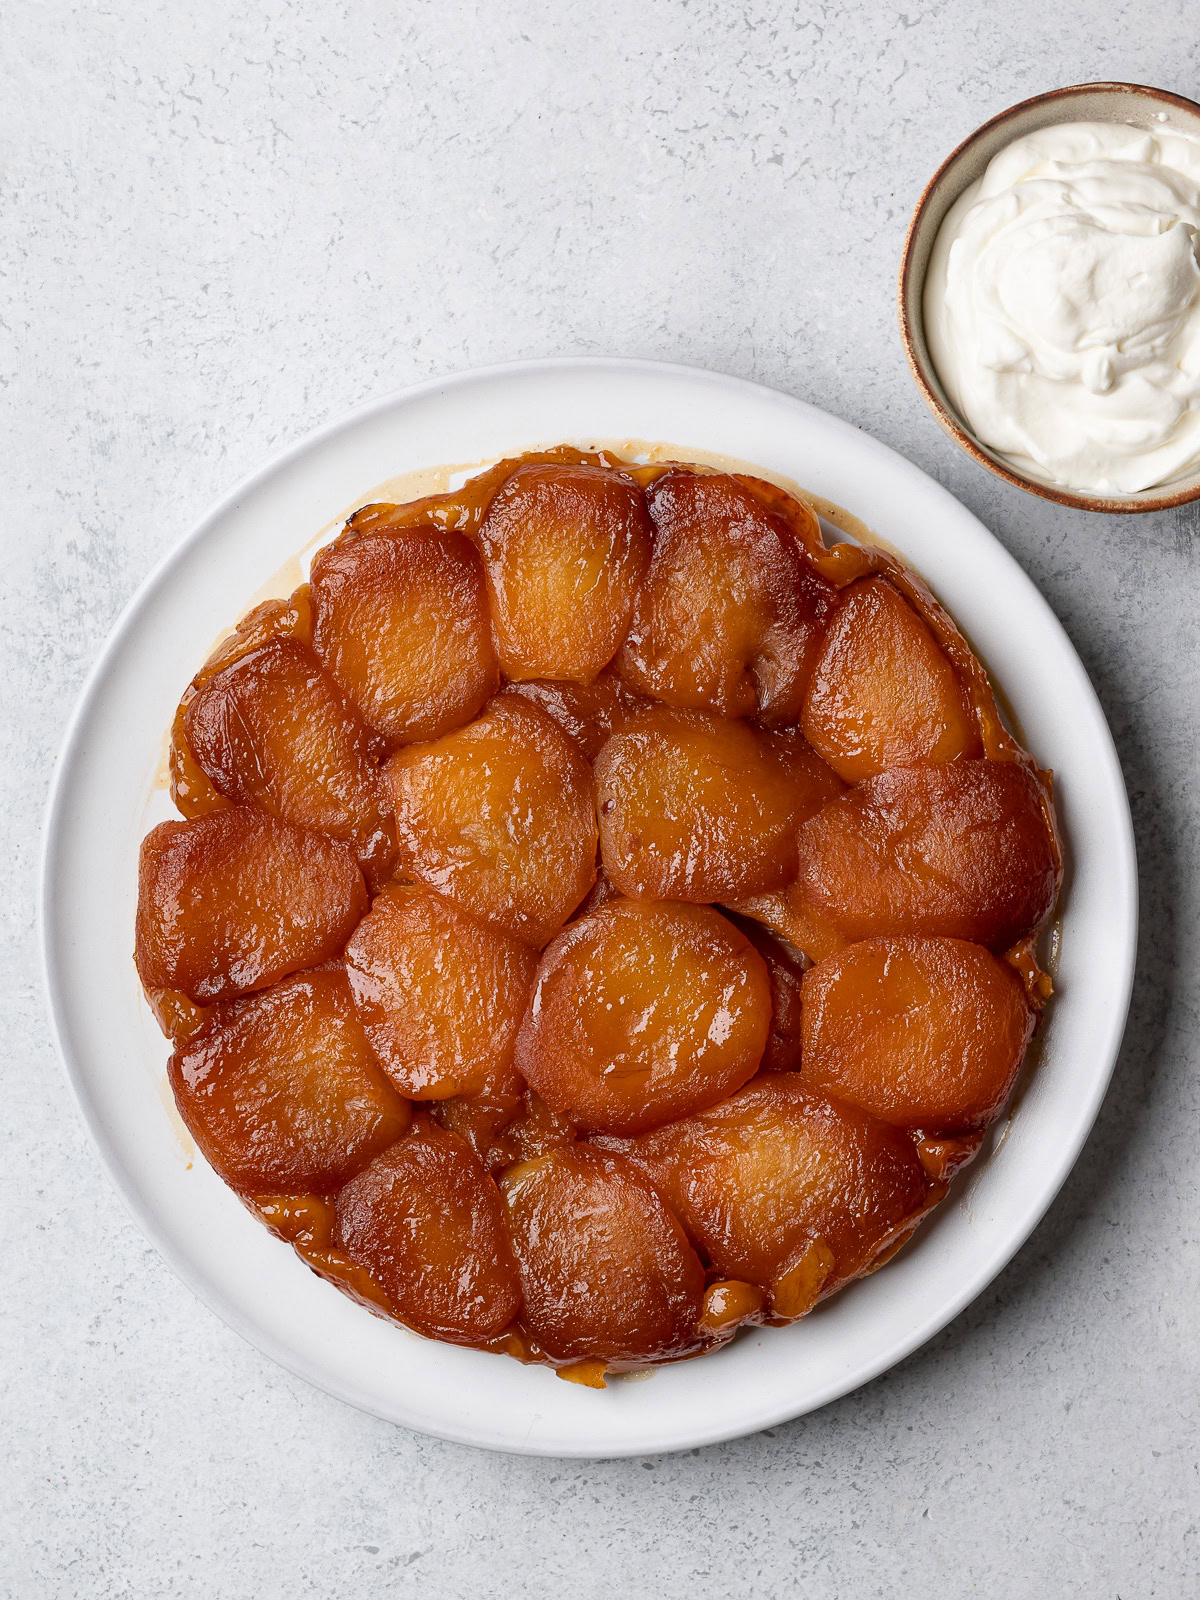
It’s fancy dessert season and today we’re rolling out the red carpet for the iconic French apple tarte Tatin. Rich and deeply caramelized apples are draped with flaky, buttery pastry then served upside-down to expose gleaming melt-in-your-mouth apples. A twist on the traditional apple pie, a tarte Tatin may look and sound fancy but it’s in fact quite simple to make.
The best thing about a tarte Tatin, other than its “ta-da”-ish factor, is that even if the flip goes badly — don’t worry, it won’t — it will still look impressive and taste incredible. No matter what your cooking skills are, this is an easy dessert that is a joy to make and everyone will swoon over.
What Is Tarte Tatin?
Tarte tatin (tart tah-TAN) is a classic French upside-down tart that is named after the Tatin sisters that invented it while running their hotel — Hotel Tatin — in the Sologne region in central France.
The story goes that Stéphanie Tatin, who did most of the cooking for the hotel, overcooked some apples in sugar and butter when making a pie. She then tried to save the dish by topping the apples in the pan with the crust and finished baking it in the oven. The upside-down dessert was a huge hit with customers and became a signature dish of the hotel. Eventually, the dish was served in other restaurants and to this day remains one of the most loved French classic desserts.
Using the same process, a tarte Tatin can also be made with other fruit such as plums, pears, figs, peaches, or even pineapple and mango.
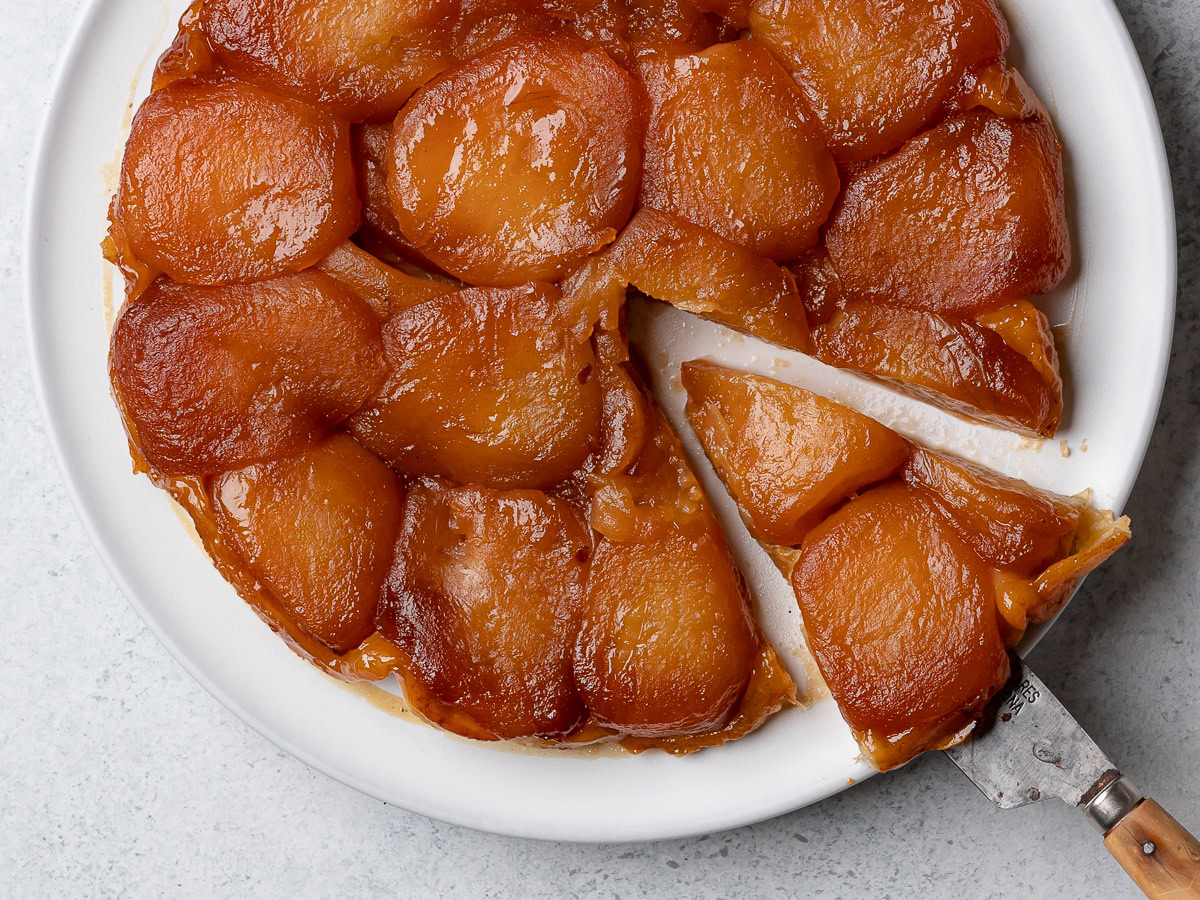
The Process
The ingredients in a tarte Tatin are few and the process couldn’t be simpler. But there are two techniques you have to get right to achieve a perfect tarte Tatin; getting the caramel right, and getting the apples soft enough without letting them get mushy.
There are millions of different versions on how to cook the caramel or how to cook the apples. Some take the caramel to the darker side, while others keep it barely golden. In some recipes you will be asked to cook the apples until completely tender before covering with the pastry. Others barely cook them at all.
I have tested many different techniques and though I would never claim my recipe is better than the rest, it is an easy, uncomplicated one that works for me every time. This post is a little long but it covers all the tips and techniques I’ve learned to ensure the tart is a success. Take a little time to read through it and this will become your go-to dessert whenever you want something easy and fabulous.
Ingredient Notes
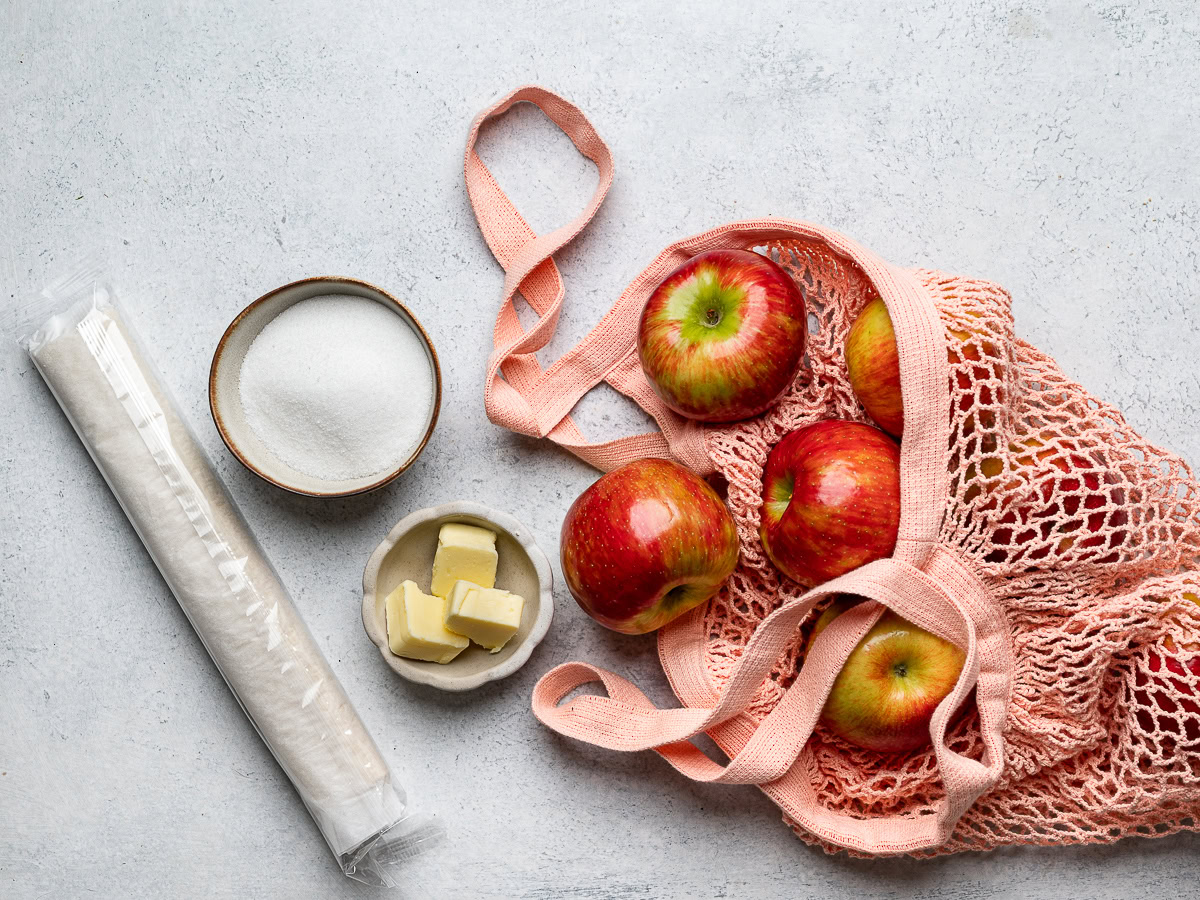
This tarte tatin requires only 4 main ingredients: apples, sugar, butter, and puff pastry. Lemon juice is optional to keep the apples from turning brown. Here’s my notes for each ingredient:
- Apples – You will need 7-8 apples to make this tarte tatin. You will want to use fresh, firm apples that will hold their shape while cooking. I haven’t tested the tart with every apple variety but I have arduously researched what other home cooks have had success with. Honey crisps seem to be the leading favourite, with Gala, Braeburn, and Fuji following closely. In Canada, we also have Cortland apples which are great for baking. I have used them for this tart in the past with great success. The apples I used for this post are Honeycrisps and they have never failed me.
- Butter – This recipe does not call for a lot of butter but it is essential for making the caramel. I use 3-4 tablespoons of very cold salted butter (depending on whether I’m cramming in a lot of apples or not). Because we aren’t using a huge amount of butter, salted butter adds the perfect amount of saltiness for the sweet apples.
- Granulated sugar – I find 1/2 cup of sugar makes the tart sweet enough. If you’d like it a bit sweeter use 3/4 cup.
- Puff pastry – The only crust I have ever used for my tarte tatin is a sheet of puff pastry which can be homemade or store-bought. I use all-butter store-bought. You could also use a buttery pie dough as the crust, but I prefer the flakiness of the puff pastry for this tart.
- Lemon juice – Drizzling the peeled apples with lemon juice will prevent them from browning too quickly. However, the apples will be browned in caramel sauce so I don’t feel the lemon juice is essential.
- To serve – Traditionalists will say to always serve tarte tatin on its own — no ice cream, no whipping cream and no crème fraîche. Fiddlesticks, I say to that. I recently saw a blogger post a photo of an apple tarte tatin while dining at a restaurant in Paris. Her slice of tart was served with a side of crème fraîche and now that’s the only way I will always serve it. Drool.
How to Make Tarte Tatin
Though simple to make, there are a few techniques involved in making a perfect tarte Tatin, hence the huge amount of images but I think you will find them helpful. The detailed recipe is down below but here’s a brief overview of the process with photos:
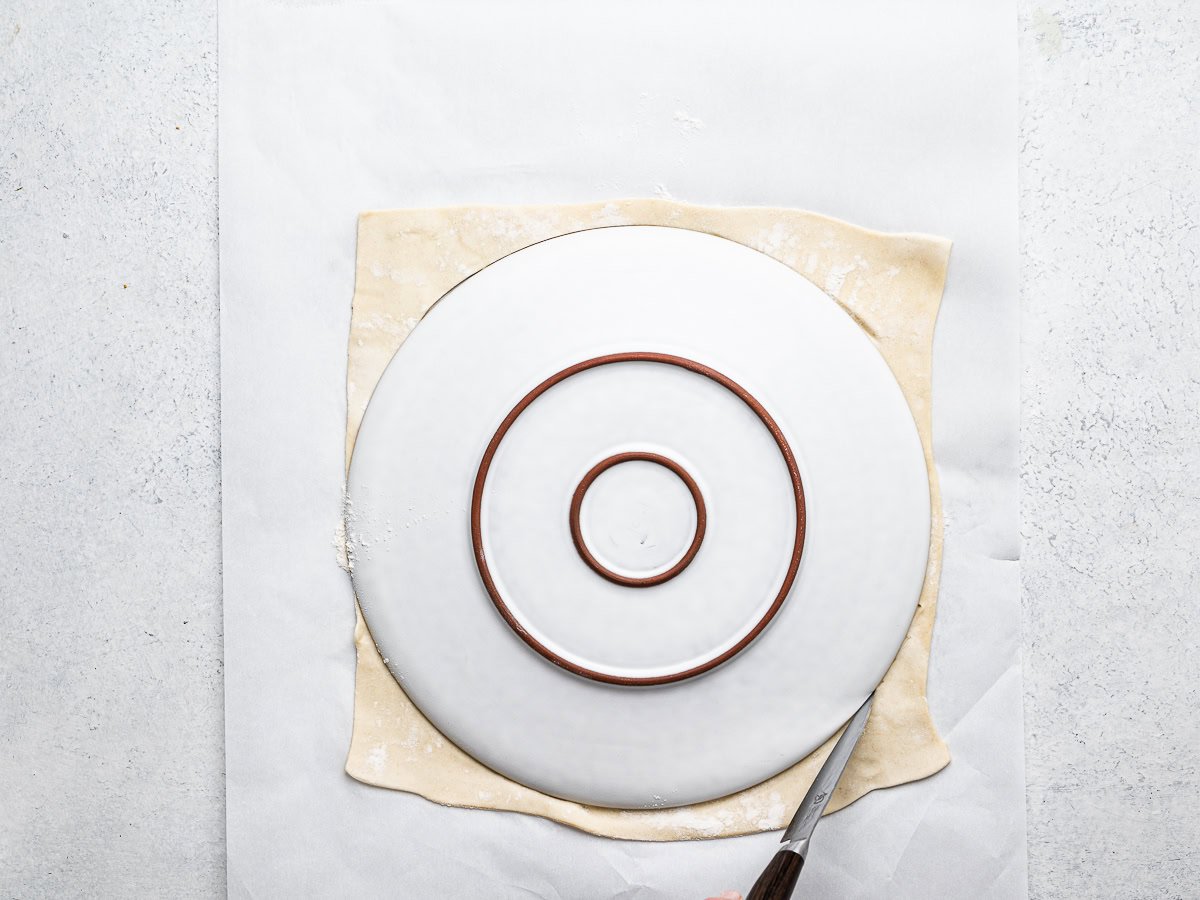
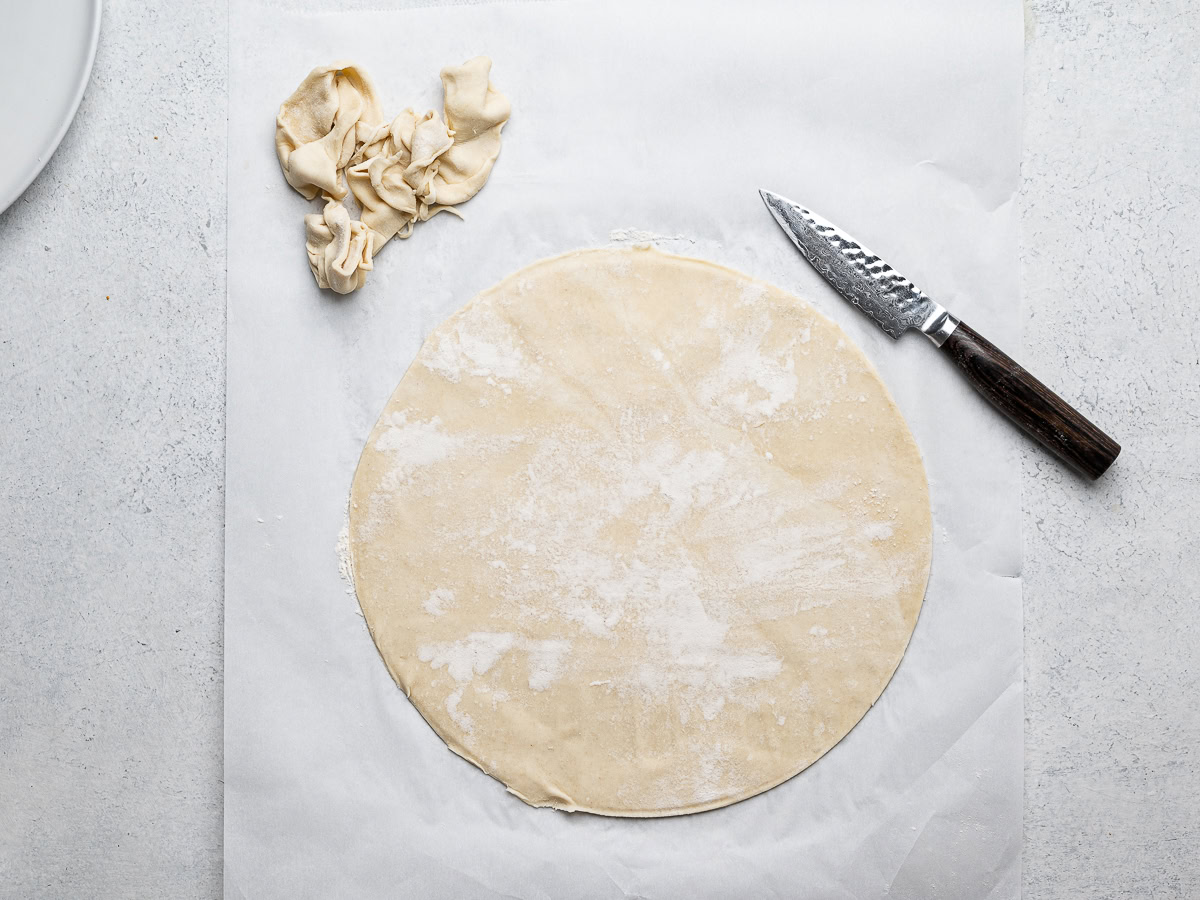
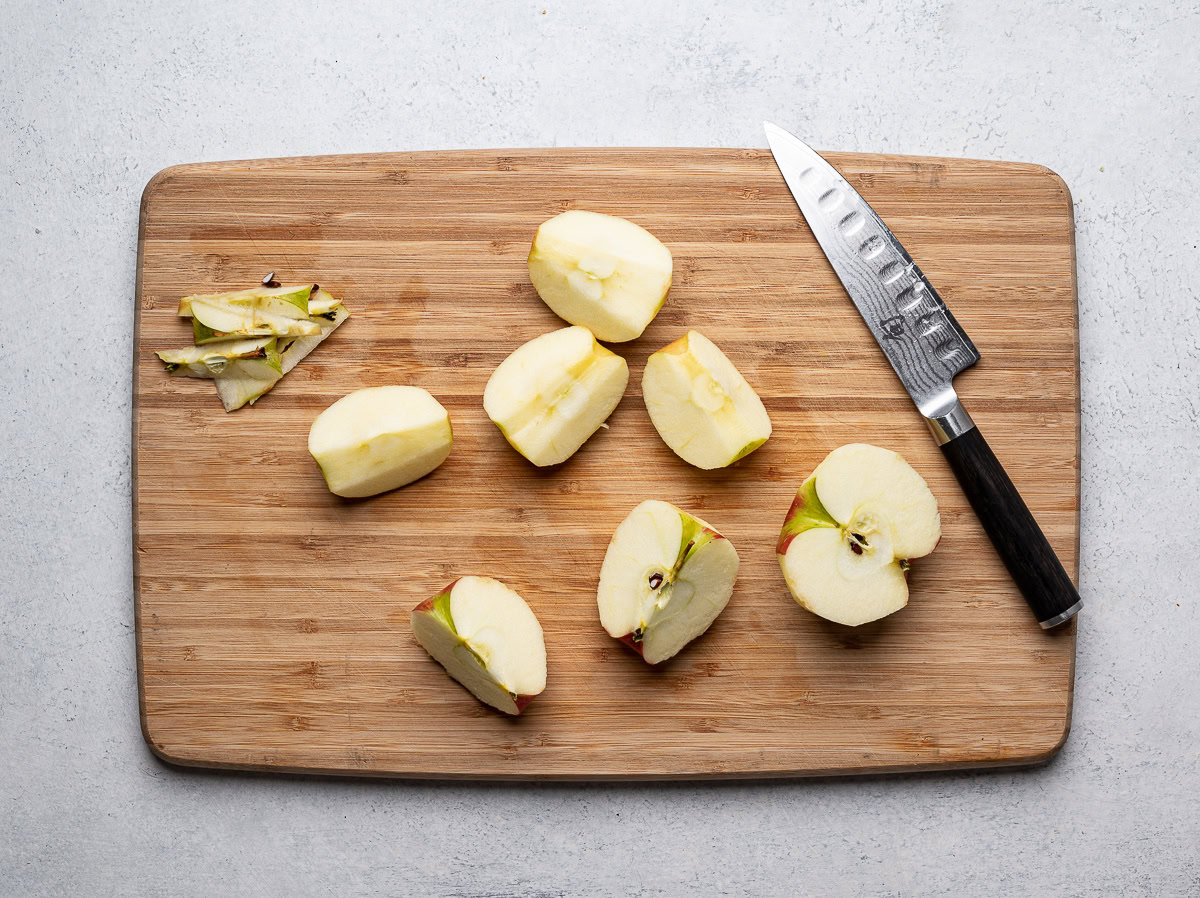
Roll out puff pastry and cut out a circle slightly larger than the pan you are using for the tart. Peel, slice and core apples.
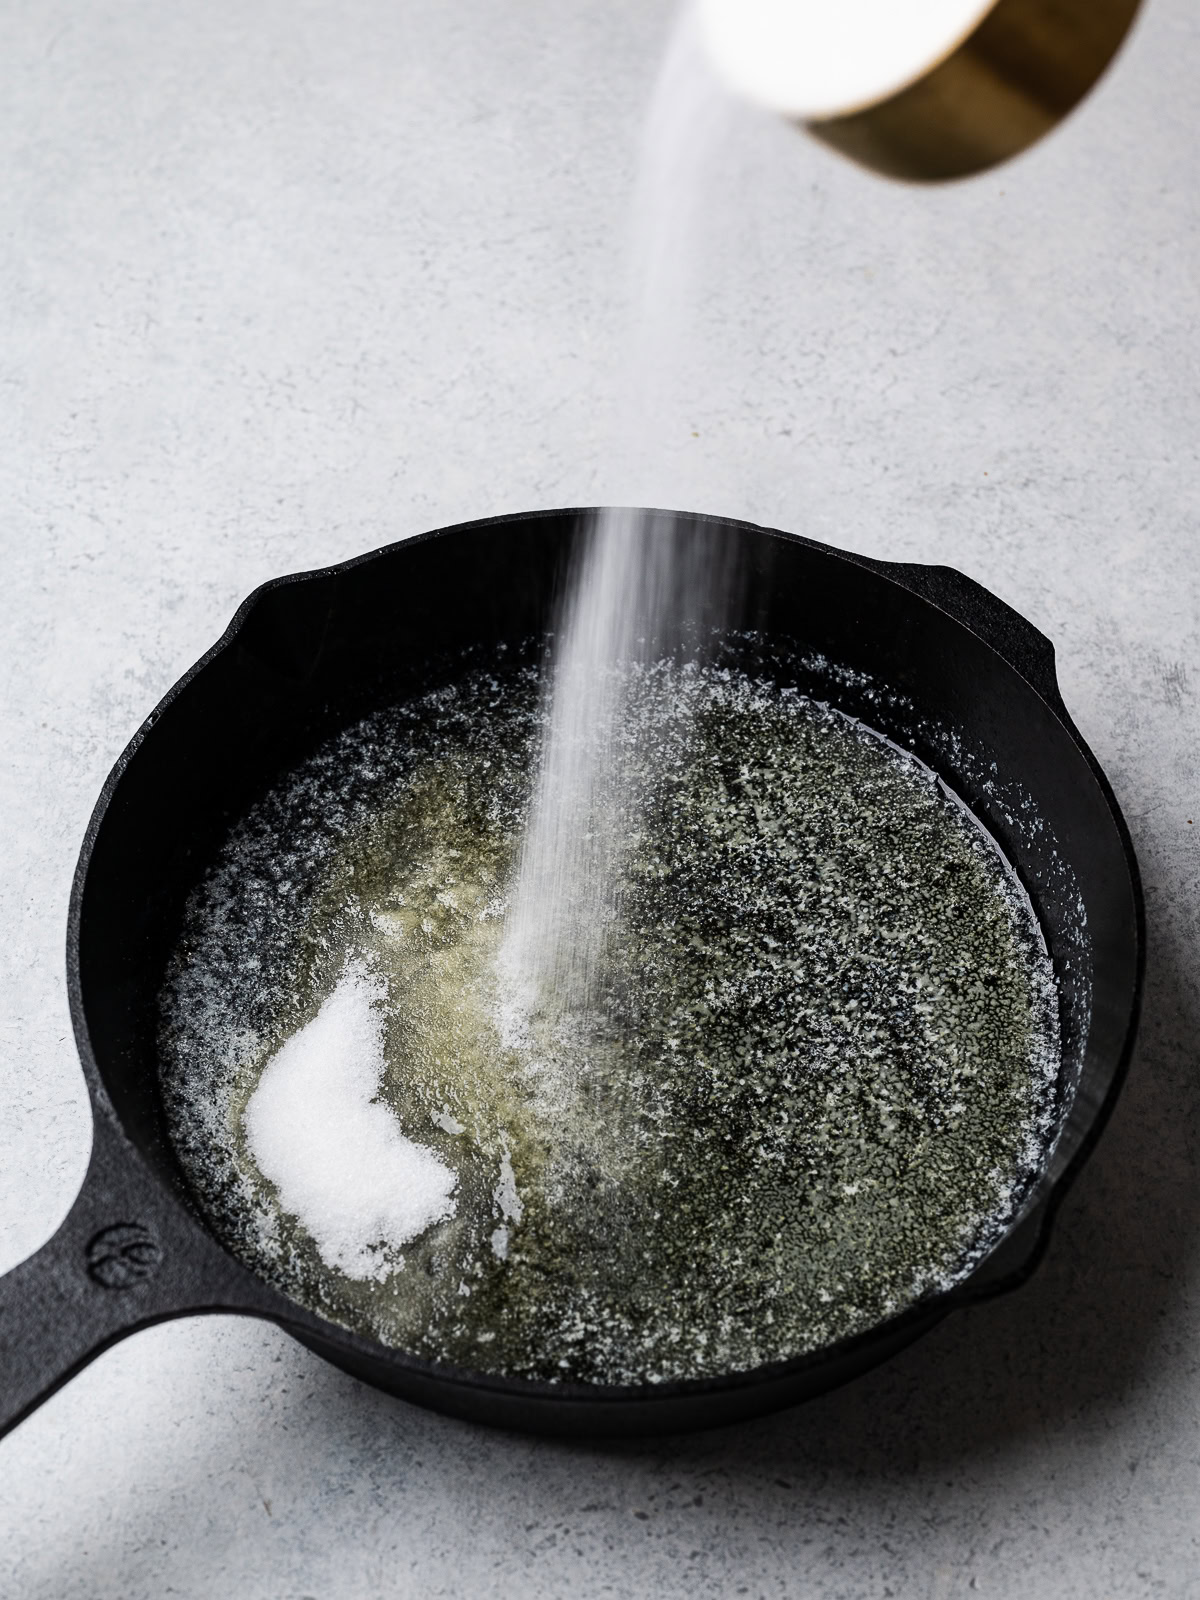
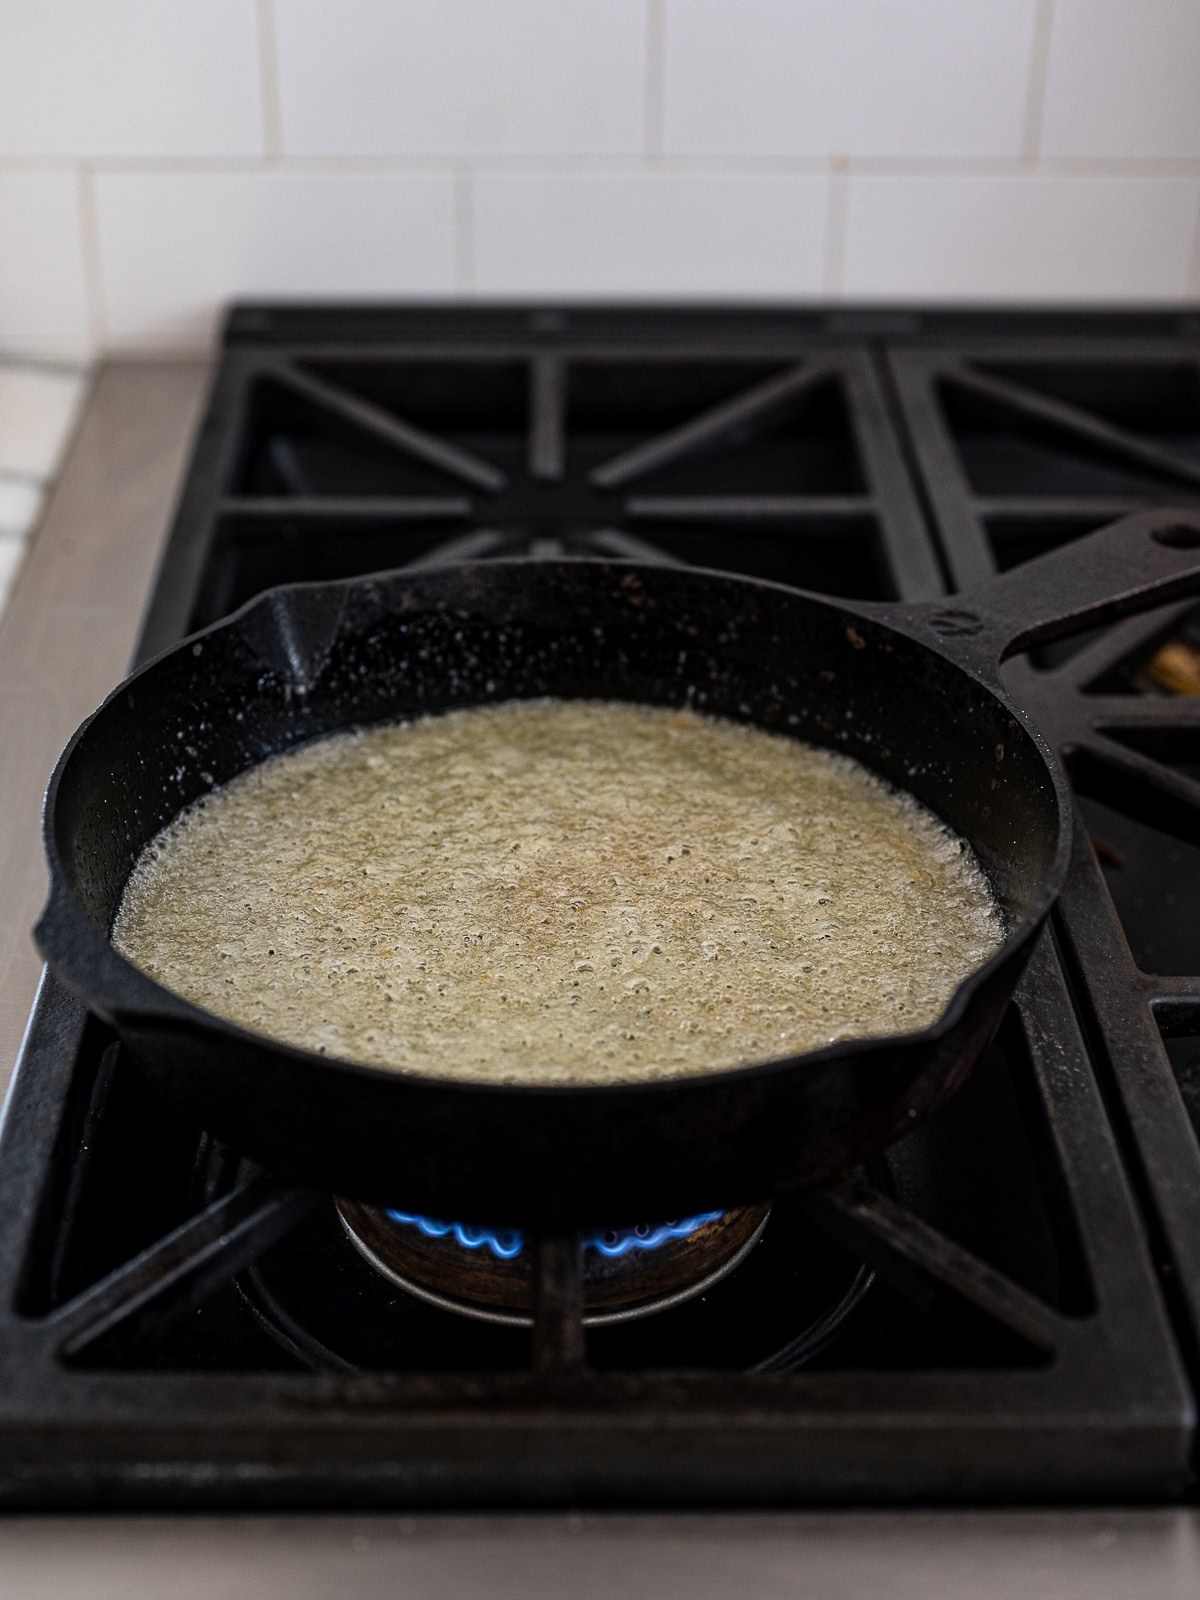
Melt butter and sugar in a skillet and cook until caramelized.
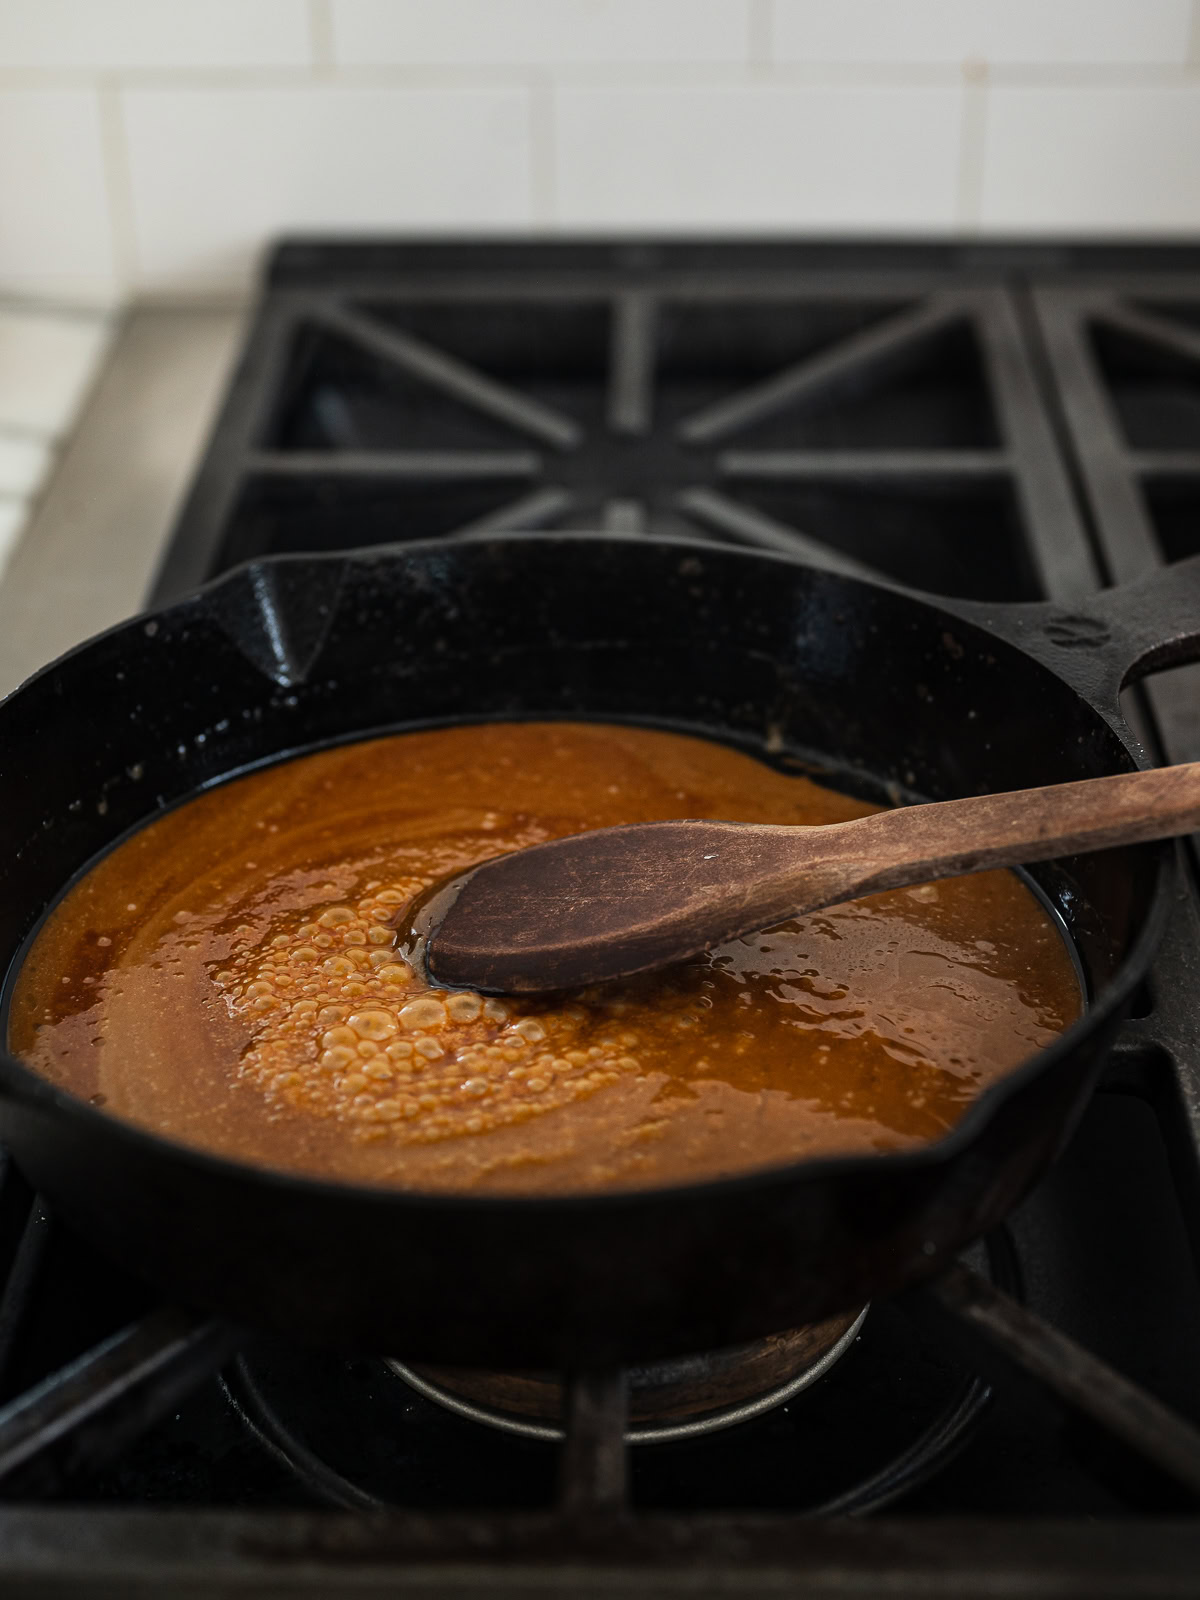
Arrange the apples snuggly and tightly against each other, and overlapping them so they all fit. If your apples are big and you can’t fit them all, leave a few pieces behind and stick them in once the other apples have shrunk (see middle and right image below).
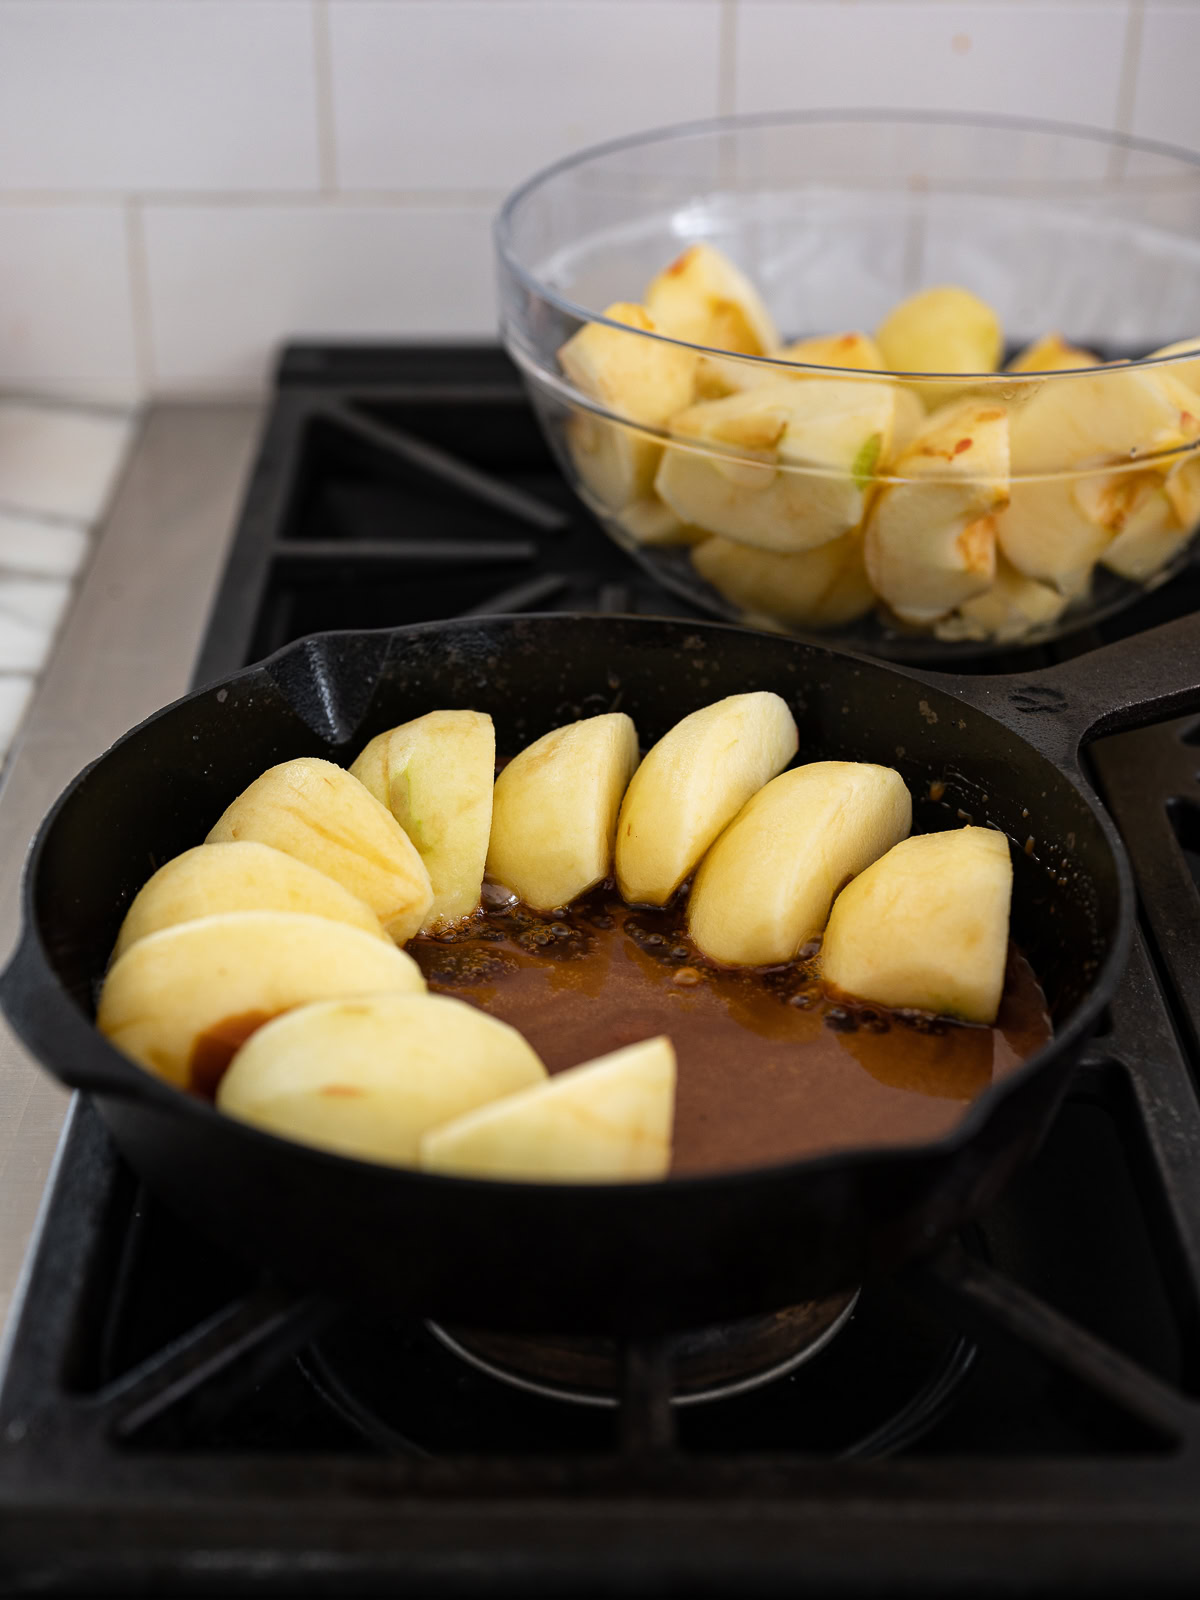
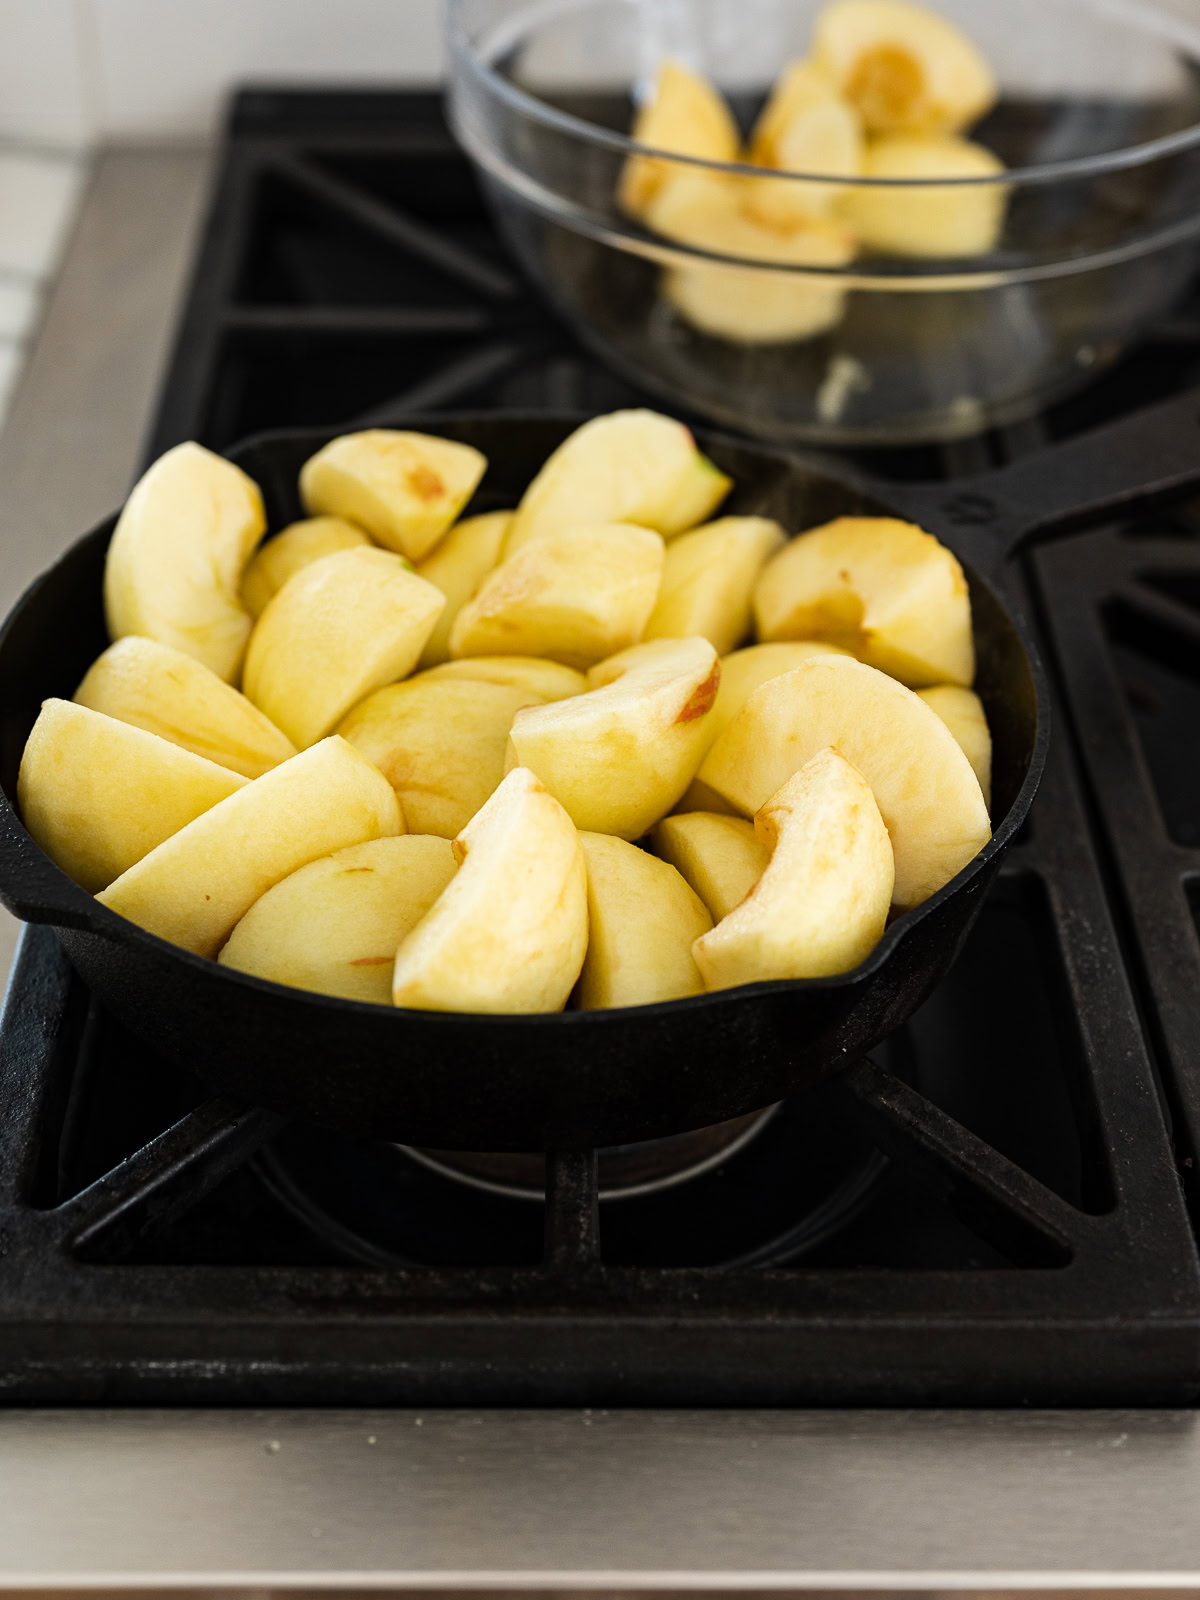
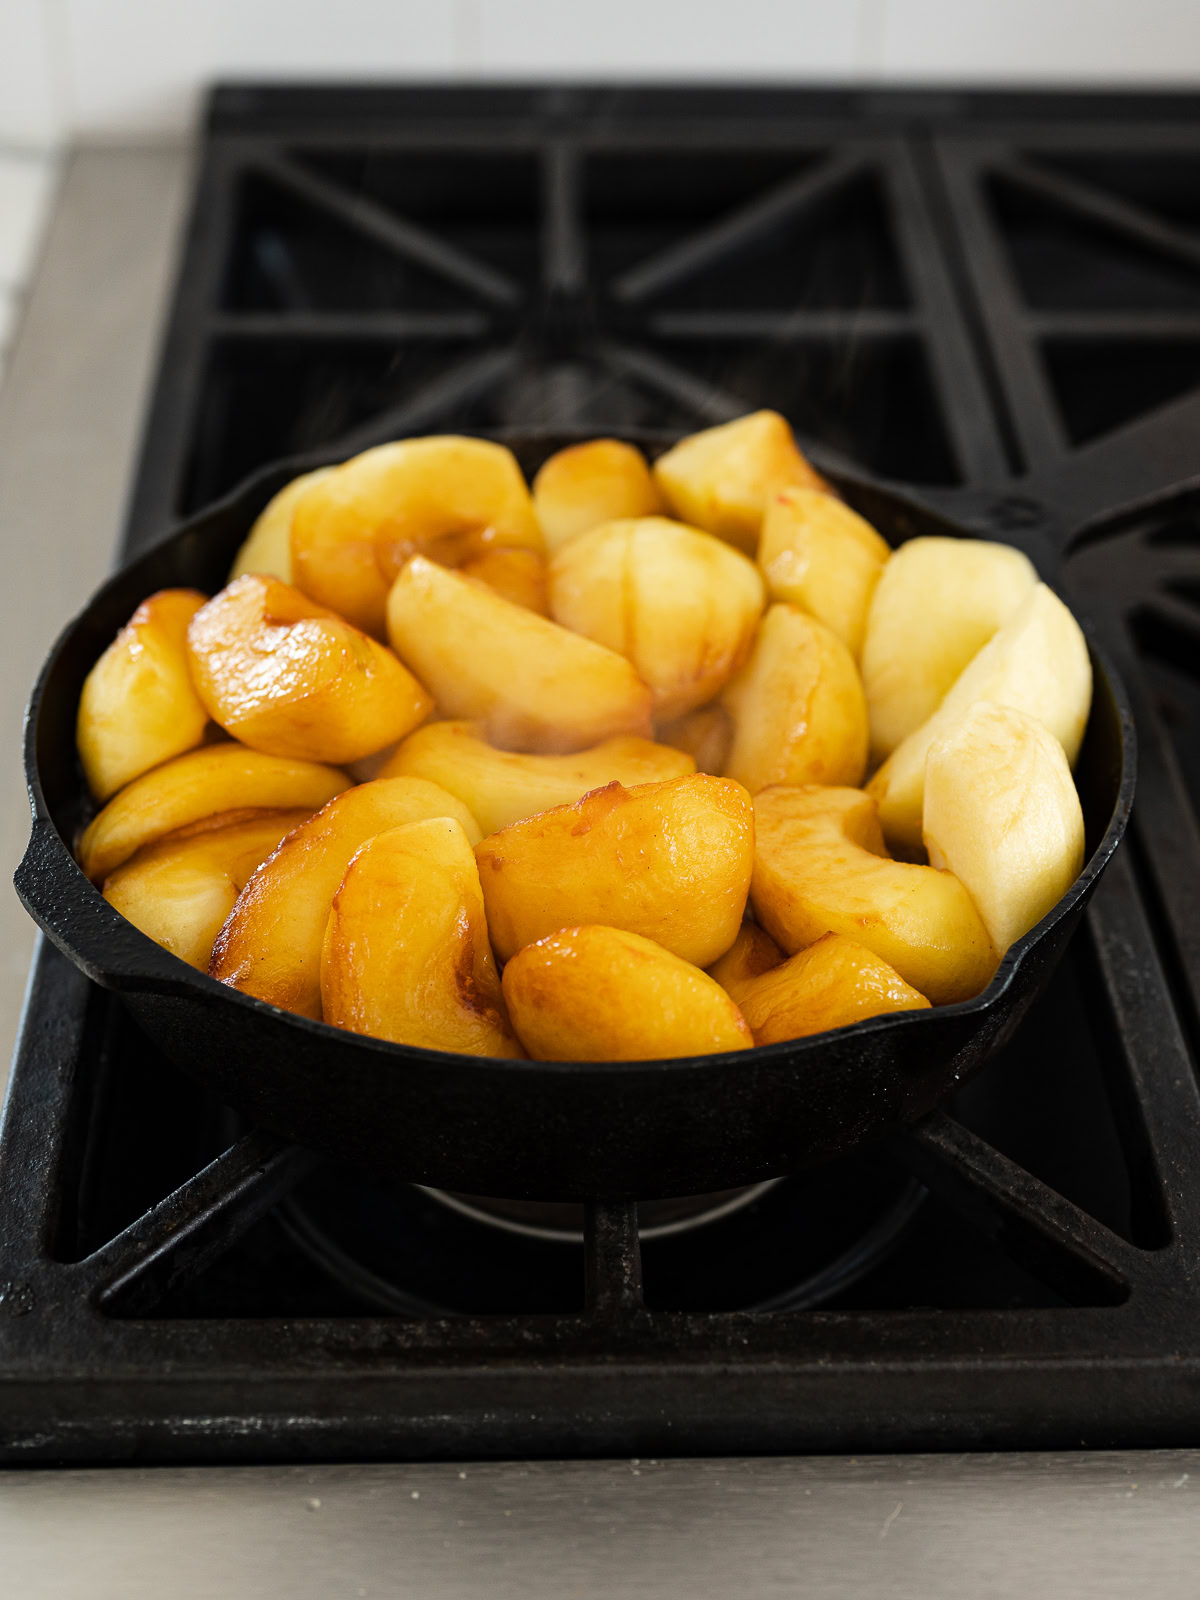
Cook the apples over medium heat, stirring occasionally, for about 13 to 15 minutes. During this time, we are looking to both cook the apples until soft, but not mushy, and thickening the juices. This could take a little more time if your apples are really juicy. Now it’s time to arrange the apples nicely in the skillet; use a spatula or two to flip them all round-side down and arrange them in concentric circles. I find it’s easier to this if a few apples are removed from the skillet (middle image) then wedged back in.
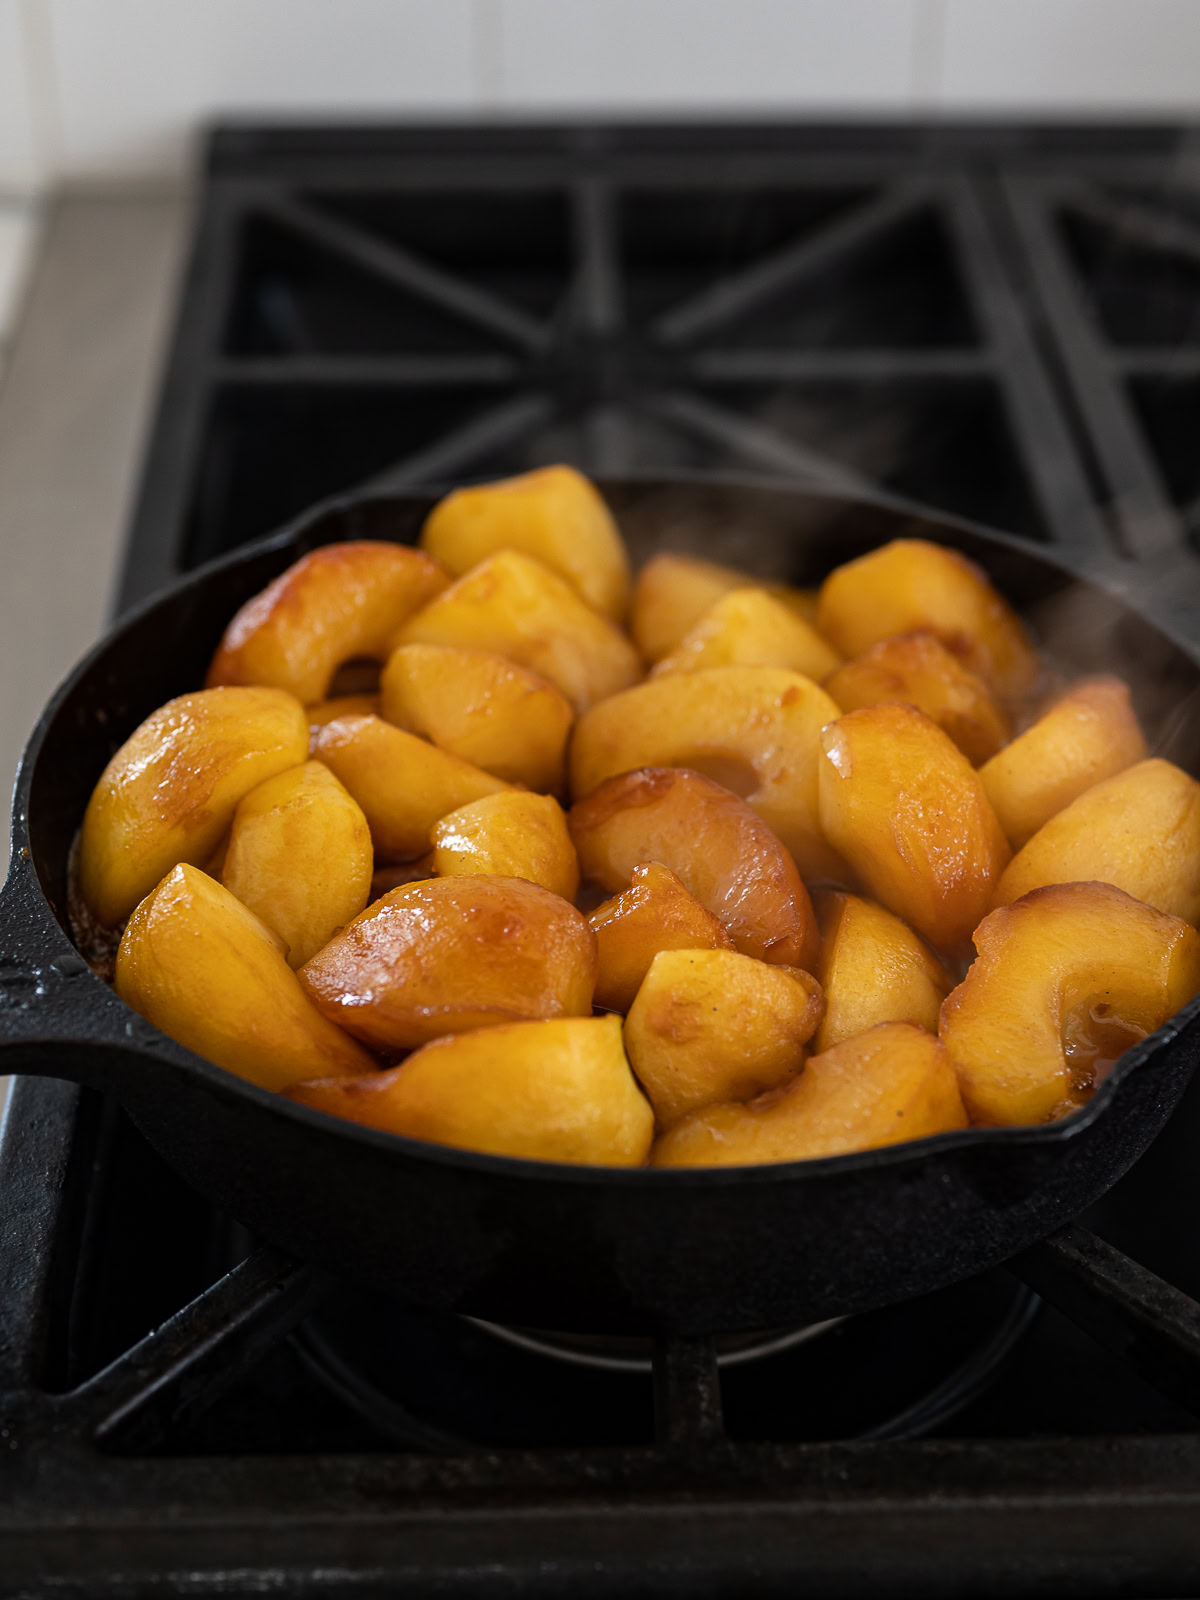
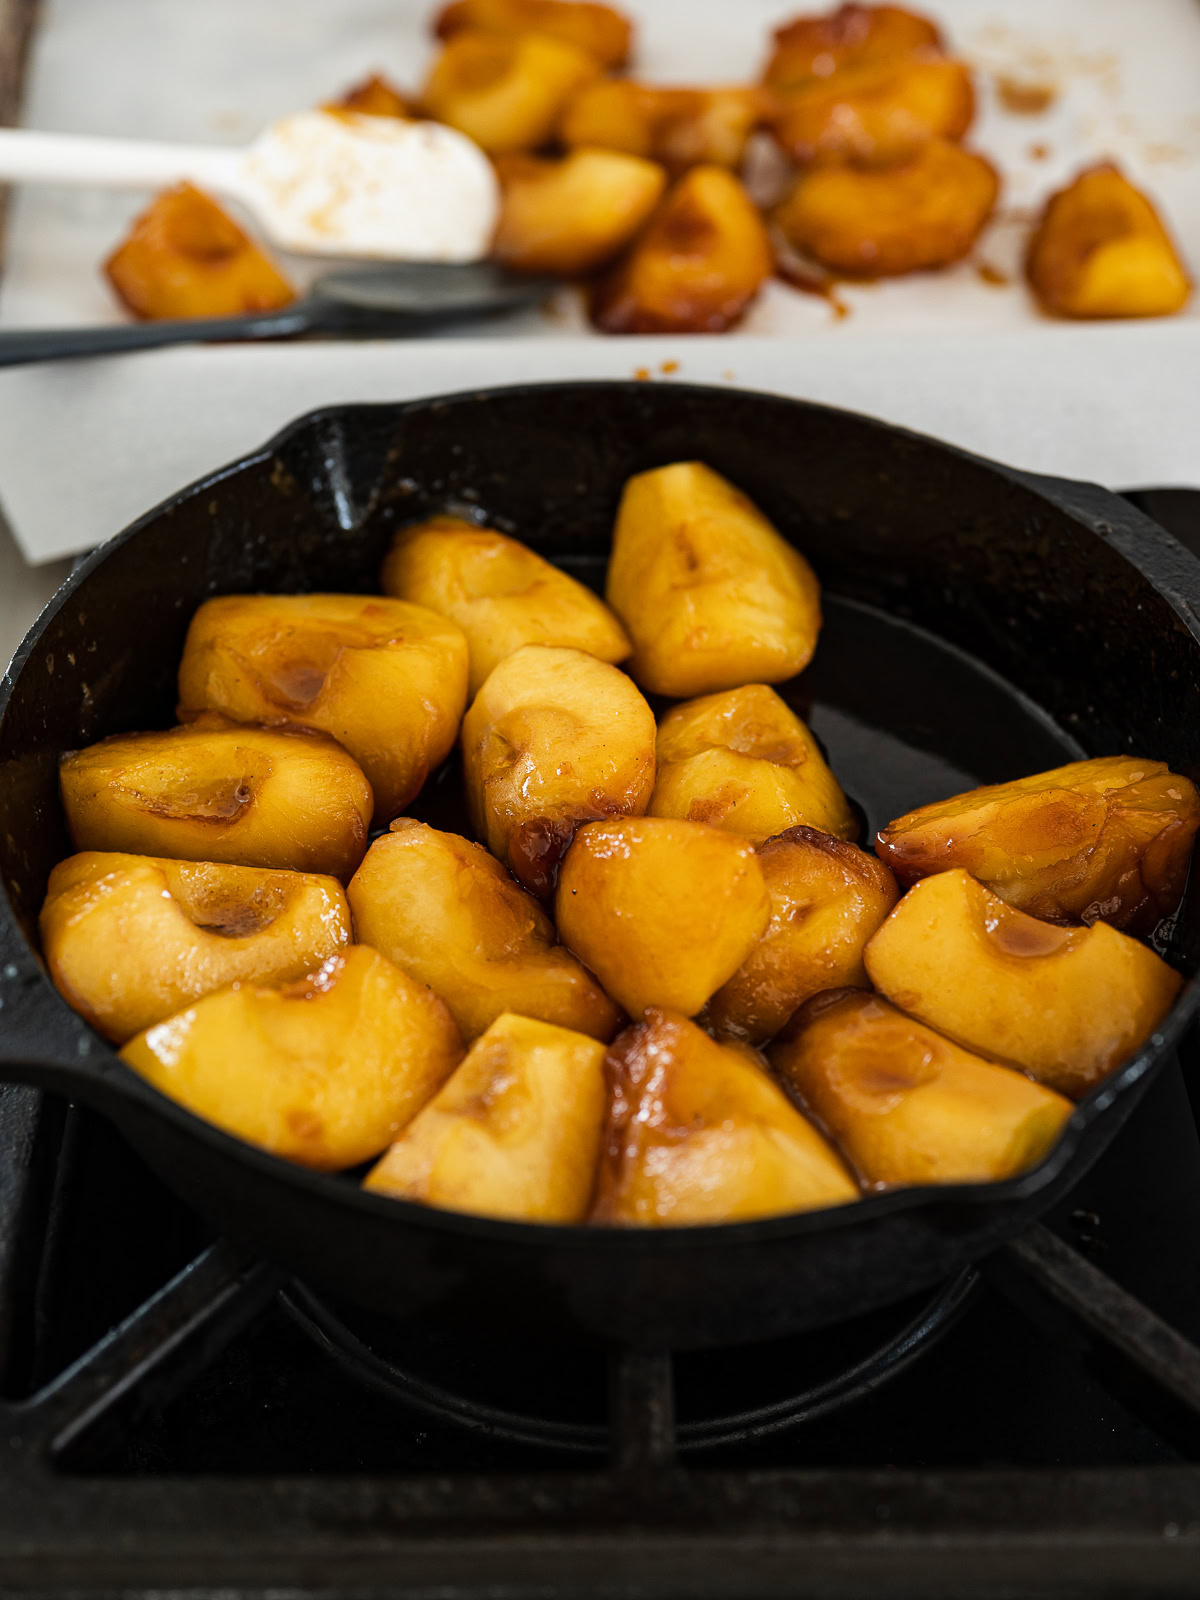
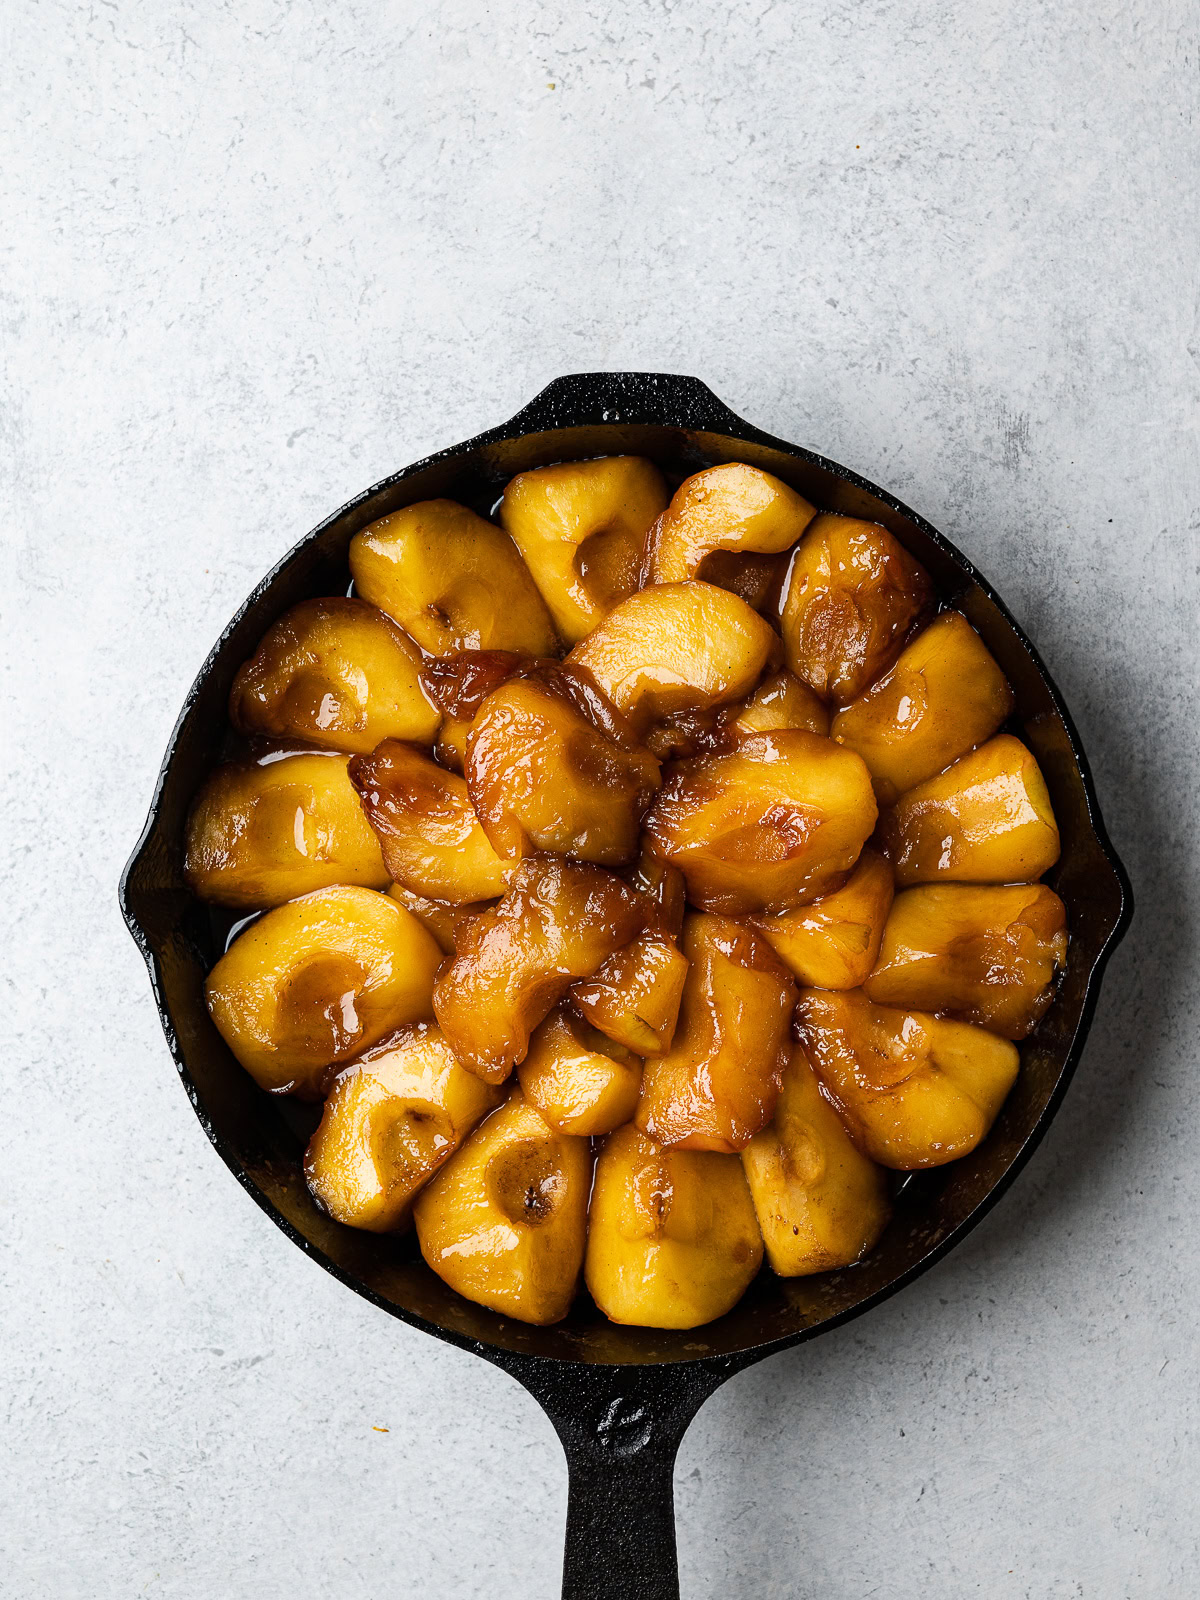
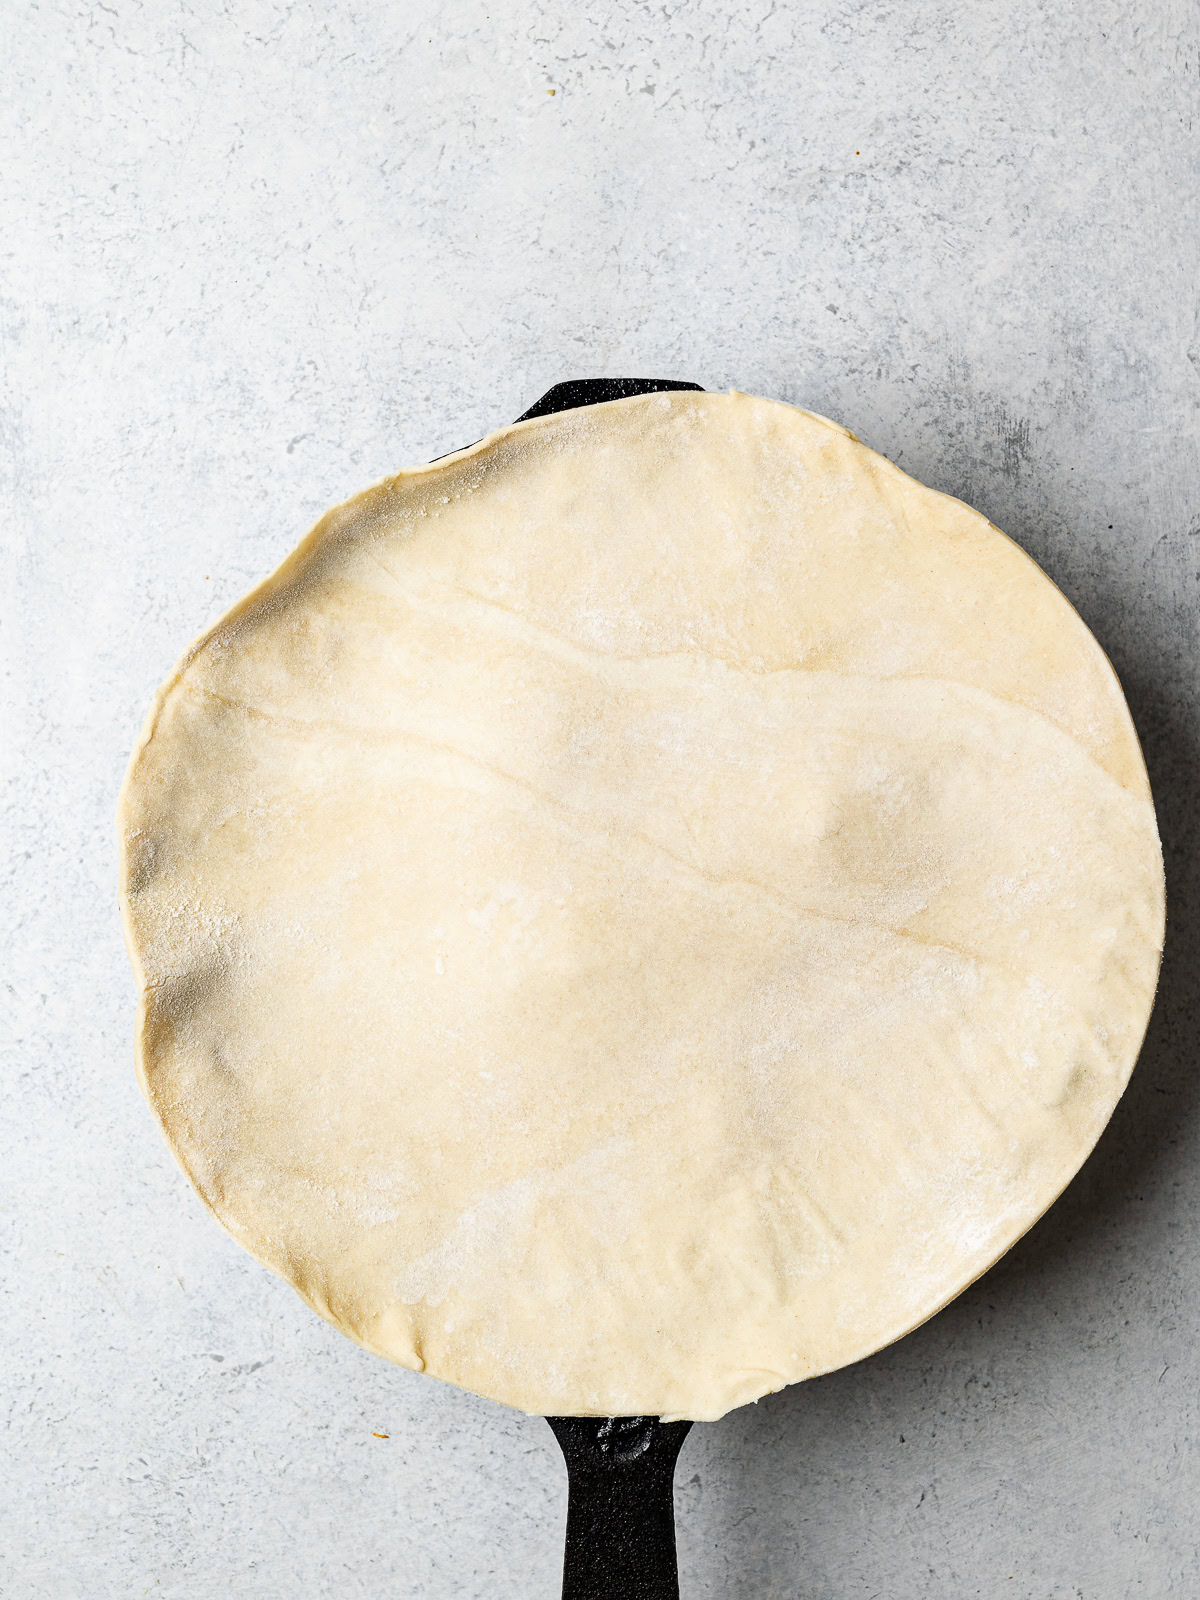
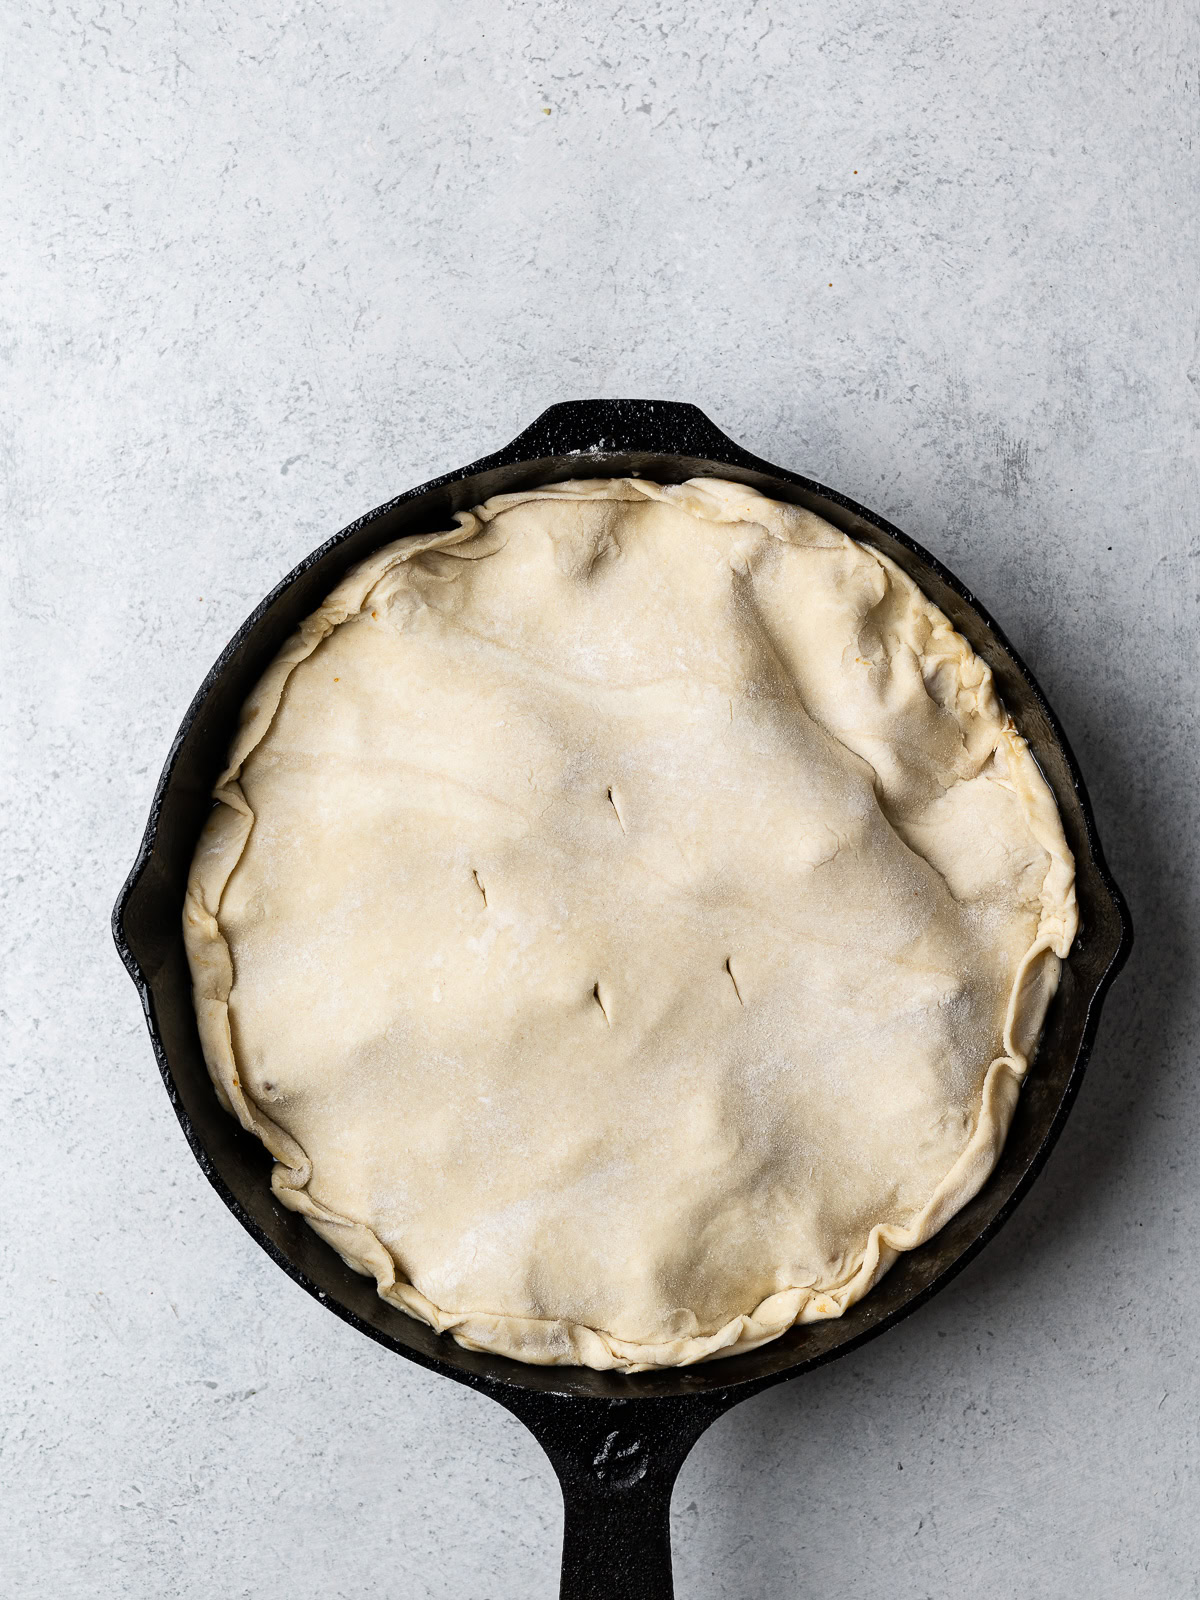
Place cold puff pastry on top of the apples and use a spatula to tucking the excess down the edges of the pan. Prick a few holes in the pastry to allow steam to escape and bake in preheated oven until golden, about 30-40 minutes. Allow to cool for 15 minutes.
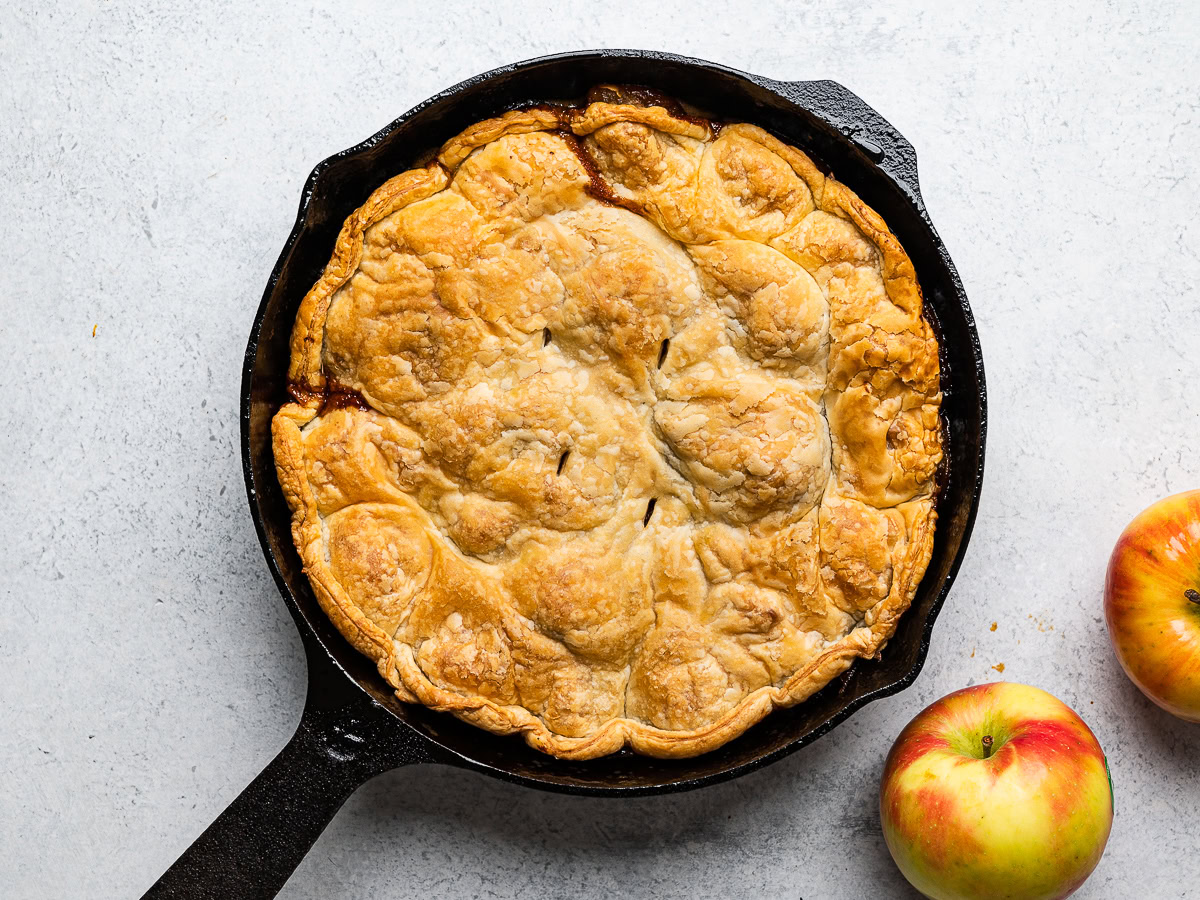
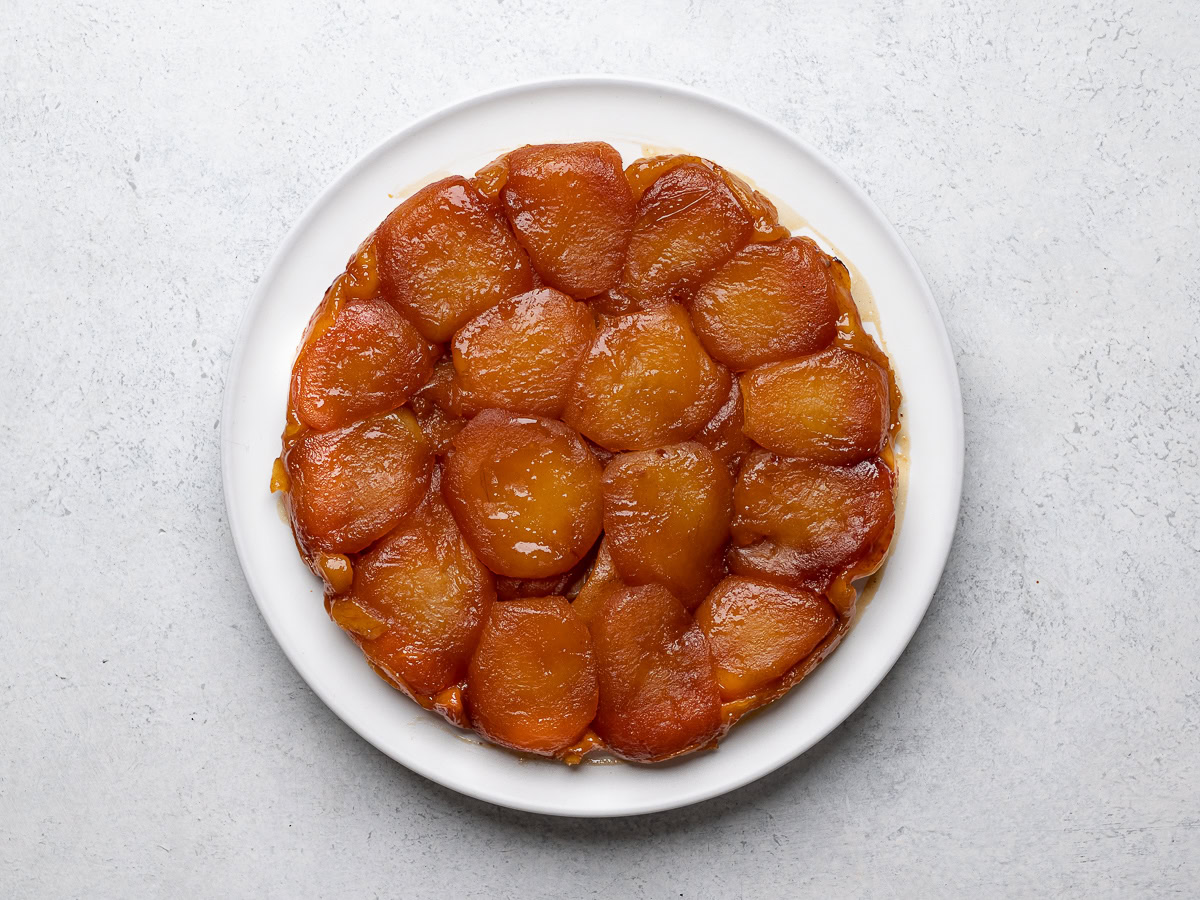
Place a large plate over the skillet and quickly flip it over so the apples are on top and ta-da!!
My Best Tips For a Perfect Tarte Tatin
USE ONLY ONE VARIETY OF APPLE
When making a traditional apple pie, a mix of apple varieties is often recommended because it makes the best filling. Here, I suggest using only one variety to ensure the apples cook evenly in the same amount of time. You do not want some to turn mushy while others are undercooked.
COOK THE APPLES ON THE STOVE-TOP UNTIL TENDER
If the apples are not cooked enough before going in the oven, they will not have enough time to soften and caramelize. In addition, the apples need to release all of their juices on the stovetop so they have time to reduce and caramelize in the skillet. Otherwise, you will have a very juicy tart and an extra soggy crust. Some recipes will go a step further and remove the apples from the skillet once they’re tender in order to reduce the juices even more. I have tried this technique and it works great but I find it an extra fussy step that is not that essential.
IF USING UNSALTED BUTTER, ADD A PINCH OF SALT
Not all tarte Tatin recipes call for salt but I find a smidge of saltiness lends more depth of flavour to this sweet dessert. Add a pinch of Kosher salt to the caramel if your butter is unsalted.
DON’T OVERCOOK THE CARAMEL
The caramel will go from golden to dark amber to burnt and bitter in a flash so don’t walk away from it. Remove the skillet from heat the second it starts to look golden. If you’re using a cast iron skillet, you will need to remove it even sooner. Add very cold butter to the caramelized sugar—this will prevent the sugar from continuing to cook and darken.
CUTTING AND ARRANGING THE APPLES
My Honeycrisp apples are usually quite large so I like to quarter them. If your apples aren’t too big, you can cut them in half. Anything smaller than quarters and you risk the apples loosing their shape or becoming mushy. Arrange the apples in a nice circular pattern, making sure the rounded side of the apple is on the bottom and that you pack them in tightly to cover the base of the dish. Remember the apples will shrink considerably as they cook so make sure your apples are snug against each other. You can even place some on top of the bottom layer. Once they have softened a bit, don’t move them around anymore or they might fall apart.
COMMIT TO THE FLIP!
I know it seems a bit daunting to hold a hot pan and flip its contents onto another plate. But honestly it is easier than you think and it you can’t mess it up. Put on some oven mitts and follow these steps:
Use a large flat plate. The diameter of the plate should be at least 1/2-1-inch larger than the pan you used. You shouldn’t have a lot of extra juices with this recipe so don’t worry about needing a rimmed plate which I think makes it harder to fill.
Allow the pan to cool slightly before flipping. Don’t flip the tart the second it comes out of the oven. The pan will be scary hot plus the juices will not have had time to set.. Let it cool for about 15 minutes or so but not longer than 20 which could run the risk of the apples sticking to the pan.
Commit and go for it! Run a knife around the crust to make sure there aren’t any pieces stuck anywhere. Place the plate on top of the skillet; hold the plate with one hand firmly and use your other hand to flip the skillet quickly. Done! If any apples remained stuck to the pan or flopped off to the side, just scoop them up with a spoon and place them back on top.
SERVE WARM
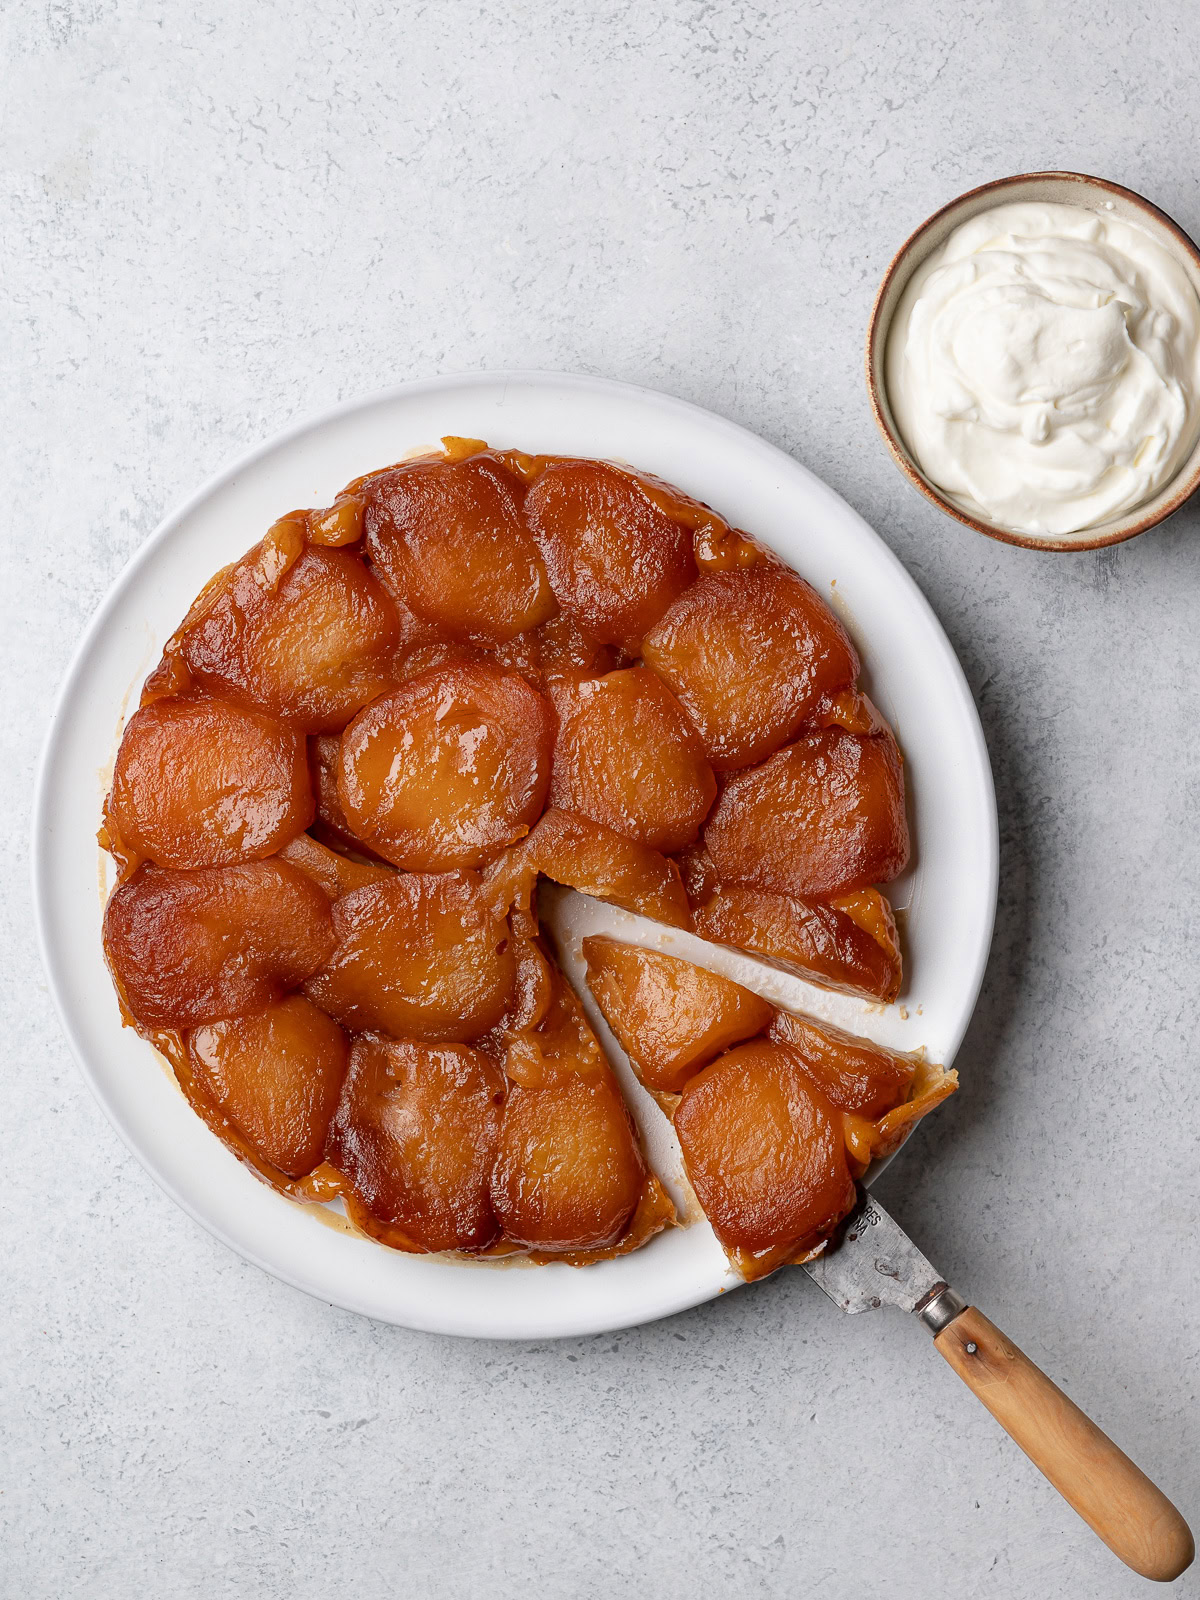
Tarte Tatin can be enjoyed at room temperature but it will be at its most ethereal when served warm. Trust.
FAQ’s
Why did my caramel separate?
When you add the butter to the hot sugar it may not blend in as seamlessly as you expect. That’s ok. The apple juices will take care of making the sauce more homogenous.
What pan is best for making tarte Tatin?
I like to use a 10″ cast iron skillet. Other pans will work, but because cast iron retains so much heat, the apples and juices will be more caramelized. If you don’t have a cast iron pan, a stainless steel pan or non-stick will also work well but you may have to lower the heat on both the stove-top and oven.
How do I get more caramel sauce?
I have seen some comments on other recipes where people would like more caramel. In my opinion, much like an apple pie, a tarte Tatin should not be oozing with caramel sauce. Once you achieve some nice colour on the apples, the goal should be to reduce and thicken the sauce. This way, you don’t end up with a super soggy crust.
Why is my crust soggy?
Once the tarte Tatin is inverted, it is almost impossible for the crust to stay super crispy. Foe a crispier crust, don’t invert the tart until ready to serve. If you made it a bit ahead of time, leave it in the pan and reheat in a 300ºF oven for about 15 minutes just before serving. This not only warms up the whole tart but also helps loosen the apples that may have become stuck on the bottom of the pan.
Storing Suggestions
Leftovers can be stored, covered, in the refrigerator for up to 2 days. Reheat in a warm oven until warmed through or enjoy at room temperature.
More Apple Recipes You Might Like
- Instant Pot Applesauce
- Italian Apple Olive Oil Cake
- Apple Crisp Muffins
- Dutch Baby with Caramelized Apples
If you give this Apple Tarte Tatin recipe a try, please feel free to leave a comment and/or a star rating below. We appreciate and welcome all your feedback. Thank you!
Apple Tarte Tatin

Ingredients
- 1 sheet of puff pastry defrosted in the fridge
- flour for dusting
- 7 to 8 medium-large Honeycrisp or Fuji, Braeburn, Cortland or Pink Lady apples (about 3 1/2 pounds)
- 4 tablespoons cold salted butter, cubed (if using unsalted add a pinch of salt to melted butter)
- 1/2 cup 100 grams granulated sugar
- Crème fraîche or softly whipped cream unsweetened, for serving (optional)
Instructions
- On a lightly floured piece of parchment paper, roll out the puff pastry to a little larger than 10 inches. Place a large bowl or cake pan upside down over the rolled out pastry to use as a template. Using a small sharp knife, cut a circle. Keep chilled in the refrigerator while you prepare and cook the apples.
- Peel the apples, slice them into quarters, and remove the core.
- Preheat oven to 400 degrees Fahrenheit.
- Melt the butter in a 10-inch cast-iron or other heavy-bottomed, ovenproof pan over medium heat. Sprinkle the sugar evenly over the melted butter and cook without stirring until the mixture begins to brown, then stir gently with a wooden spoon until the caramel is golden brown, about 4-5 minutes. The timing will really depend on your skillet and hot your stove is so keep a close eye on it. As soon as it is getting close to the right colour, remove from heat.
- Add the apples to the pan, arranging them as close together as possible. You won't be able to fit all the apple pieces in a single layer so just cram the remaining pieces on top. If there are a few pieces you can't fit at all, leave them aside and fit them in once the other apples have shrunk. It all works out in the end and you can always rearrange the apples later once they cook down.
- Cook the apples over medium-high heat for 3 minutes, or until the juices start to bubble. Reduce heat to medium and cook for 13 to 15 minutes, using a rubber spatula to gently stir and flip the apples around once or twice, coating all the apples with caramel as much as possible. You can also use a spoon to carefully pour some of the juices in the pan over top of the apples. Remove from heat.
- With a spatula, turn the apples so they are all round-side down and arrange them in a concentric circles. It's okay if they are tight together and overlapping, they will continue to shrink in the oven. If you are finding it hard to arrange the apples, remove a few to a parchment lined baking sheet. This will give you more room to move the apples around.
- Remove the puff pastry from the fridge and drape it over the apples in the pan. Use a spatula to carefully tuck the edges of the pastry into the side of the pan snuggly around the apples. Poke three or four tiny holes into the crust with a knife. Bake for 30-40 minutes, until dough is puffed and nicely browned.
- Remove from oven and run a knife around the edge of the crust to make sure there are no pieces sticking to the pan. Allow to cool for 15-20 minutes. (This will allow the juices to thicken a bit and seep back into the apples.)
- Place a large plate on top of the pan. Using oven mitts, grip the plate and skillet together and flip upside down quickly. Remove the pan and if any apple pieces are stuck to it, just arrange them back on the tart.
- Slice the tart and serve warm with crème fraîche, or whipped cream on the side, if desired.
Notes
- Tips: Please read through the Tips section in the post to ensure success.



Jill Barber
Wow…this recipe is a winner! Looks beautiful, is so light and tasty, and is easy to make! Hard to believe that this very special dessert has only four ingredients! Follow all of Sandra tips which will give you the perfect results in this gorgeous apple tarte tatin.
Sandra Valvassori
Yay! I’m so thrilled to hear you loved the tart, Jill! It really is incredible that it has only four ingredients. Thank you so much for writing and sharing your notes – really appreciate it 🤗