These easy to make Gingerbread Biscotti are warmly spiced with the classic flavors of gingerbread cookies. They have the perfect crunch without being too hard. A wonderfully festive biscotti that makes a great holiday gift, too!
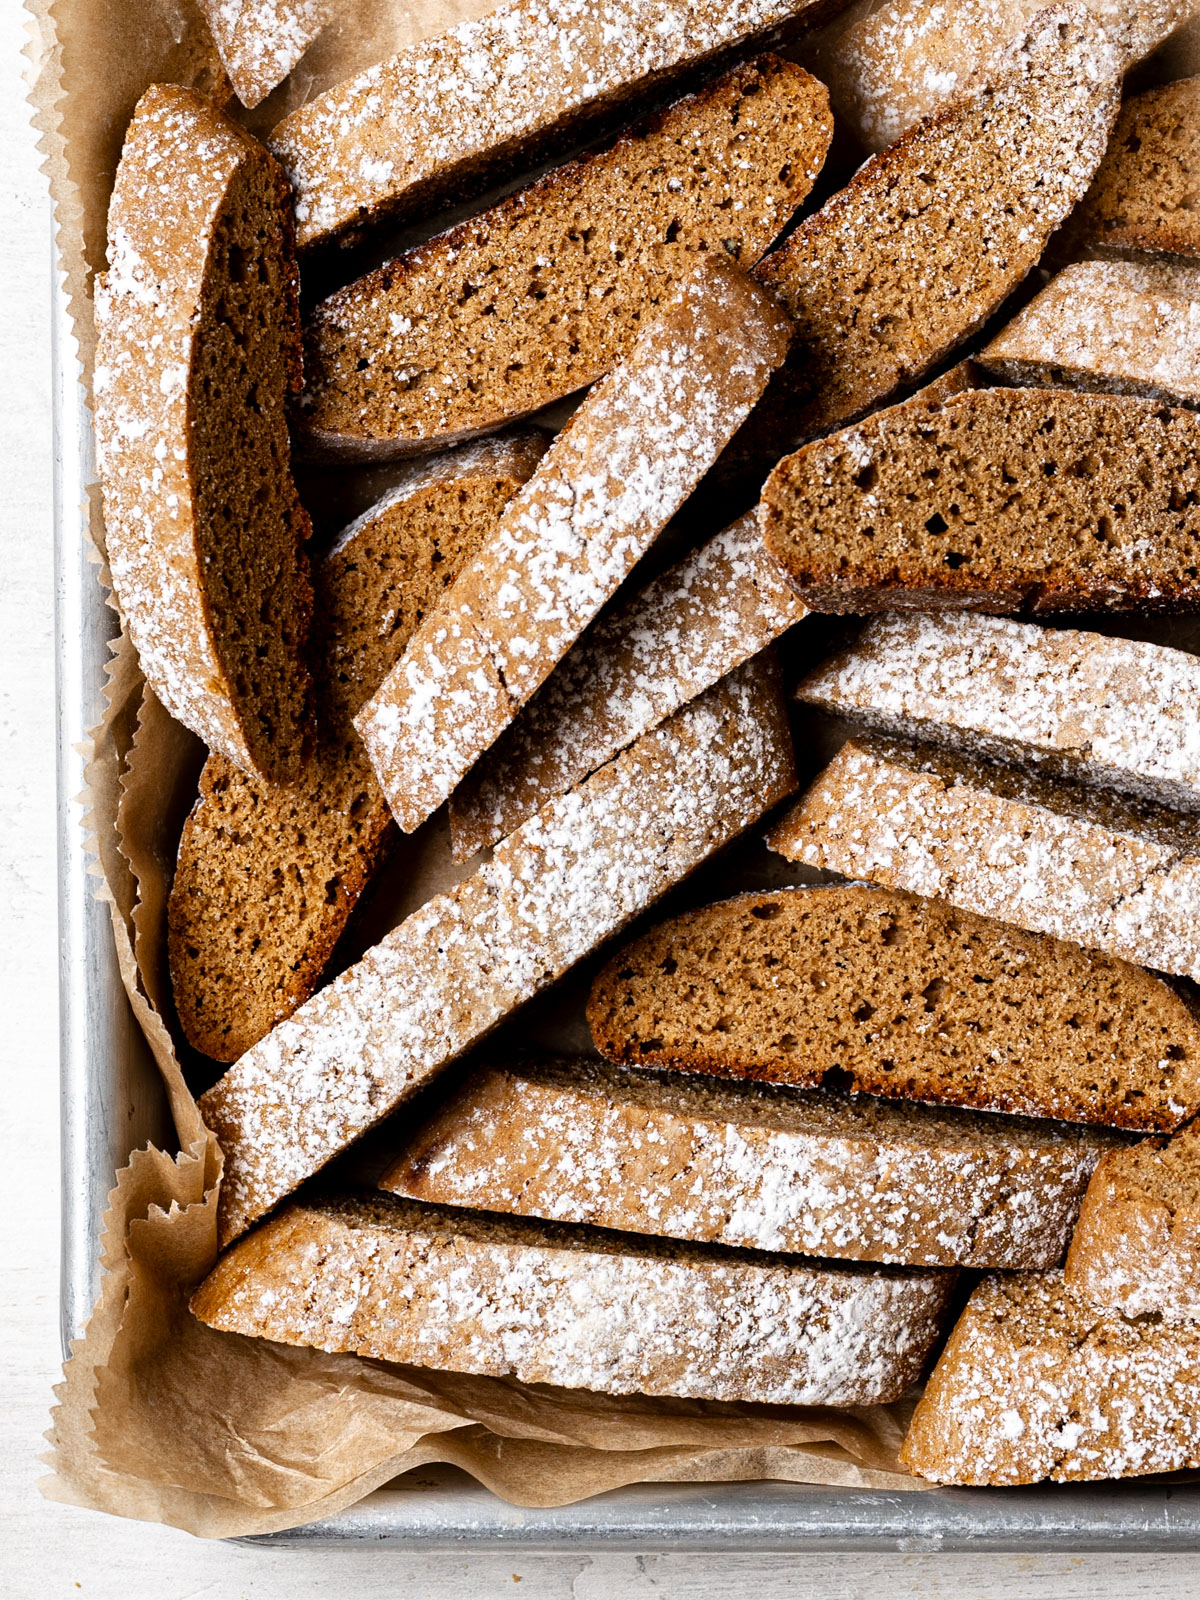
These gingerbread biscotti have all the festive flavors of your favorite gingerbread cookies. There’s nothing extra fancy about them, but they are crunchy, perfectly spiced and completely wonderful when dunked in coffee, hot chocolate, tea or vin santo.
Best of all, these are extremely easy cookies to make. They don’t require a mixer, there’s no rolling out or cutting dough involved, and they take about 15 minutes to throw together.
Cozy from all the warm spices as well as from molasses, once you get baking, you’ll be rewarded with a kitchen that smells like the holidays and a cookie that delivers joy with every bite. Make double or triple batches because these biscotti are excellent for gifting, and they also freeze well.
What Is Biscotti?
Biscotti are the Italian cookies that get their signature crunchiness from being baked twice. During the first round in the oven, the log-shaped dough is cooked until just shy of done. The second bake happens after you slice the logs into cookies and line them back up on the sheet pan. During this second bake the cookies firm up and set into their signature dry, crispy texture.
Given their sturdy texture, biscotti stand up well to gifting, or to bring along your travels for snacking.
It is important to note, in Italy, all cookies are called “biscotti”. A single cookie is called a biscotto. The Biscotti we are familiar with in North America, is called Cantucci in Italy. Cantucci are traditionally made without the inclusion of any fat. In other words, with no butter or oil.
The lack of fat means the biscotti will last longer but it also means they will require a dunk in coffee or a sweet wine before biting into it. Failing to dunk the more traditional hard biscotti, could risk chipping a tooth, or two.
I prefer a softer cookie that is a little more tooth-friendly, so I always add some butter to the dough. It reduces the longevity of the biscotti, somewhat, but then again, they don’t last long in our home anyway.
Ingredients Notes
You will delighted to know that the few ingredients required to make this easy gingerbread biscotti recipe, are all pantry staples. This means you can whip up these biscotti anytime the craving hits, without having to venture out to buy any ingredients.
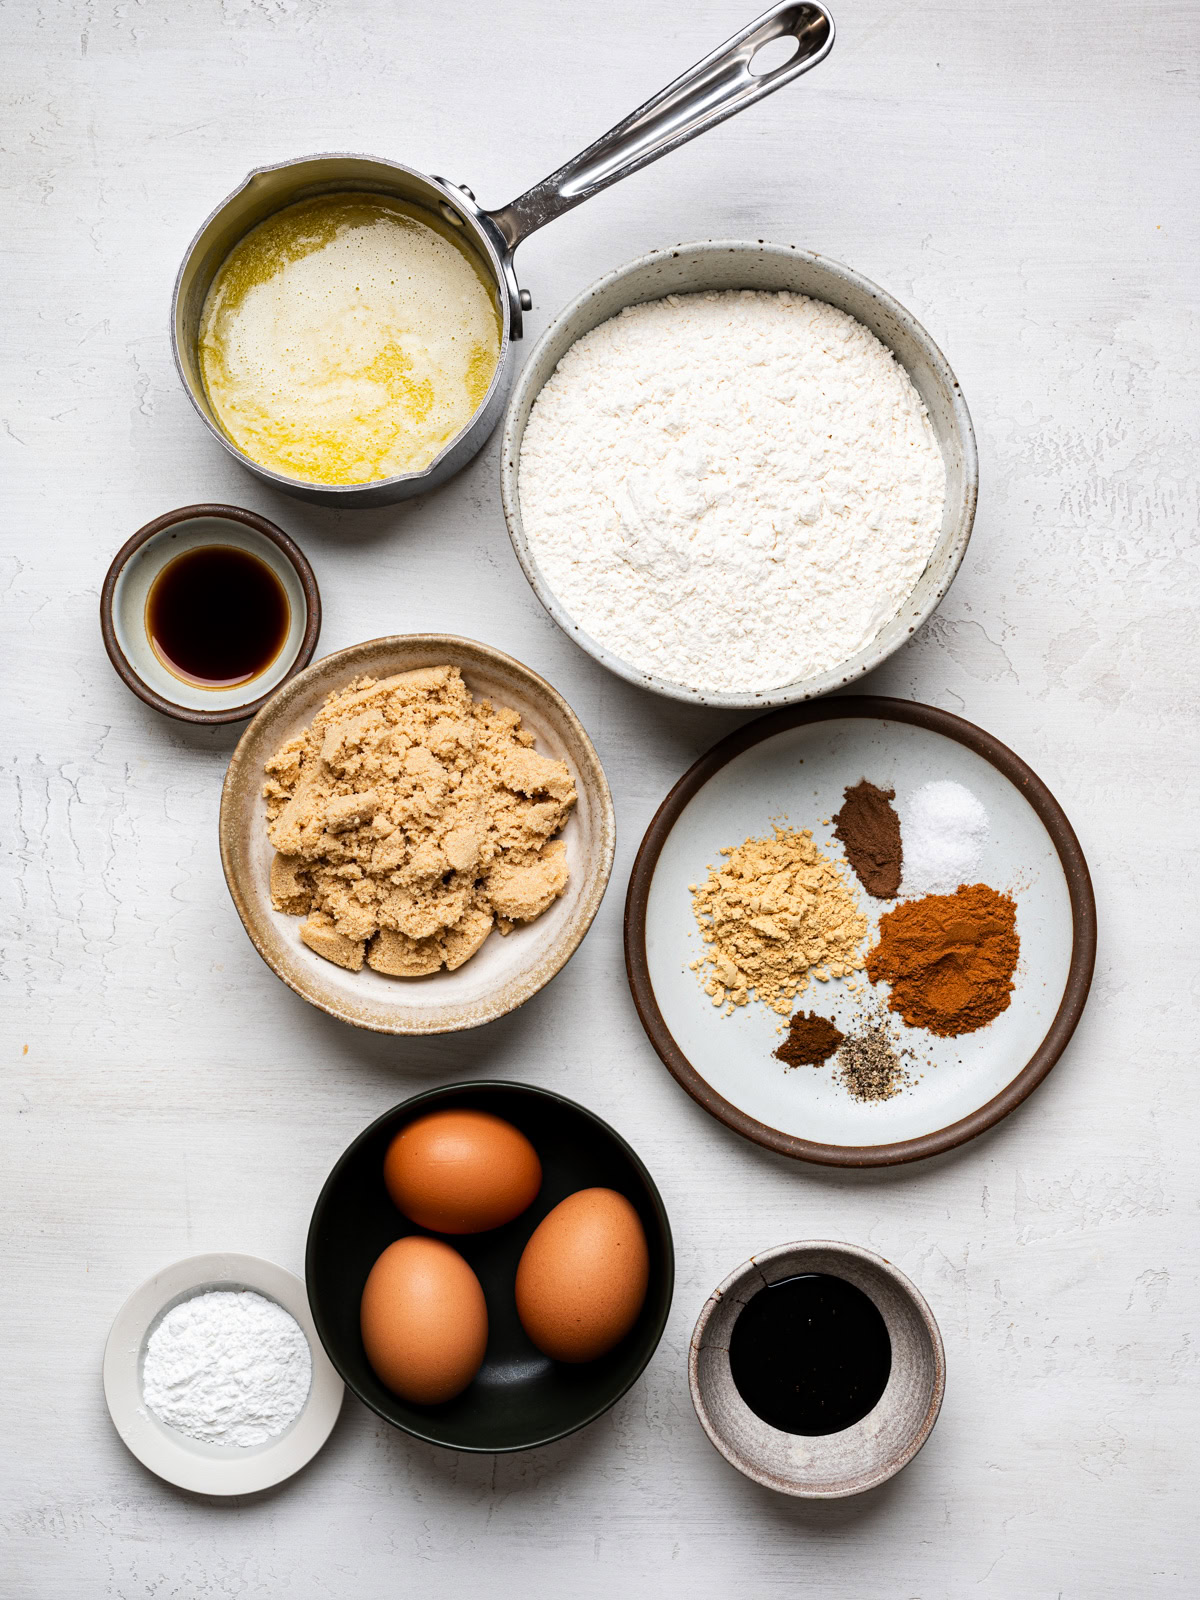
- Flour – You will need all-purpose flour for these biscotti. I have not tried substitute flours yet but please report back if you do.
- Baking powder – This will make the biscotti dough spread and rise.
- Salt – Just a teaspoon for flavor.
- Butter – Adding some fat to the biscotti dough creates a spongier cookie that isn’t super hard or dry. For this recipe we are adding melted butter to the batter.
- Eggs – You will need two large eggs at room temperature to make the biscotti. If you aren’t dusting the biscotti with icing sugar, you will need one more egg for an egg wash.
- Sugar – For these gingerbread biscotti I like to use light brown sugar. I use 3/4 cup sugar and find the biscotti are plenty sweet.
- Vanilla extract – For adding lovely aroma to the biscotti.
- Spices – If you have a gingerbread spice blend that you enjoy, go ahead and use 1 tablespoon of that. Otherwise, we are adding ground ginger, ground cloves, ground all spice, and cinnamon. We are also adding a pinch of black pepper which helps bring out all the flavours.
- Icing sugar – Completely optional but a generous sprinkle of icing sugar makes these biscotti look and taste even more festive.
Variations
Add white chocolate. Gingerbread biscotti are excellent paired with melted white chocolate. Simply melt the white chocolate in the microwave and either dunk the biscotti or drizzle the white chocolate all over it. Alternatively, add some white chocolate chips to the batter.
Add candied ginger. Bits of sweet and spicy crystallized ginger would be delicious in these biscotti. Simply chop up 1/2 cup crystallized ginger into small pieces and fold into the biscotti dough.
Bolder flavor. Feel free to add more gingerbread flavor by increasing any of the spices to taste.
Milder flavor. Likewise, if you you aren’t a huge fan of bold gingerbread spices, simply reduce the spices accordingly. The biscotti will still be delicious.
How To Make Gingerbread Biscotti
These festive gingerbread biscotti are perfect for the holiday season. If you are doubling this recipe, you may want to use an electric mixer to make things just a little easier. Otherwise, two bowls, a whisk, your hands and a spatula are all you need. Easy peasy.
Here is an overview of the recipe. The detailed measurements and instructions can be found in the recipe card below.
Mix the dry ingredients. In a large bowl, whisk the flour, spices, baking powder, and salt until combined.
Mix the wet ingredients. In a medium bowl, whisk the eggs, brown sugar, melted (cooled) butter, molasses and vanilla until well blended.
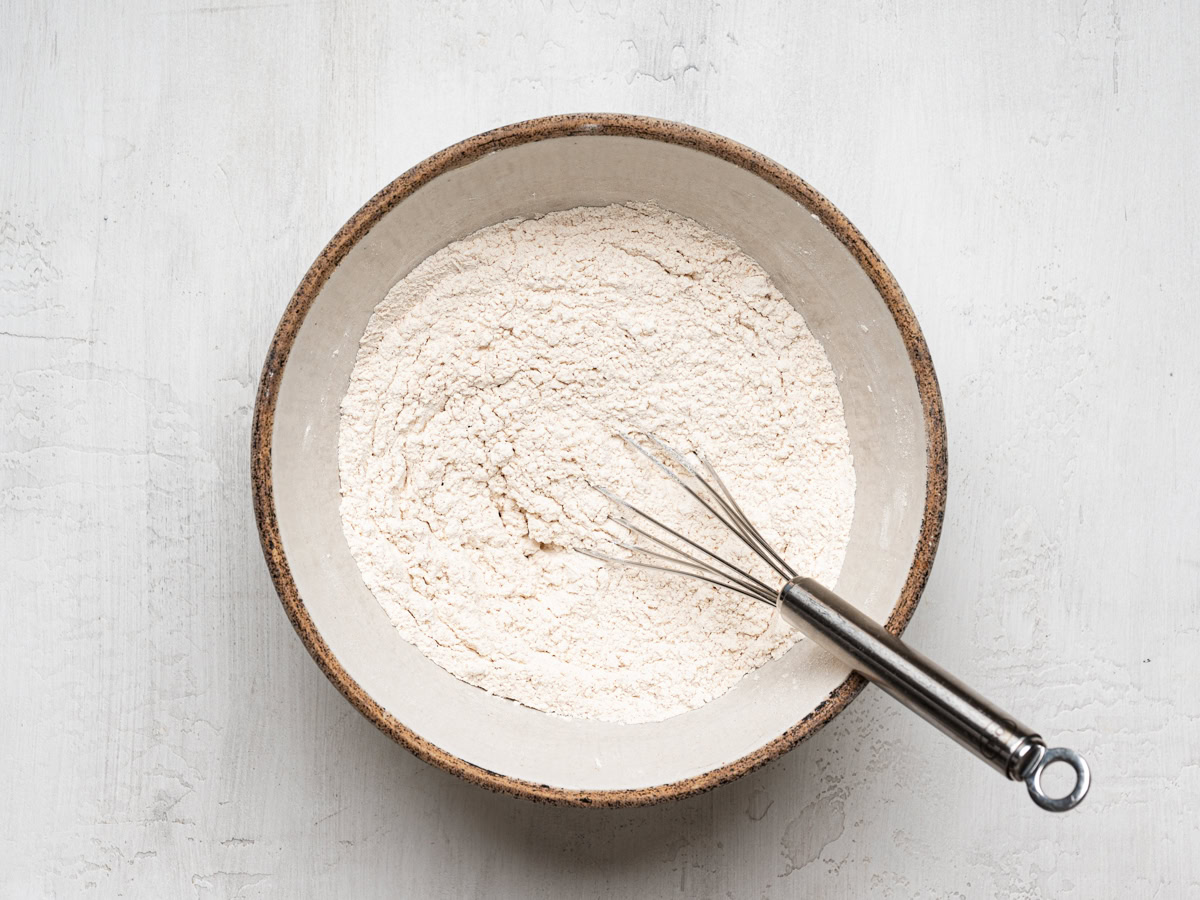
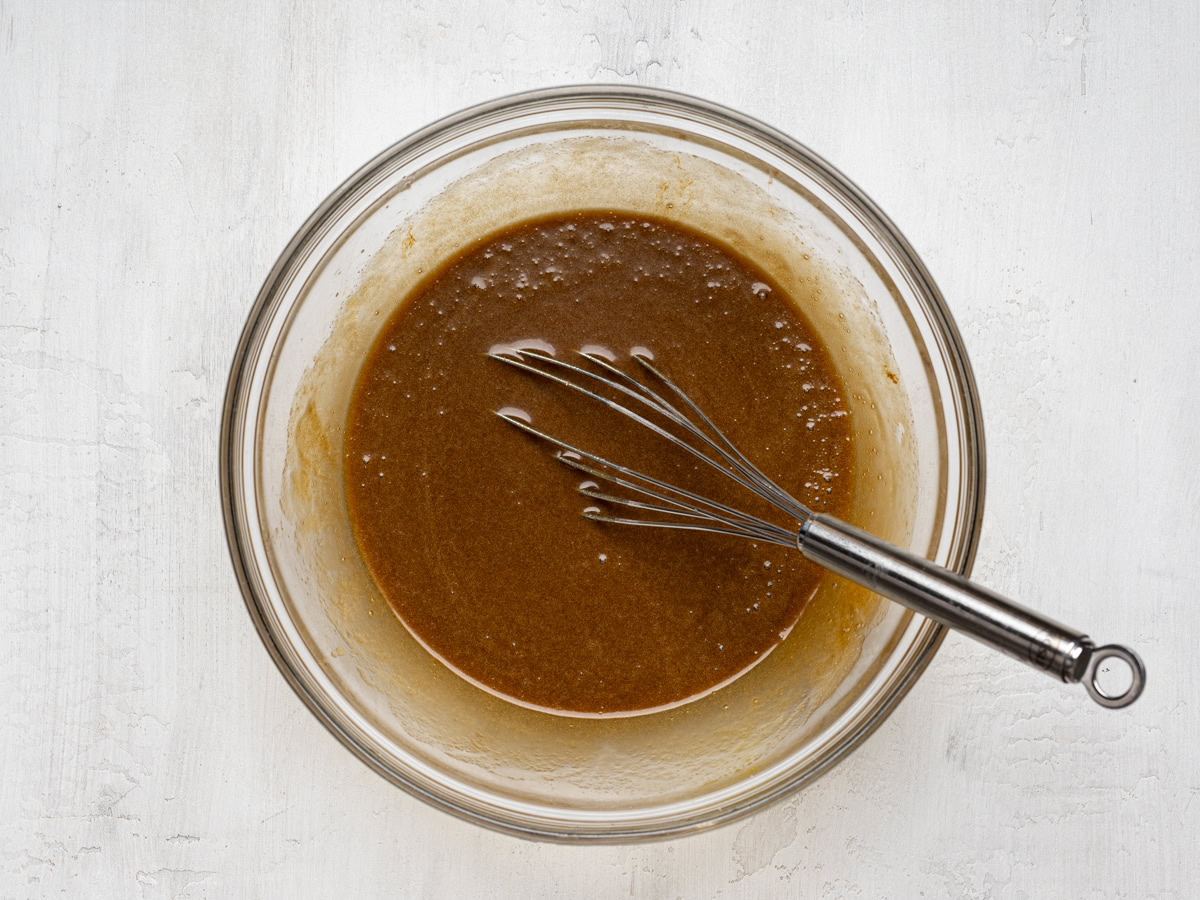
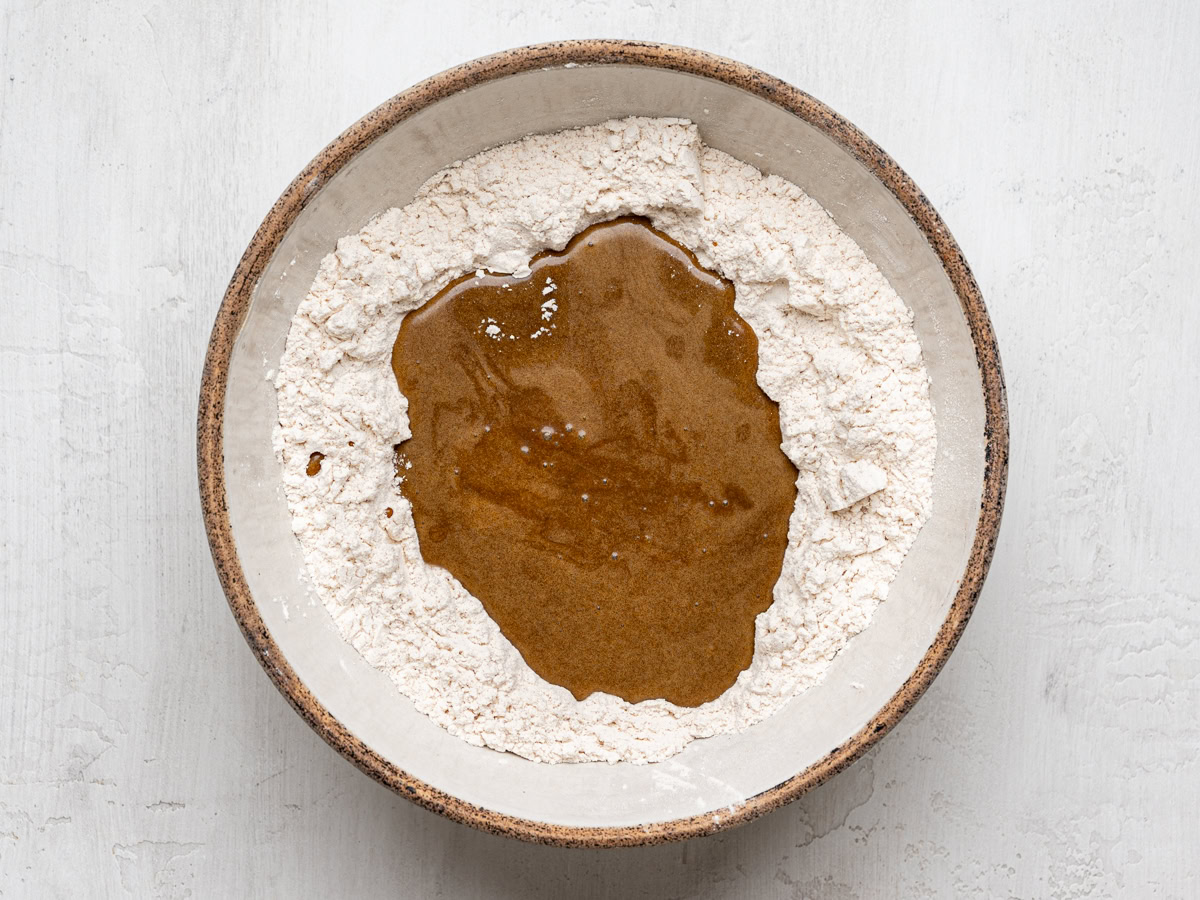
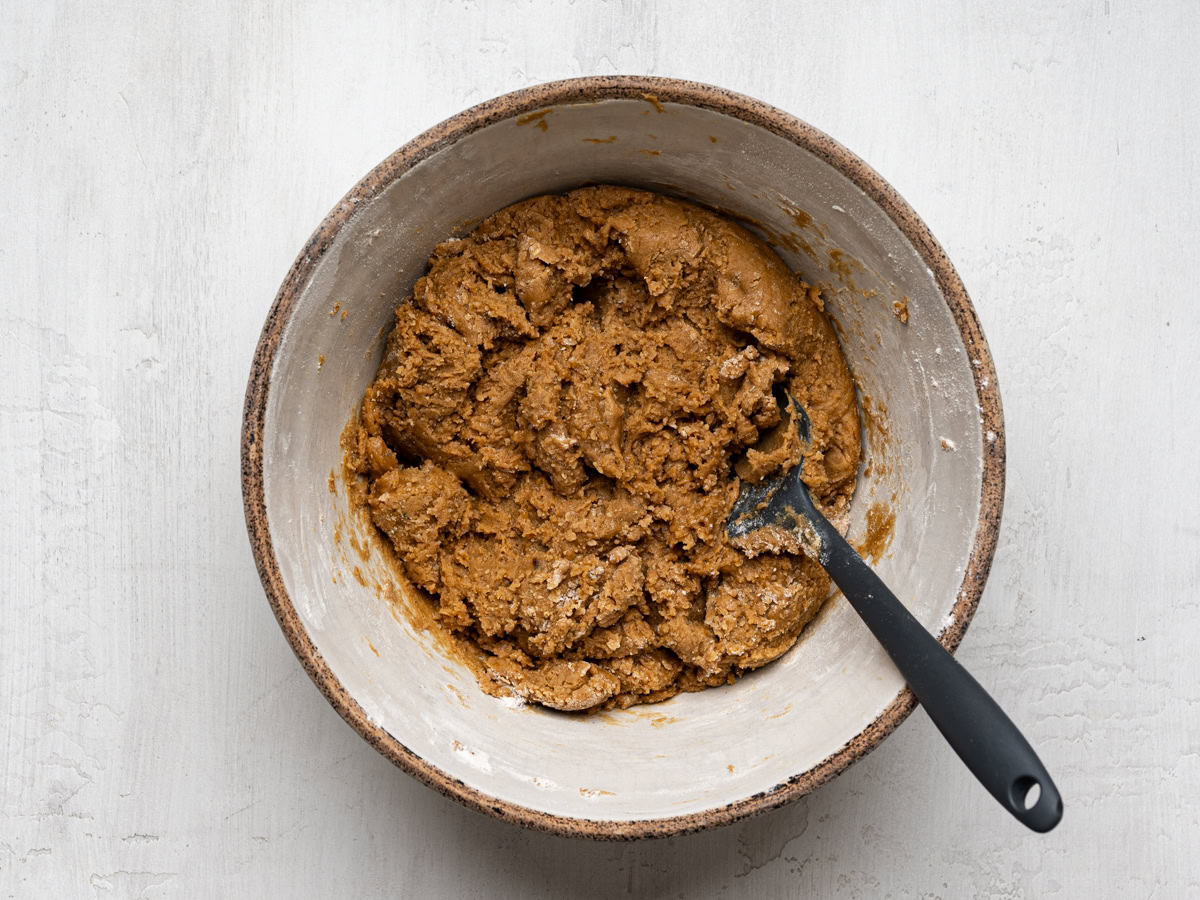
Combine wet and dry ingredients. Make a well in the middle of the flour mixture and pour in the wet ingredients. Use a wooden spoon or spatula to stir the mixture until well combined. The mixture will seem a bit hard and dry at first but keep stirring and it will all come together quickly.
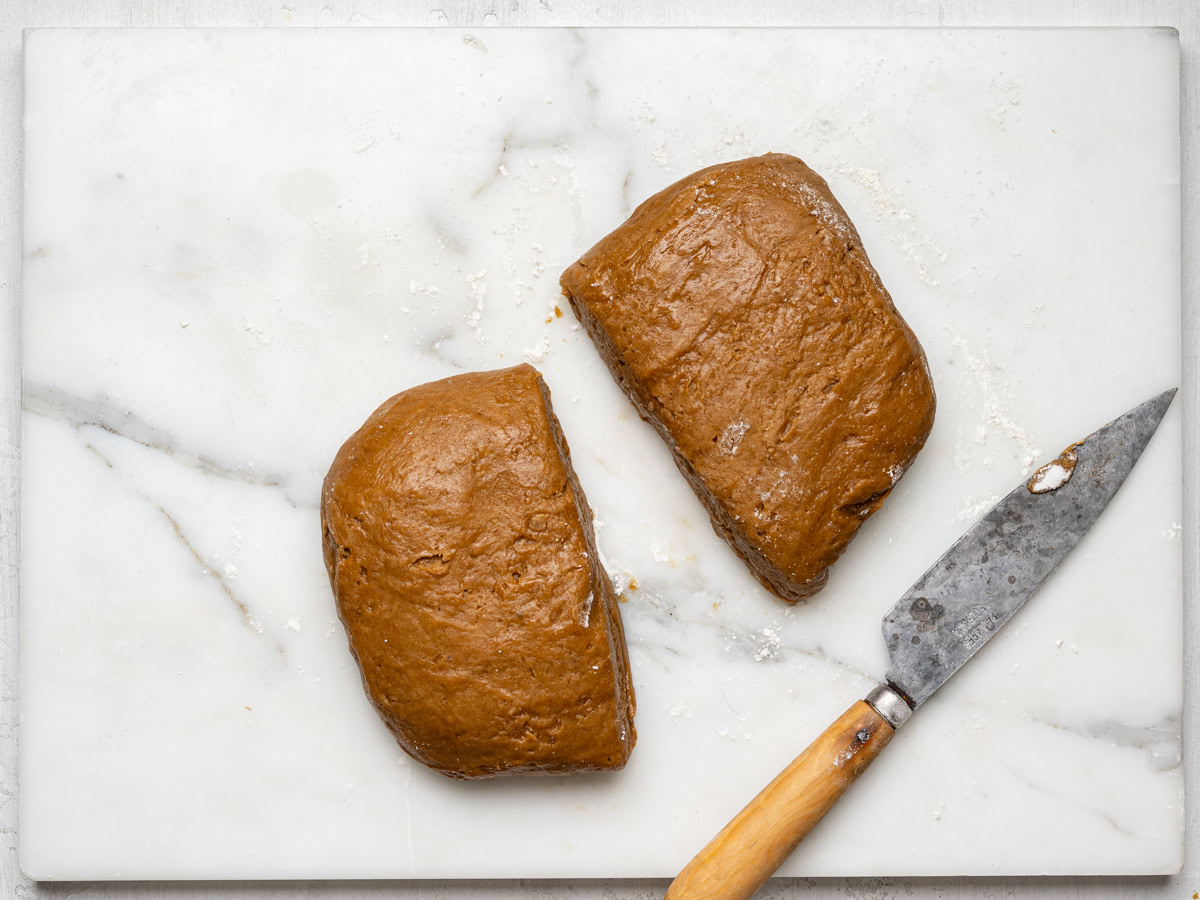
Bring dough together. On a lightly floured surfaced, and using lightly floured hands, bring the dough together. The dough should be sticky but manageable. If it seems too sticky, just wet your hands with a little water. Divide dough into two equal pieces.
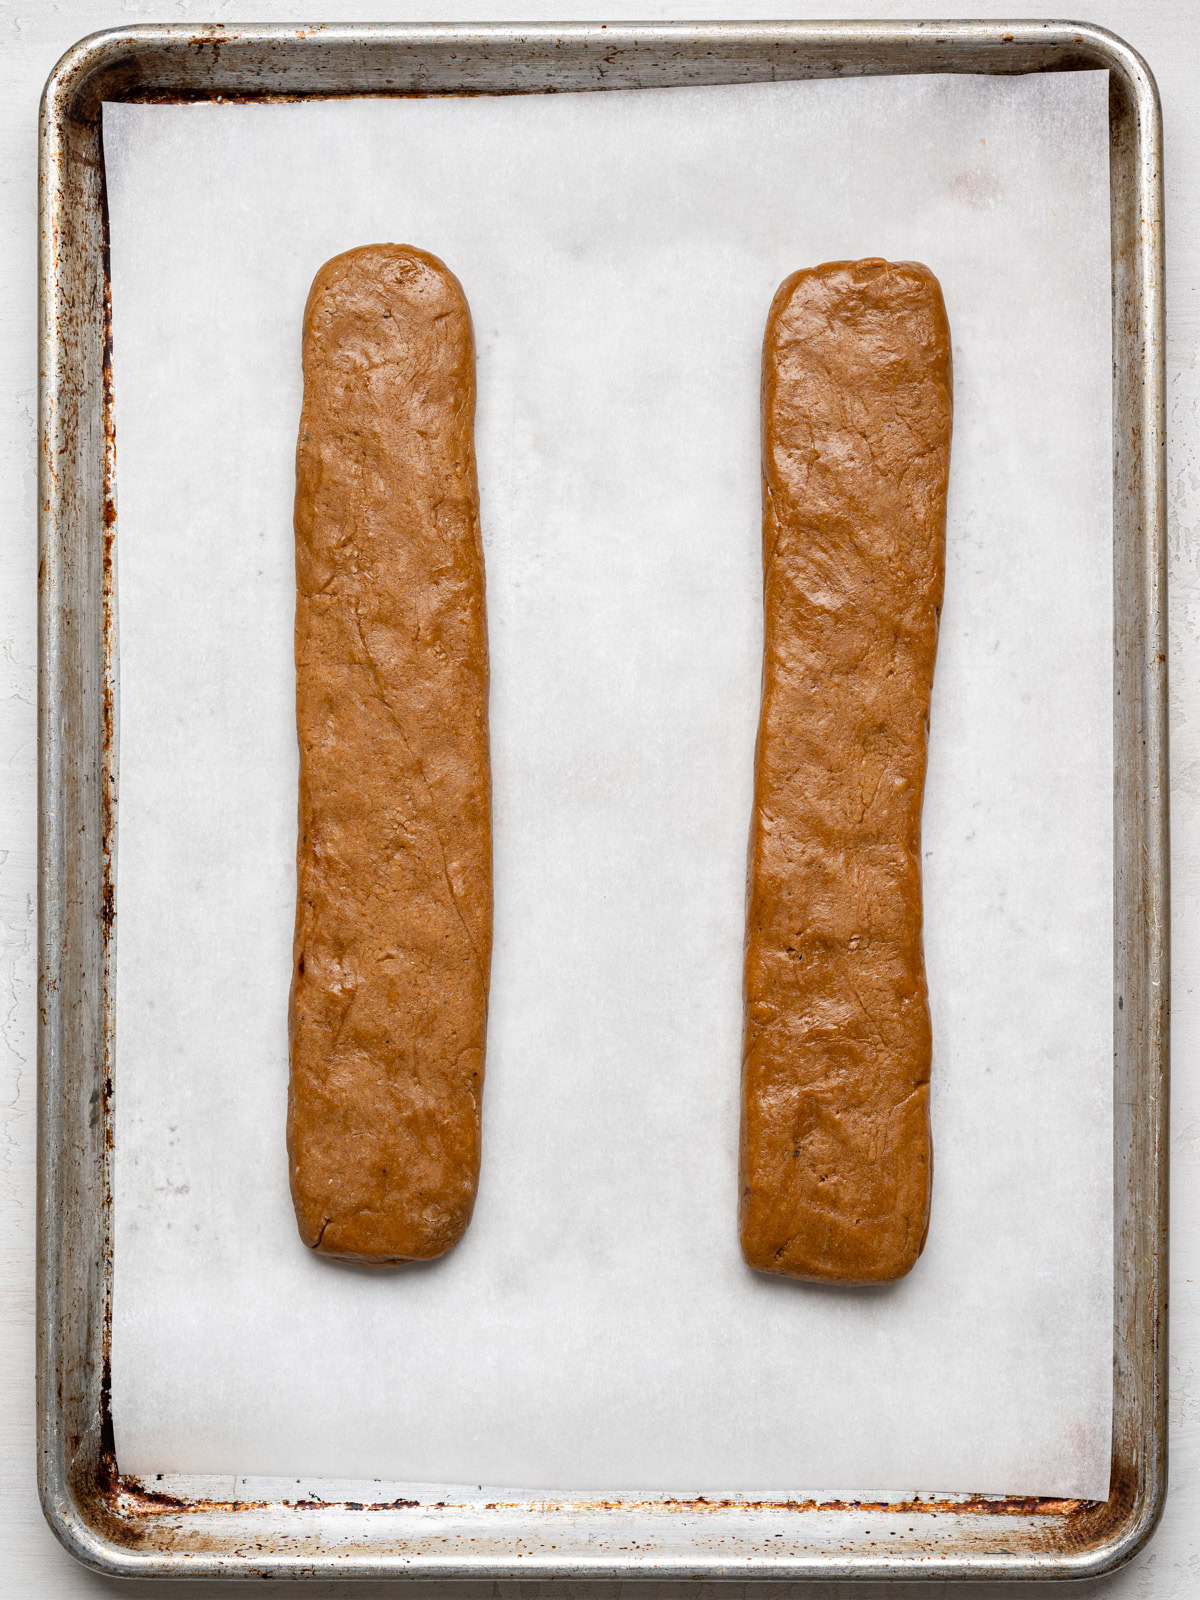
Shape dough into logs. Form each dough into two separate logs approximately 11-inches long by 2 1/2-inches wide and transfer to a parchment-lined, large baking sheet spacing them at least 3-inches apart. Wet your hands lightly and smooth out the tops so you don’t see any big cracks. If using, dust the logs with icing sugar. Otherwise, brush each log with egg wash (optional).
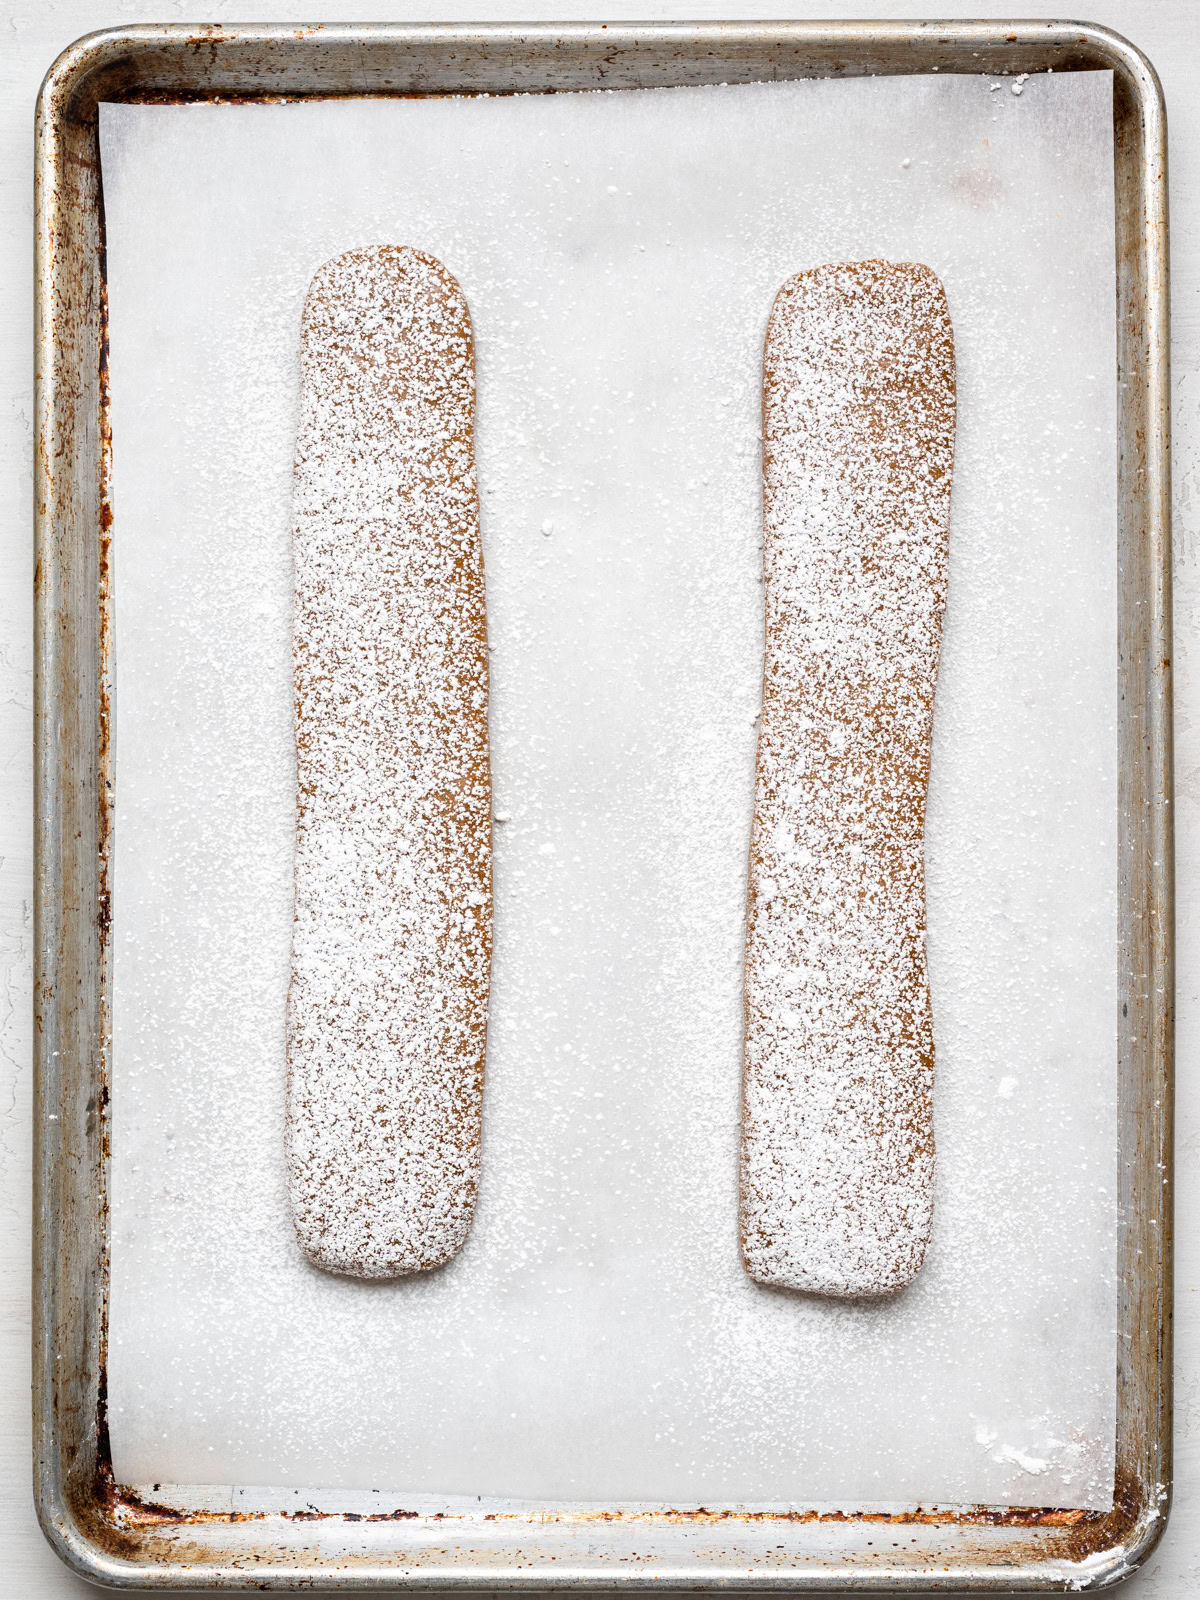
Bake. Place logs in a 350ºF preheated oven and bake for 25-30 minutes or until logs are lightly golden brown. They should still be springy when touched. Place the baking sheet in a cool spot and allow the logs to cool for 12 to 15 minutes.
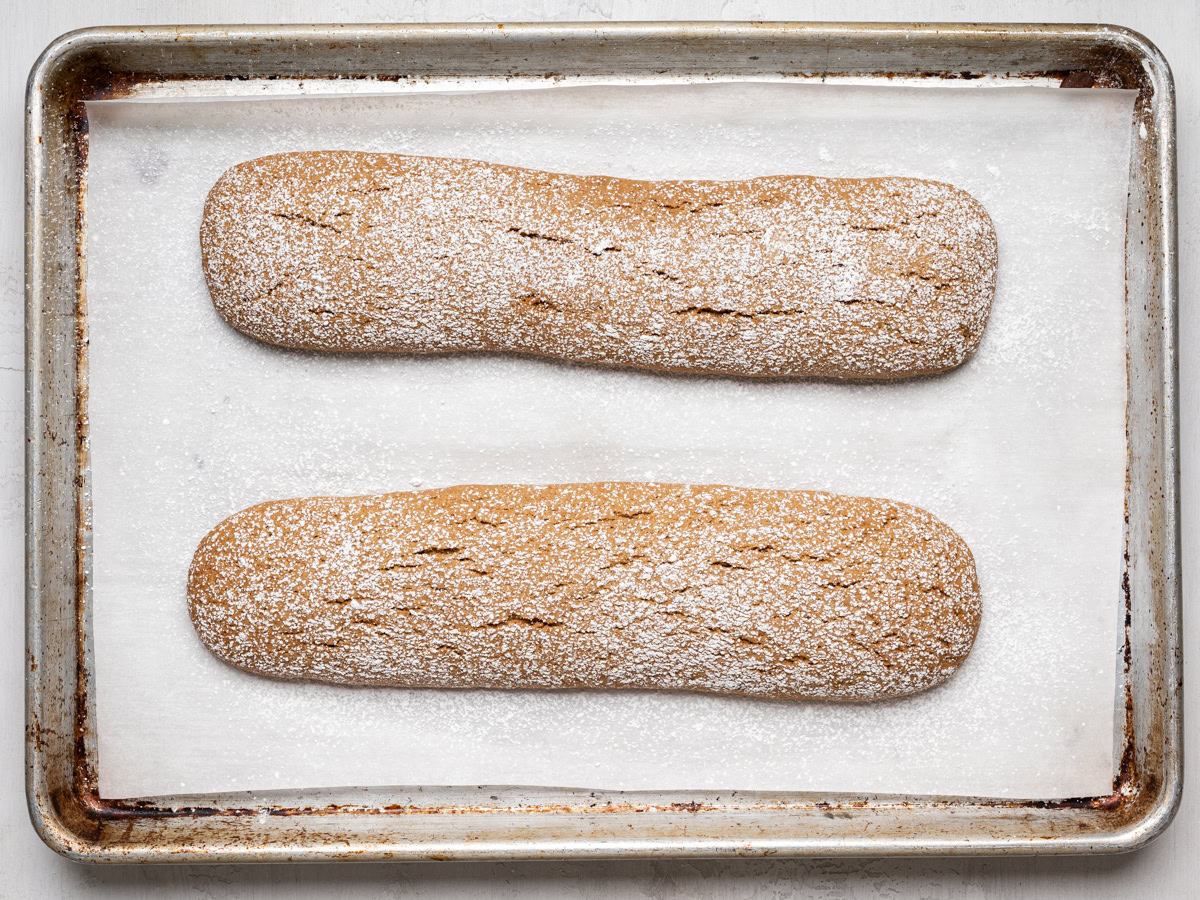
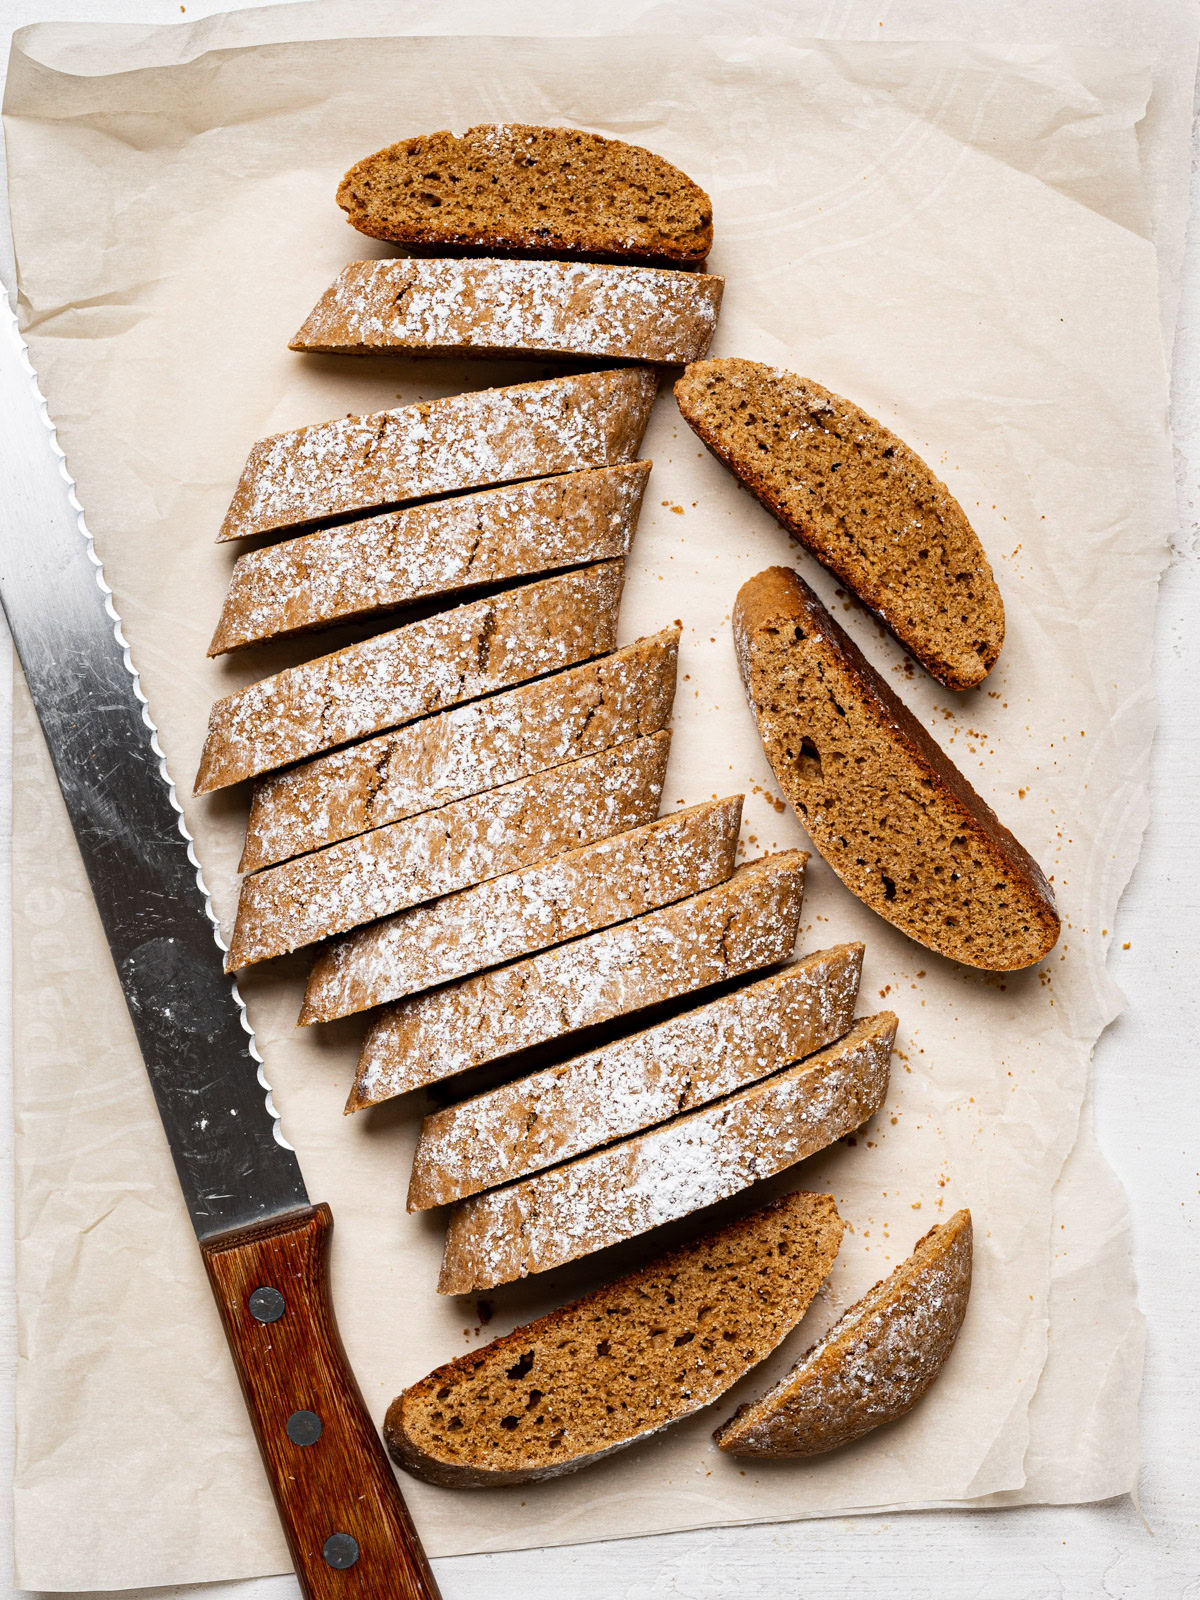
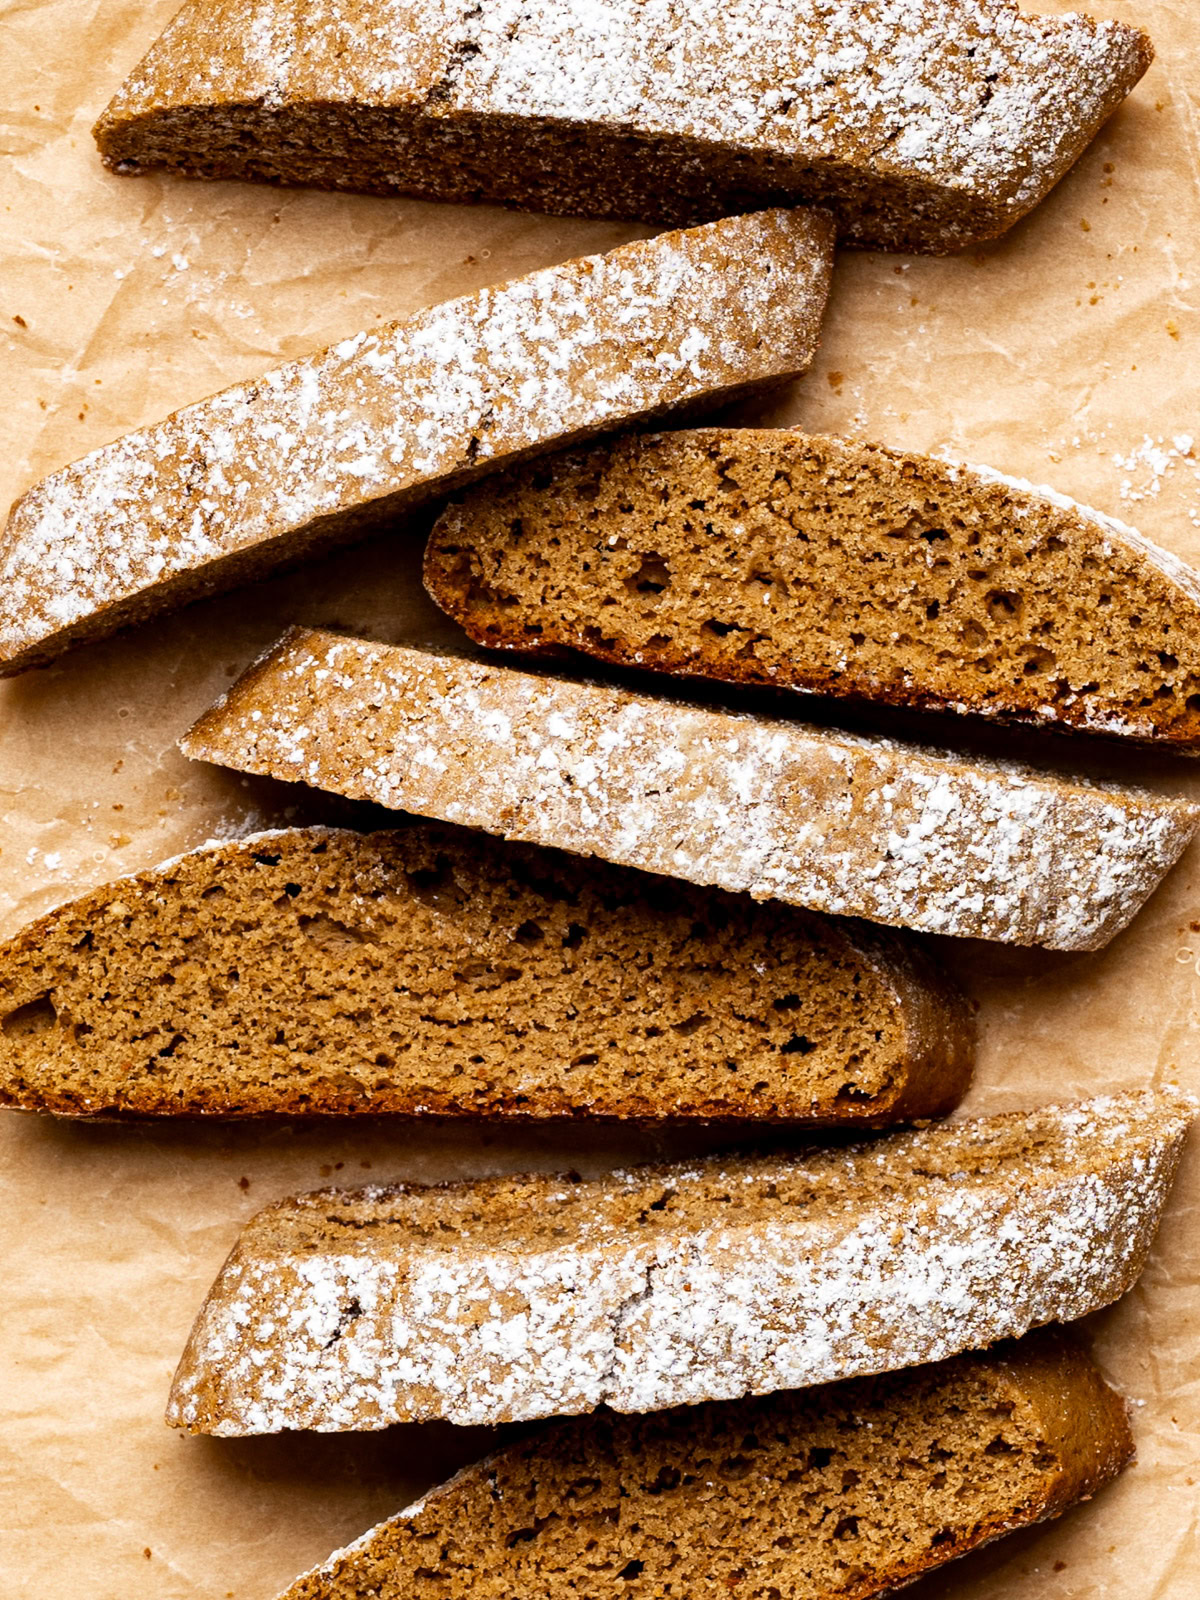
Slice biscotti. Carefully transfer one log at a time to a cutting board. A large fish spatula or similar spatula is helpful for transferring the logs. Using a sharp serrated knife, slice each log into 3/4-inch pieces. For larger biscotti, slice the logs in diagonal slices, for smaller biscotti, slice them straight across.
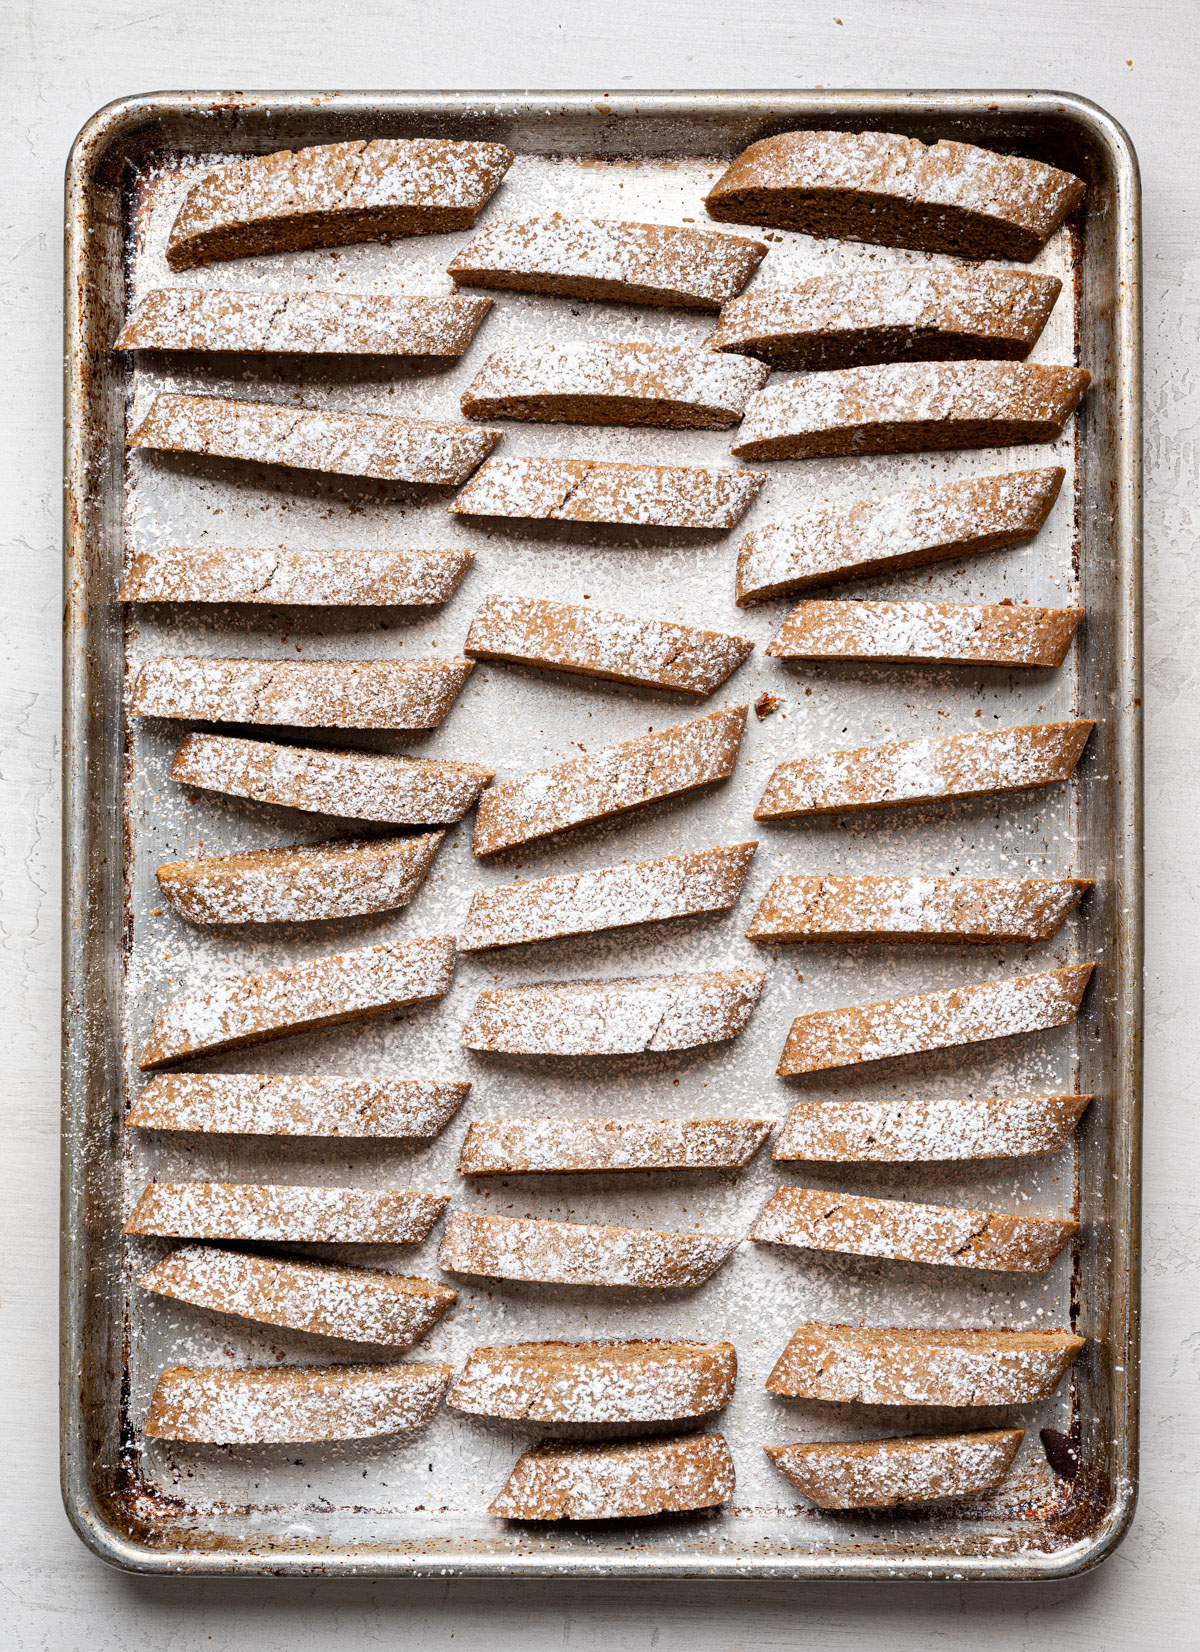
2nd bake. Place the biscotti standing upright on the baking sheet, spacing them about 1-inch apart. Return to the oven and bake for 10 to 12 minutes, or until biscotti look nicely golden brown on top. Transfer the biscotti to a wire rack and cool completely.
🌟 Good To Know 🌟
The second bake time provided in this recipe results in a crispy cookie around the edges with a slightly spongy centre. If you prefer a crispier biscotti, bake them an additional 5 minutes longer. If you prefer an even softer biscotti, bake them for only 8 to 10 minutes on the second time around.
How To Slice Biscotti So They Don’t Crumble
Perhaps the only fussy detail you have to contend with when making biscotti is the slicing. Biscotti that are filled with nuts or other ingredients are harder to slice so you will find these plain biscotti quite easy to slice in comparison.
But in case you decide to add nuts, or other ingredients, here are my best tips to ensure the biscotti won’t crumble to pieces when you slice them:
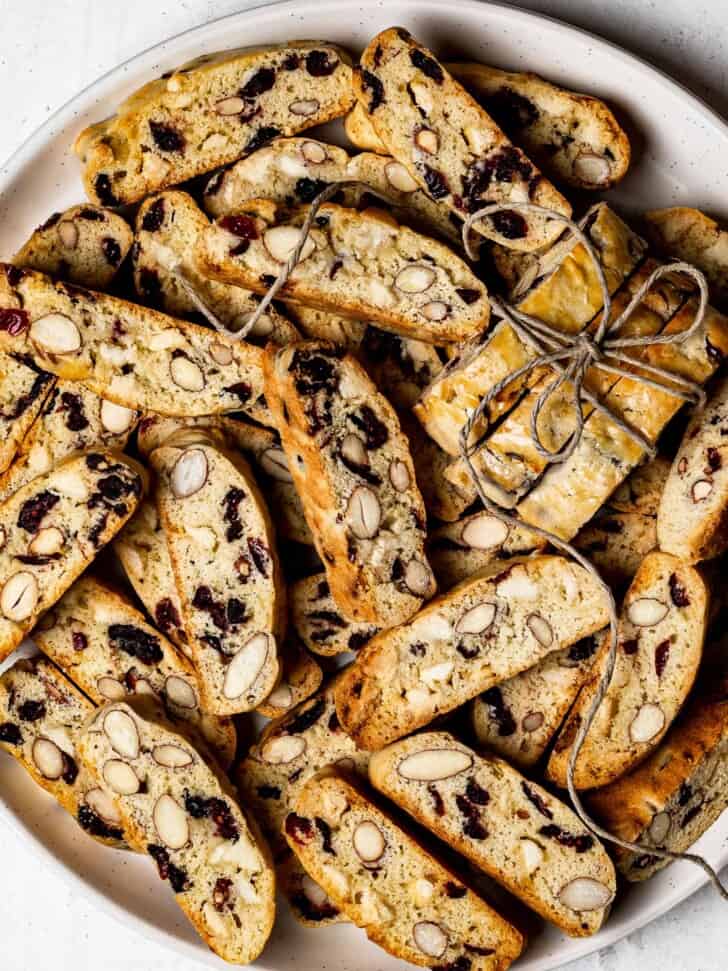
- Chopping the nuts or large dried pieces of fruit before you add them to the dough, will help prevent the biscotti from crumbling when you slice it. This one is tricky because when you use whole almonds they look prettier in the biscotti when sliced. But unless you have some experience with making biscotti, I’d stick to chopping the add-ins as extra insurance.
- Make sure to roll and shape your dough tightly so the tops and edges are smooth. In other words, there shouldn’t be any cracks in the logs. Also make sure there aren’t any pieces of nuts or dried fruit sticking out when you go to slice your biscotti after the first bake.
- Let the logs cool for at least 12 minutes after the first bake. This one is likely the most important tip of all. If you slice the logs while they are too hot, they will crumble to pieces. But you also don’t want to wait too long to slice them. Wait too long, and the logs will harden too much and be impossible to cut into. 15 to 17 minutes has been the sweet spot for me so I make sure to set a timer.
- A serrated knife is the only knife that has ever worked for me when slicing biscotti, particularly if the nuts were not chopped into small pieces. Use a quick sawing motion, without pushing too much downward. If you are slicing a piece that has a lot of nuts, switch to a slow, back and forth sawing motion.
Tips To Make The Best Biscotti
Many of these tips we have already discussed in this post, but this is a good list to review when making any biscotti recipes.
- Room temperature eggs: The standard baking rule of room temperature eggs is a good one to heed here.
- Use a kitchen scale to weigh the ingredients: Using a digital scale to weigh the ingredients is the best way to avoid a too-dry, or too dense biscotti. If you don’t have a scale, make sure you spoon the flour into the measuring cup so it isn’t too compact.
- Do not place the logs too close: The logs will spread a lot when baking so make sure you place them at least 3 inches apart on the cookie sheet.
- Bake at a lower temperature: The logs tend to crack on top during the first bake which is not a huge deal, but will crack less if baked at a slightly lower temperature. I find 350º degrees F works perfectly.
- Allow the logs to cool slightly: If you cut the logs while they are too hot, the slices will crumble. Unfortunately, slicing when the logs have completely cooled, and hardened, will also cause the slices to crumble. I find letting the logs cool 12-15 minutes works perfectly.
- Use a serrated knife to slice the logs: A gentle sawing motion with a serrated (bread) knife will cut the smoothest, clean slices. If you don’t have a serrated knife, make sure you use a very sharp knife.
- The second bake: Bake the sliced biscotti a second time for about 10-15 minutes. The cookies should look slightly golden-coloured and dry.
Biscotti Frequently Asked Questions
Biscotti dough is supposed to be a little sticky. Wet hands makes it easier to handle the dough. However, I find mixing the dough by hand, as opposed to using an electric mixer, makes a much less sticky dough.
The beauty of biscotti is that they last longer then most cookies and also hold up well for gifting. The addition of butter in these gingerbread biscotti does shorten their life span a bit. But they will still be perfect for at least 10 days and up to 2 weeks when stored properly. (See storing tips below.)
If the biscotti got a little too soft after being stored, you can easily bring their crunchiness back.
Place the biscotti standing up on a baking sheet and bake in a preheated 300ºF oven for about 7 to 10 minutes. Allow to cool on the baking sheet for 10 minutes or so.
Yes! Baked biscotti will freeze beautifully for up to 3 months.
How To Serve
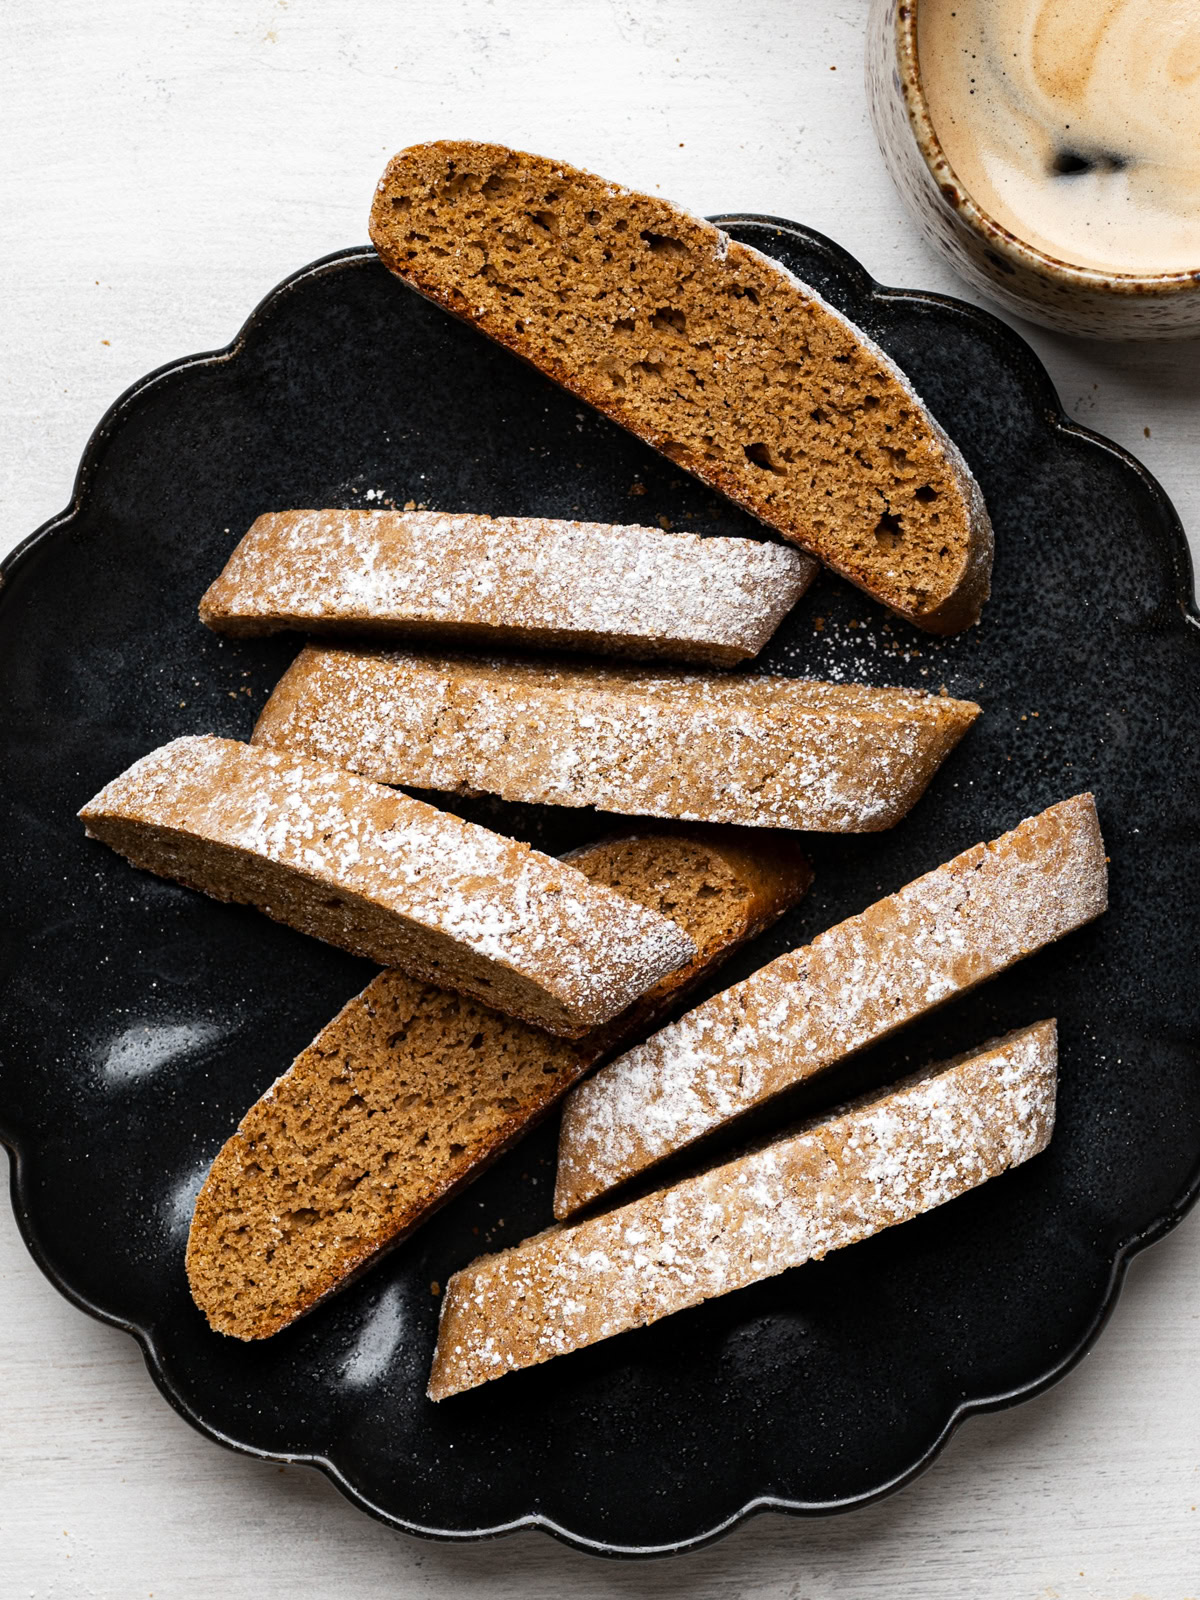
These gingerbread biscotti are crunchy but soft enough to eat and enjoy on their own without having to dunk them.
These biscotti may be a little softer than the traditional hard Italian Cantucci, but they will still hold their shape beautifully for dunking. And who doesn’t love a dunked biscotti?
Kids will love dunking these gingerbread biscotti in milk or hot chocolate. Adults will love them dunked in espresso (or any coffee), tea, or sweet vin santo just like the Italians do.
Storing Tips
To store on the countertop: Biscotti will last up to 2 weeks stored at room temperature. Line a metal tin, or any airtight container, with paper towels or parchment paper and cover tightly. You can also place the biscotti in a larger glass jar, covered tightly. The biscotti can also be stored in ziplock bags but they will lose some of their crunch (I don’t mind them a bit softer).
To freeze: Allow biscotti to cool completely, then wrap in parchment paper and place in a freezer bag or freezer-safe container. Freeze for up to 3 months. When ready to use, remove the biscotti from the packaging, and thaw on the counter.
More Cookies To Try
I hope you love this Gingerbread Biscotti recipe as much as we do! If you give this recipe a try, please let us know in the comment box below. Your review and rating is very helpful to me and other readers. Thank you!
Gingerbread Biscotti

Ingredients
- 2 1/2 cups (300 g) all-purpose flour
- 1 1/2 teaspoon baking powder
- 1 teaspoon kosher salt or fine sea salt
- 1 1/2 teaspoon cinnamon
- 2 teaspoons ground ginger
- 3/4 teaspoon ground allspice
- 1/8 teaspoon ground cloves
- 1/8 teaspoon finely ground black pepper
- 6 Tablespoons (85 g) unsalted butter, melted and slightly cooled
- 3/4 cup (160 g) light brown sugar, lightly packed
- 2 large eggs plus one more egg for egg wash if not using powder sugar (see notes)
- 2 Tablespoons unsulphured molasses
- 2 teaspoons vanilla
- Icing/Confectioners’ Sugar for garnish, optional
Instructions
- Preheat oven to 350ºF and line a large baking sheet with parchment paper. Set aside.
- In a large bowl, whisk the flour, baking powder, salt, cinnamon, ginger, all-spice, cloves and pepper.
- In a medium bowl, whisk the melted (cooled) butter with the brown sugar until well combined. Add the eggs, one at a time, whisking vigorously to combine. Stir in the molasses and vanilla and whisk until well blended.
- Make a well in the middle of the flour mixture and pour in the wet ingredients. Use a wooden spoon or spatula to stir the mixture until well combined. The mixture will seem a bit hard and dry at first but keep stirring and it will all come together quickly.
- Scoop out the batter onto a lightly floured surfaced, and using lightly floured hands, bring the dough together. The dough should be sticky but manageable. If it seems too sticky, just wet your hands with a little water. Divide dough into two equal pieces.
- Form each dough into two separate logs approximately 11-inches long by 2 1/2-inches wide and transfer to prepared baking sheet, spacing them at least 3-inches apart. Wet your hands lightly and smooth out the tops so you don't see any big cracks. If using, dust the logs generously with icing sugar. Otherwise, brush each log with egg wash (optional-see notes).
- Bake for 25-30 minutes or until logs are lightly golden brown. They should still be springy when touched. Place the baking sheet in a cool spot and allow the logs to cool for 10 to 12 minutes.
- Carefully transfer one log at a time to a cutting board. A large fish spatula or similar spatula is helpful for transferring the logs. Using a sharp serrated knife, cut each log into 3/4-inch thick slices. For larger biscotti, slice the logs in diagonal slices, for smaller biscotti, slice them straight across.
- Place the biscotti back on the baking sheet, standing upright and spacing them about 1/2-inch apart. Return to the oven and bake for 10 to 12 minutes, or until biscotti look nicely golden brown on top. Transfer the biscotti to a wire rack and cool completely before storing.



Join the Conversation