This classic, luxuriously creamy Pesto Alla Genovese (Basil pesto) is made from a bounty of fresh basil, pine nuts, garlic, olive oil and cheese. Vibrant in colour and flavour, it will be the brightest-tasting pesto you’ve ever made or eaten.
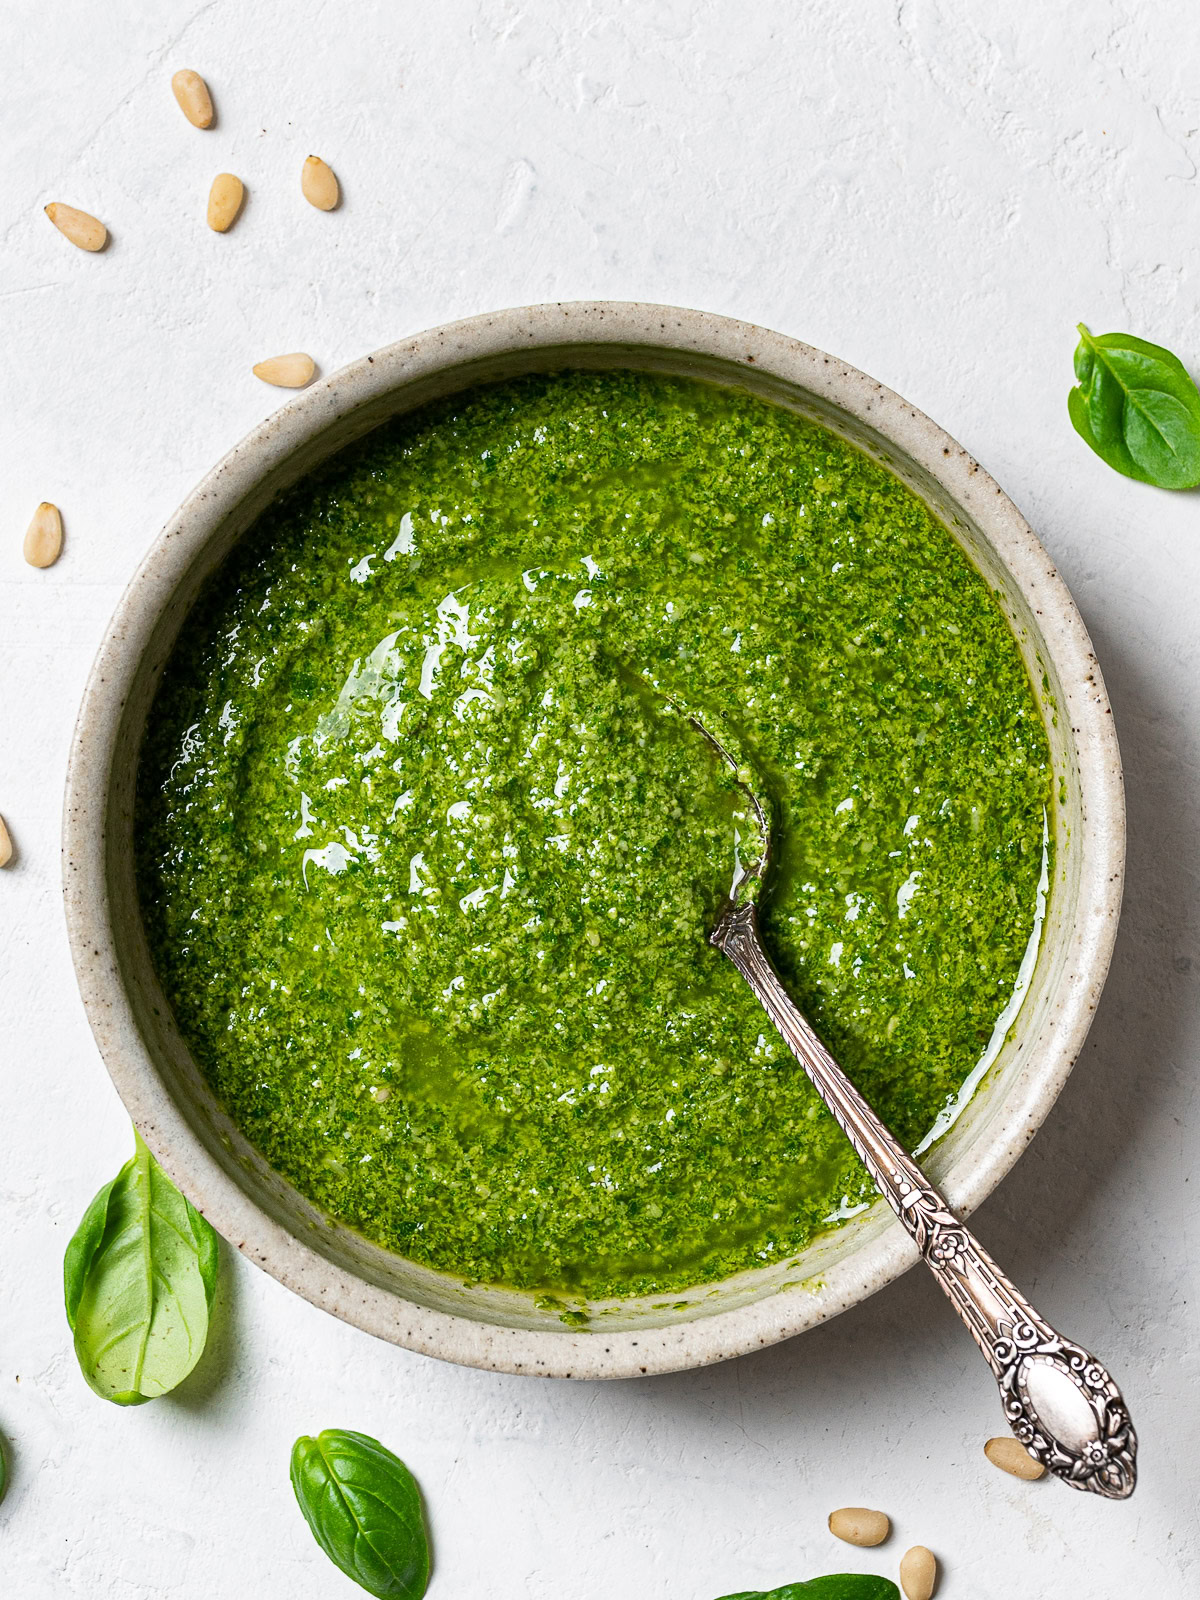
The difference between a jarred pesto and a home-made pesto is so substantial that it more than justifies the effort. It is just not possible to get the gorgeous aroma and flavour of a freshly made pesto from a jar.
My favourite pesto to make at home is the classic basil pesto (pesto alla Genovese). Though quite simple and quick to make, I was always a little disappointed with my pesto. It was never as bright green as I’d like, often too garlicky (and I adore garlic), and the flavours never seemed balanced.
- What Is Pesto Alla Genovese?
- Ingredients And Notes
- The Best Basil To Use To Make Pesto
- Tips To Make Vibrantly Green Pesto
- Blender, Immersion Blender, or Food Processor
- How To Make Classic Basil Pesto (Pesto Alla Genovese)
- Do You Toast The Pine Nuts?
- Ways To Use Basil Pesto
- How To Toss Pasta With Pesto alla Genovese
- Storage Tips
- Pesto Alla Genovese (Basil Pesto)
Then I watched the documentary a few years ago with Samin Norstrat. She makes a pesto in Italy alongside a Ligurian woman, Lidia Caveri, and wow. The simplicity and beauty of it was astounding. It made me realize I couldn’t have been making my pesto more wrong. But even armed with this new knowledge of ingredients, techniques, and tips, my pesto was still not sublime. And yes, sublime is what I was after.
A lot more pesto deep-dives later, I learned some mind-blowing tricks from the masters. Using small Genovese basil leaves—instead of the dark, big-leaf variety—is one of them. Chilling the olive oil before blending it, is another.
Friends, if you’d love to make your own pesto that is luxuriously creamy, vibrant and delicate this easy recipe will get you there. Best of all, this pesto will stay flavourful and vibrant for days!
What Is Pesto Alla Genovese?
The word pesto comes from the Italian word pestare, the verb for pounding or grinding. So essentially, any Italian sauce that is pounded is referred to as pesto.
Pesto alla Genovese, the most famous of all pestos, originates from Genoa, the capital city of Liguria. This classic pesto is made with fresh basil, pine nuts, olive oil, salt, and both Parmesan and Pecorino cheese.
Traditionally, the whole sauce is made in a large mortar and pestle where it is pounded until creamy and silky but with barely any texture remaining. Also traditionally, pesto alla Genovese is almost always served with trofie or trenette pasta or with potato gnocchi.
For this recipe, we are bending the rules and using a hand-held stick blender, or food processor, to make our pesto. When done right, even without a mortar and pestle, you can make a pesto that will have a gorgeous intense aroma and colour, and the perfect creamy consistency so the sauce clings to the pasta beautifully.
I do love this classic basil pesto with pasta, but it’s also wonderful on pizza, drizzled into soups, or with warm focaccia.
Ingredients And Notes
The simple ingredients for this classic basil pesto recipe are few but special attention must be paid to each to ensure the best results.
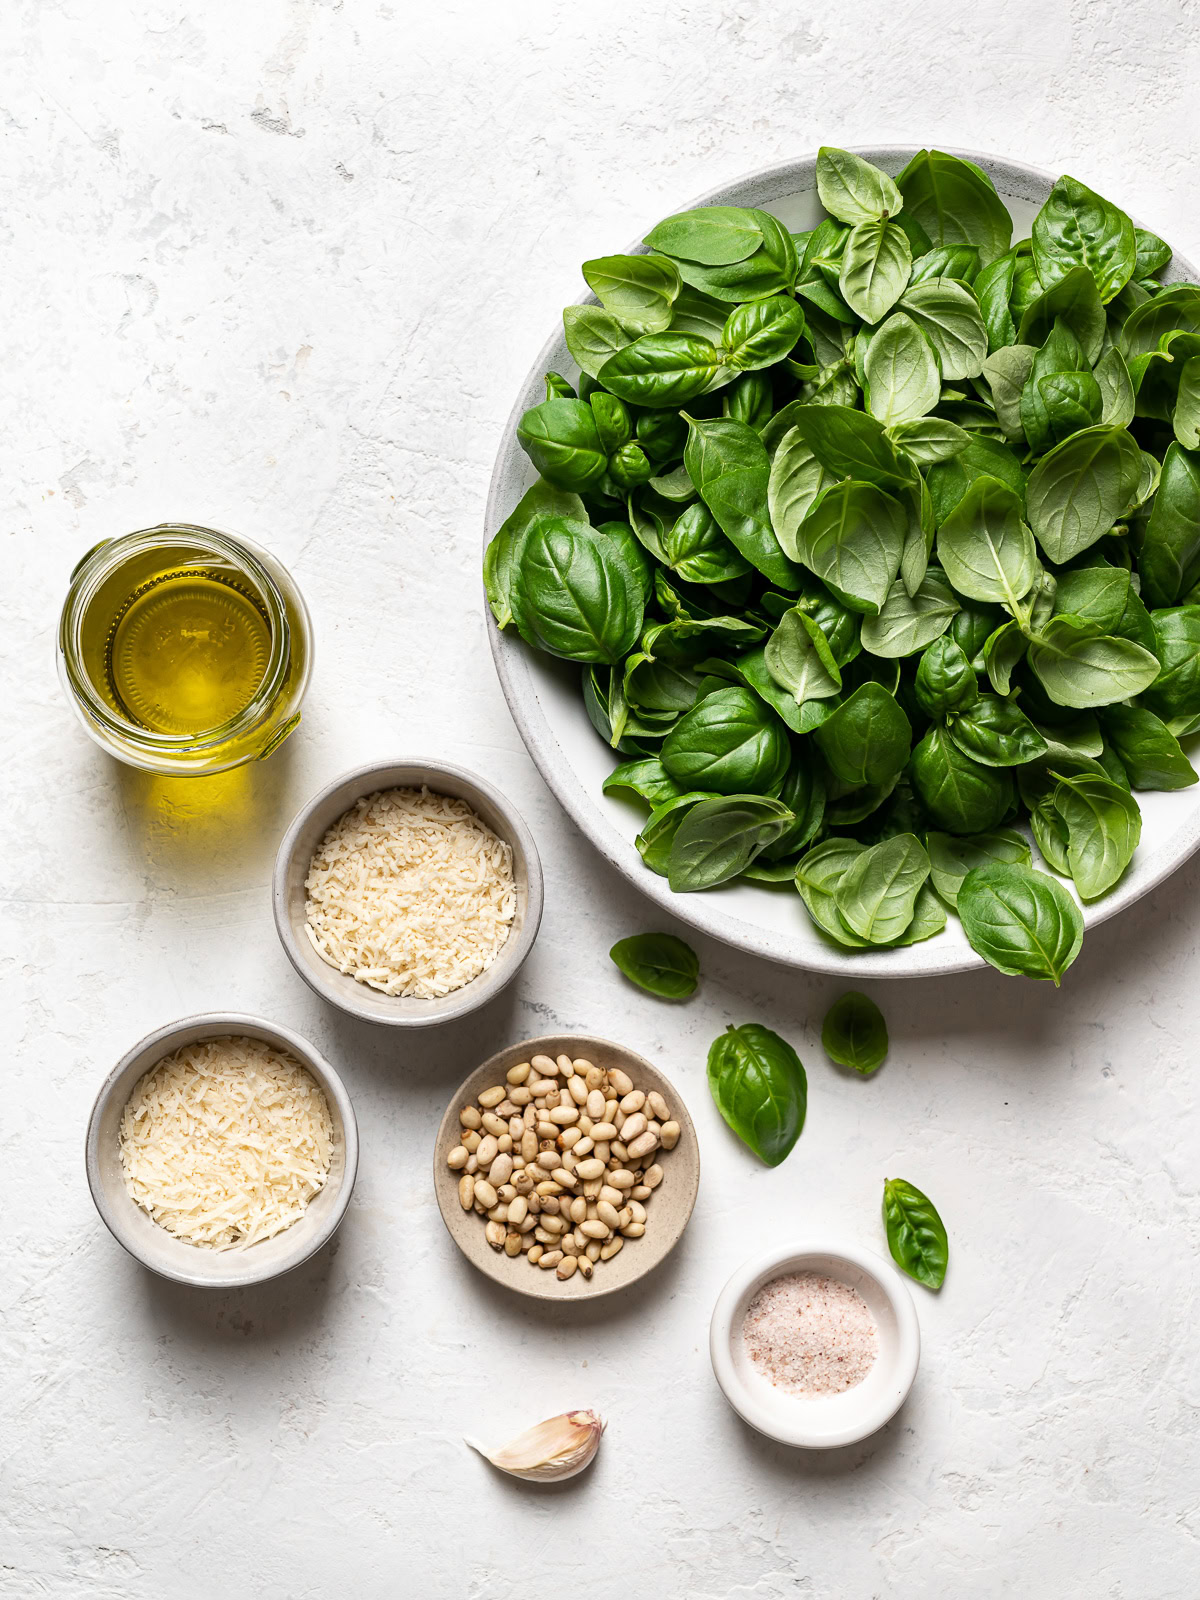
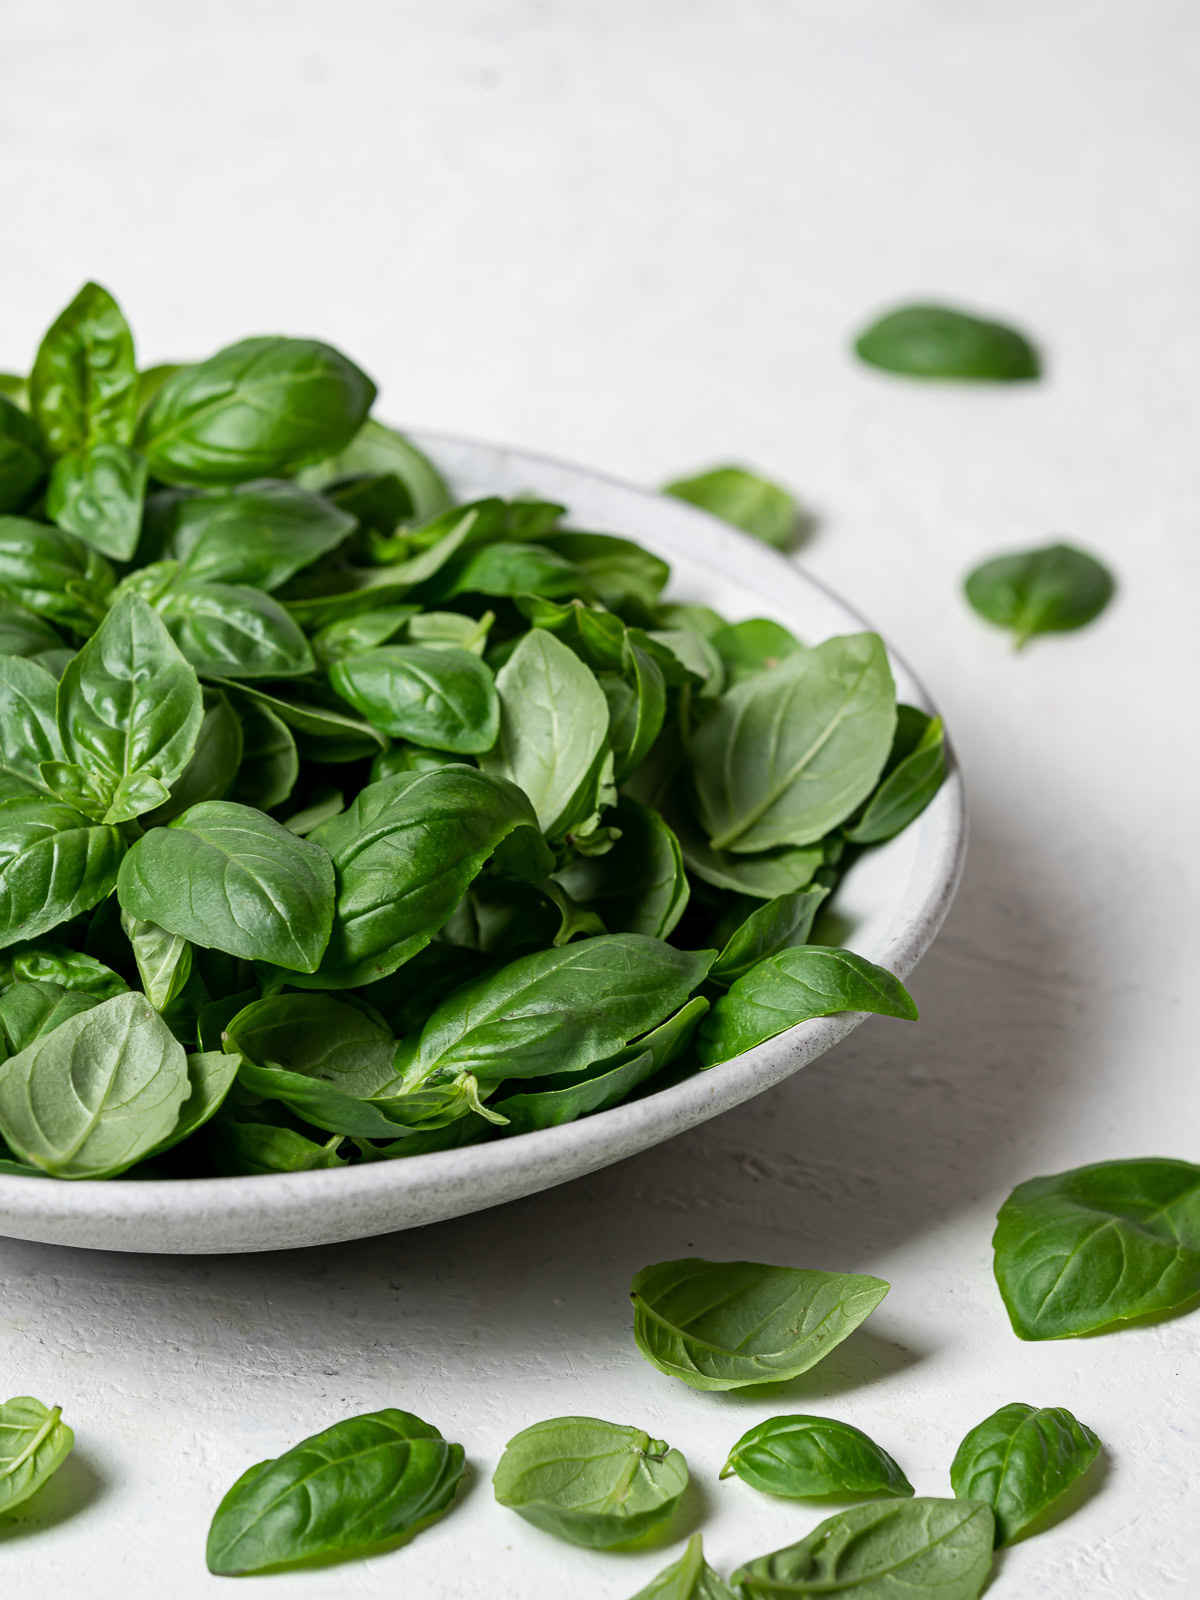
- Fresh Basil: You will need a lot of fresh basil leaves to make this classic basil pesto. About 70 grams to be exact, or 4-5 cups (loosely packed). The basil variety you use will matter, as will the size of the leaves. In addition, you want to use only the leaves as the stems will potentially water down the pesto and/or make it taste bitter. That said, if a few tender stems get in there, it should be totally fine. Read more on the best basil to buy down below.
- Garlic: Contrary to popular belief, Italians don’t go as garlic-heavy on their dishes as we do here in North America. They like garlic but they don’t want it to slap you in the face. Almost every Italian recipe for a classic basil pesto calls for only one clove. I love garlic, but I must agree that one is more than enough here. Feel free to add more if you wish. In addition, the fresher and younger the garlic, the better. Garlic that has a green stem through the middle is likely old-ish. If this is all you have, make sure to remove that green stem which tends to be bitter.
- Pine Nuts: Buttery, creamy pine nuts are essential to this classic basil pesto. I know they can be expensive, but you only need 1/4 cup. Try and find an Italian deli that sells them in bulk, or somewhere that sells them in small packages. Italians will describe the pounded garlic and pine nuts as the “cream” that gives the pesto its creamy, silky texture which makes it hard to substitute for another nut. In a pinch, walnuts can be used but they won’t be as creamy.
- Extra-Virgin Olive Oil: You want to use a light extra virgin olive oil or your pesto could turn out too dark or too bitter. The most recommended brand, Lucini, is not available anywhere near me so I use Colavita from California which isn’t too strong or peppery.
- Cheese: Pecorino Fiore Sardo, a sheep’s milk cheese, is the traditional cheese used for a classic basil pesto. It has a salty, smoky flavour yet it isn’t as salty as Pecorino Romano. Unfortunately, this cheese is hard to find at grocery stores so even Italians will often use a mix of 75% Parmesan cheese and 25% Pecorino Romano. Via Milk Street, I learned Manchego cheese, also a sheep’s milk cheese, is an even better substitute than Pecorino Romano because it is less salty. Just don’t tell an Italian you put a Spanish cheese in their beloved pesto alla Genovese (ha).
- Kosher, or sea salt: Depending on the cheese you use, you may only need a pinch of salt.
The Best Basil To Use To Make Pesto
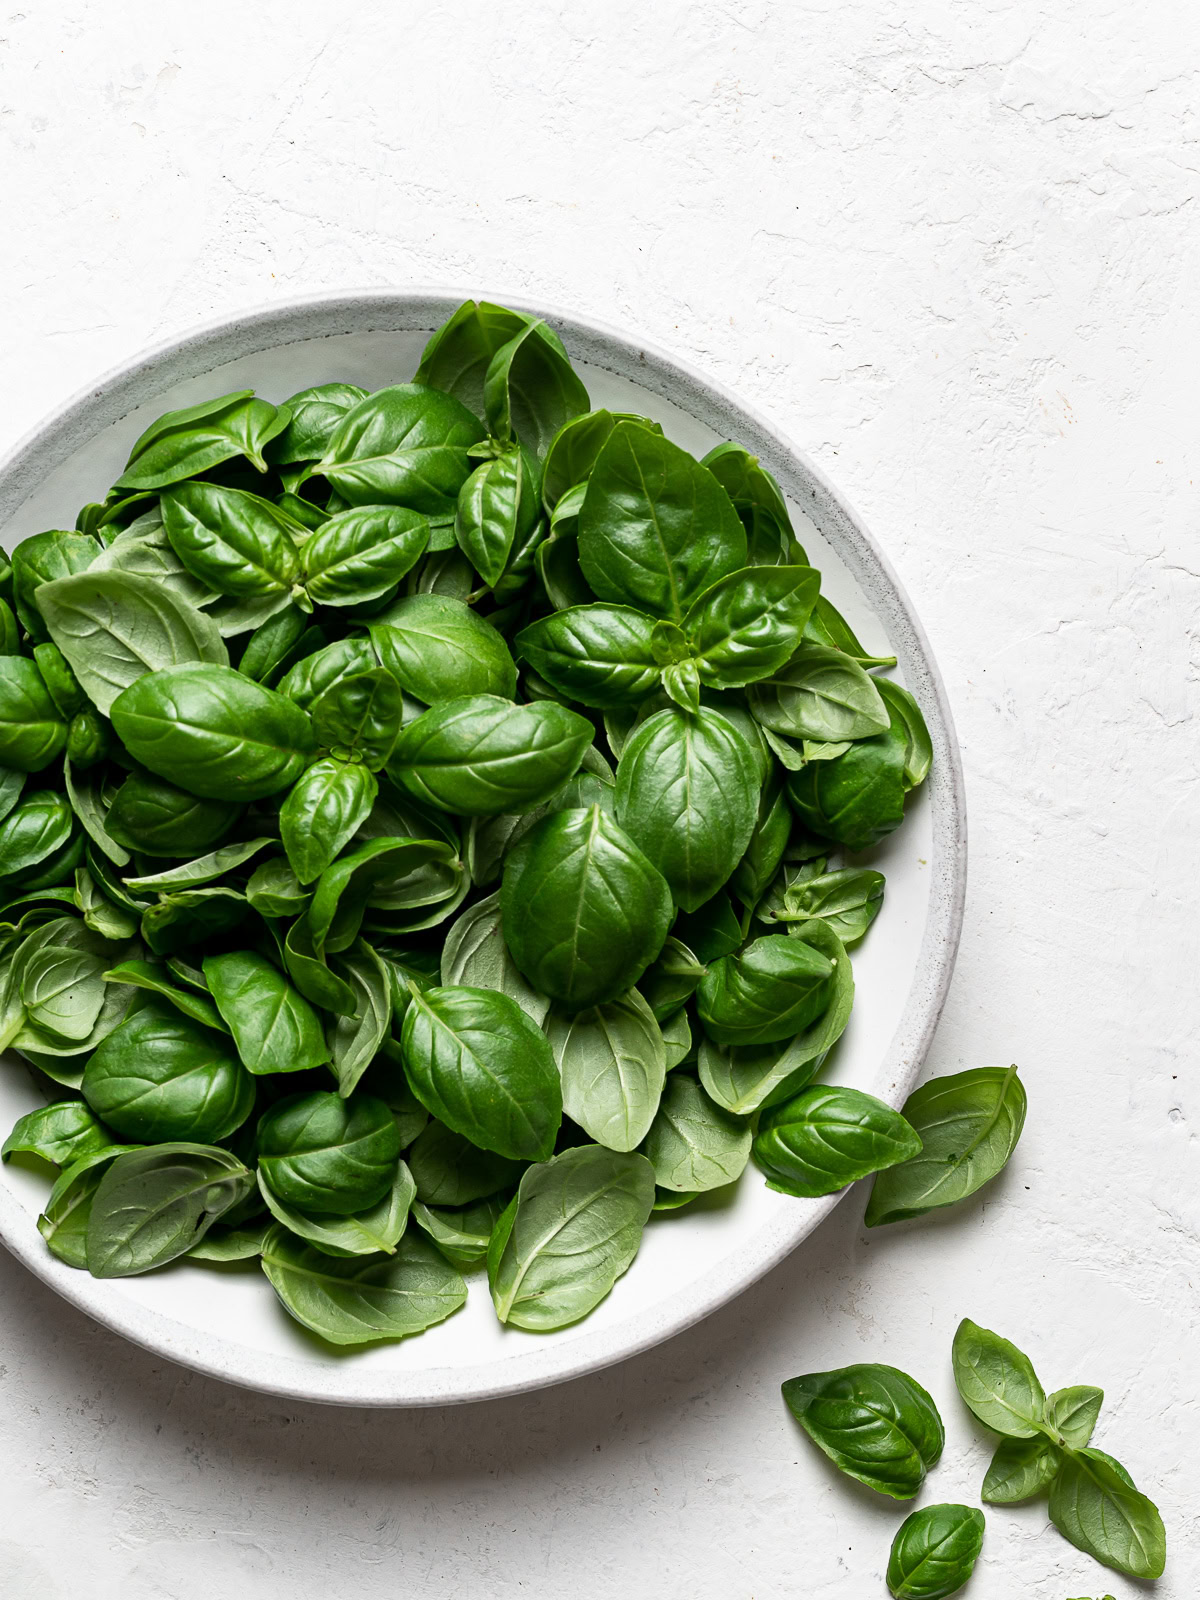
A great pesto starts with great basil. In Liguria, they grow Basilico Genovese plants that have a DOP denomination and are the variety of choice for making the classic pesto alla Genovese. These basil plants have smaller leaves that are a light green colour and have a strong aroma. Obviously, we don’t have access to these prized basil plants in North America. But you can use the small, round-leafed basil leaves which most of us grow in our gardens. Most nurseries sell them under the “Basil Genovese” name. Just make sure to use the smaller leaves from the plant for best flavour and colour.
Be warned, if you have a small basil plant in your backyard, that won’t cut it. And if your plant is large, you will have enough leaves but you will likely completely deplete it to get the 70 grams of leaves. Unfortunately, in Ontario, Farmer’s markets seem to sell huge bunches of the large, dark-leaf basil only. So you might have to buy a few of the large potted plants of the basil Genovese at a nursery. In the US, I think you will have more luck finding the small-leaf variety in bulk.
If all else fails, go ahead and use the dark-leaf variety. The pesto might not be as vibrant green but it will still be delicious, especially if you follow the tips in this post closely.
Tips To Make Vibrantly Green Pesto
As we have already discussed, a classic Italian basil pesto is made in a mortar, a cold marble mortar. So if, like me, you’ve been disappointed with your pesto turning out murky-brown with less than vibrant flavours when you use a machine with blades, the super simple trick is to chill the blades and blender bowl for about 30 minutes.
I learned this tip from this Kitchn article which they in turn learned from Ligurian chef Paolo Laboa. Chef Laboa believes a beautiful pesto can indeed be achieved with a food processor or blender and his family recipe even won the gold in the 2008 Genova World Pesto championship.
Chilling the blades and blender bowl, however, is just the start. Here’s all the foolproof tips and tricks to making a spectacular basil pesto, most of them from Chef Laboa himself:
- Start with the best basil leaves. See section above on how to choose the best basil to make your pesto alla Genovese.
- Chill the blades and bowl of the blender or food processor. The blades of a blender or food processor can heat up pretty quickly. Chilling the blades and the bowl will mimic the cold marble mortar which helps prevent the basil leaves from oxidizing when they are mashed or blended. Place the blades and bowl in the freezer for 20-30 minutes. If the bowl doesn’t fit in your freezer, you can put it in the refrigerator for 30-40 minutes.
- Don’t remove the basil leaves from the plant too far in advance. Once you pick the leaves off the plant, make the pesto quickly so they are as fresh as possible when you make the pesto.
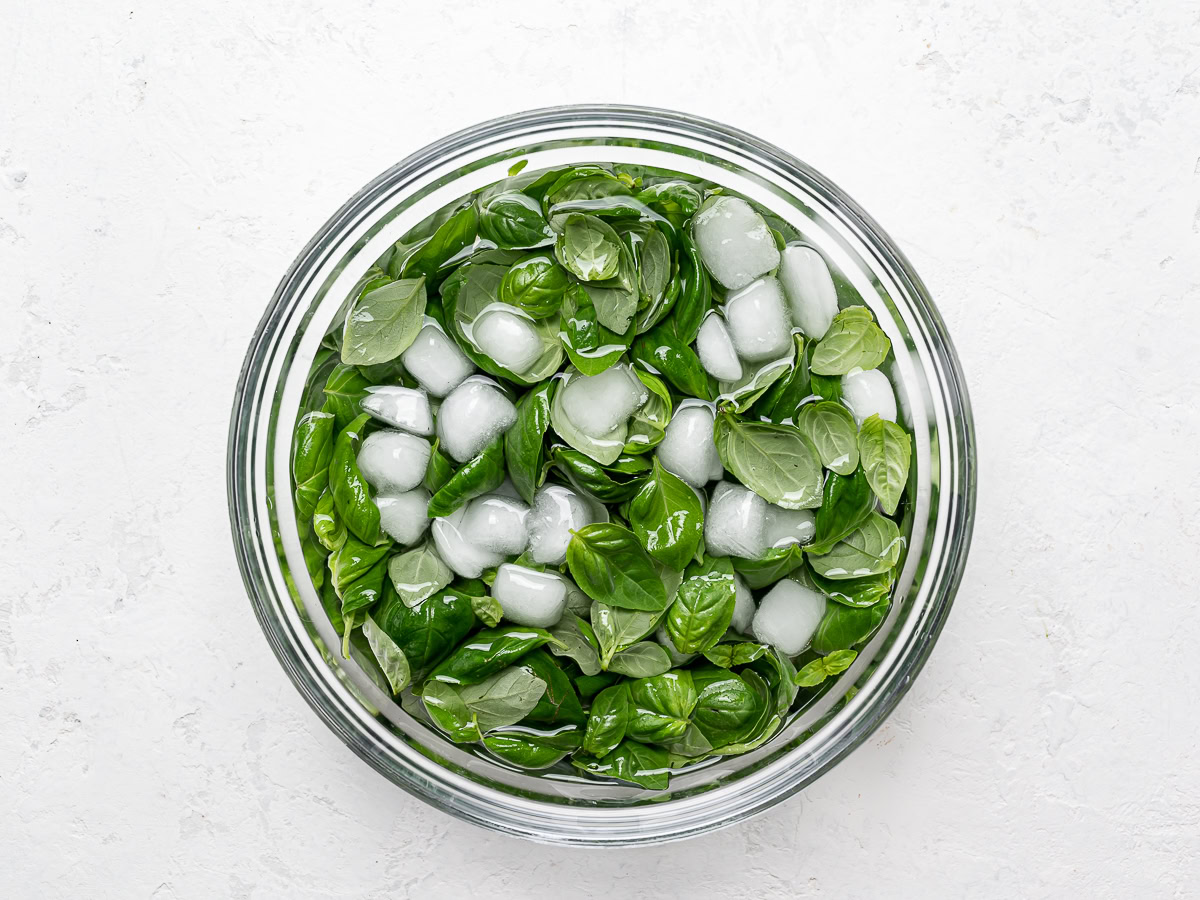
- Soak the basil leaves in cold water. This one surprised me because I had always heard the opposite of this. But soaking the leaves softens them and helps remove any bitterness. I like to use ice water which helps retain their vibrant colour.
- Chill the olive oil. Place the olive oil in the freezer for 10-15 minutes to get it really cold. This is extra insurance to keep the pesto vibrant green.
- Finely grate the cheese. Use a microplane or the smallest holes of a box grater to grate the cheese(s). The lighter and fluffier the better because the last thing you want is heavy grated cheese weighing down your pesto.
- Add the ingredients in steps: There are many recipes that call for a dump-and-blitz process. This in not one of them. I believe the extra attention to detail makes a big difference in the outcome and it takes maybe a few seconds longer. When pesto is made with a mortar and pestle, the ingredients are pounded in a very particular order to achieve the perfect texture. Here, we are foregoing the mortar and pestle but still following the tradition of adding the ingredients in steps so that the pesto is just as spectacular.
Blender, Immersion Blender, or Food Processor
They all work but because this makes a relatively small amount of pesto, I find it easier to use an immersion blender or small food processor.
My second choice would be a food processor — the smaller the better. A blender works great but I find it hard to scoop out the pesto unless you make a double or triple batch.
Whatever you use, remember to chill everything if possible. It really does make a difference.
How To Make Classic Basil Pesto (Pesto Alla Genovese)
Please make sure to read through the helpful tips in section above before you even pick the basil leaves off the plant. I realize there are many notes to read through in this post but don’t let that deter you from making this homemade pesto.
Washing the basil leaves is probably the only step that requires a bit of time. Once the leaves are clean, the pesto comes together really fast and you will be delighted with the results. If your basil looks squeaky clean, you can skip washing them but I would still soak them in cold water for 5 minutes to soften them.
Chill the blades and bowl of blender. Place blades and/or bowl of blender in freezer to chill.
Wash and soak the basil leaves. Fill a bowl with cold water and place all the basil leaves in it. Gently lift and submerge the leaves a few times to wash them. Holding the basil leaves back with one hand, tip the bowl to pour out the water. Refill with very cold water (adding some ice if necessary) doing your best not to let the water hit the leaves too harshly. Soak the cleaned leaves for 5-10 minutes. Gently lift them out of the water and place them on a clean tea towel (or two). They don’t need to be dry but you don’t want them dripping with too much water, either.
Make the pesto. Remove chilled blades and bowl from freezer. Working quickly, add the pine nuts, garlic, salt, and half of the chilled olive to the bowl. Purée until mixture is as smooth as you can get it. Add about 1/4 of the basil and use just 3 or 4 short pulses to break them down. Repeat with 3 more additions, pulsing in short intervals just until all the basil is broken down. Add the rest of the olive oil and the cheese. Continue pulsing until you have a creamy, slightly loose pesto. Do not overblend.
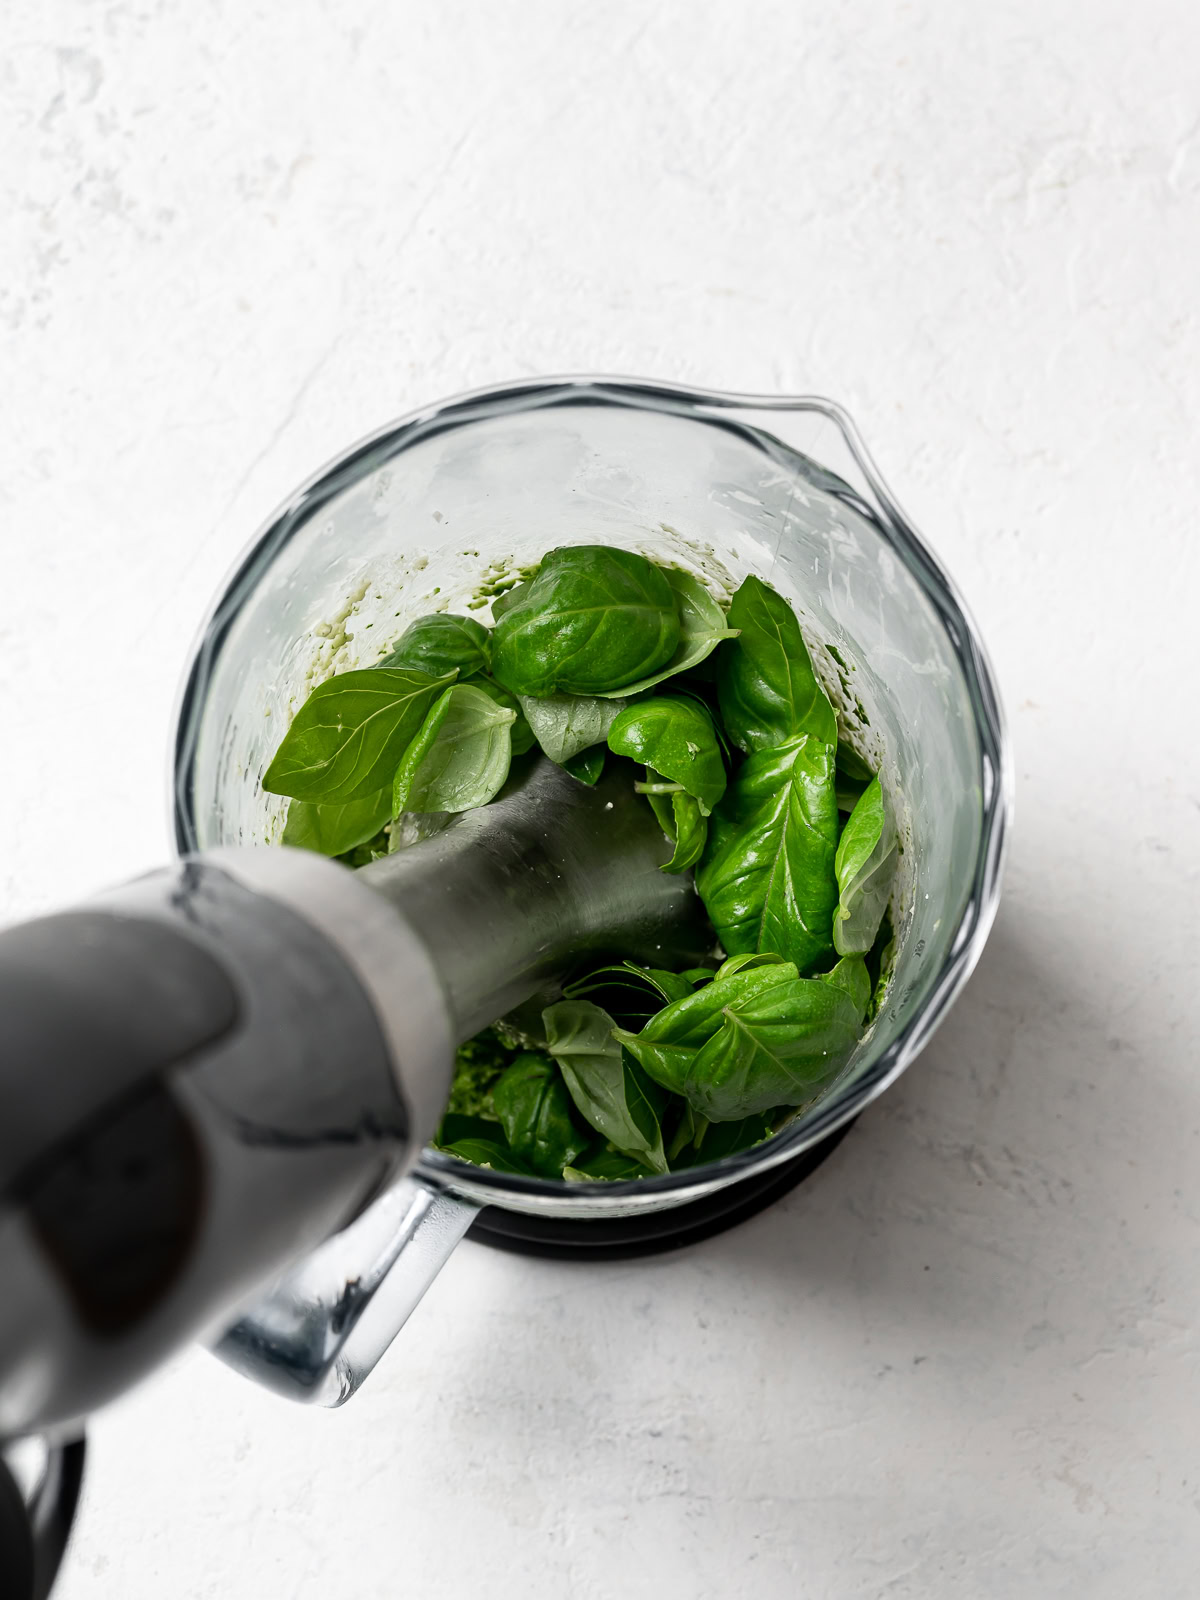
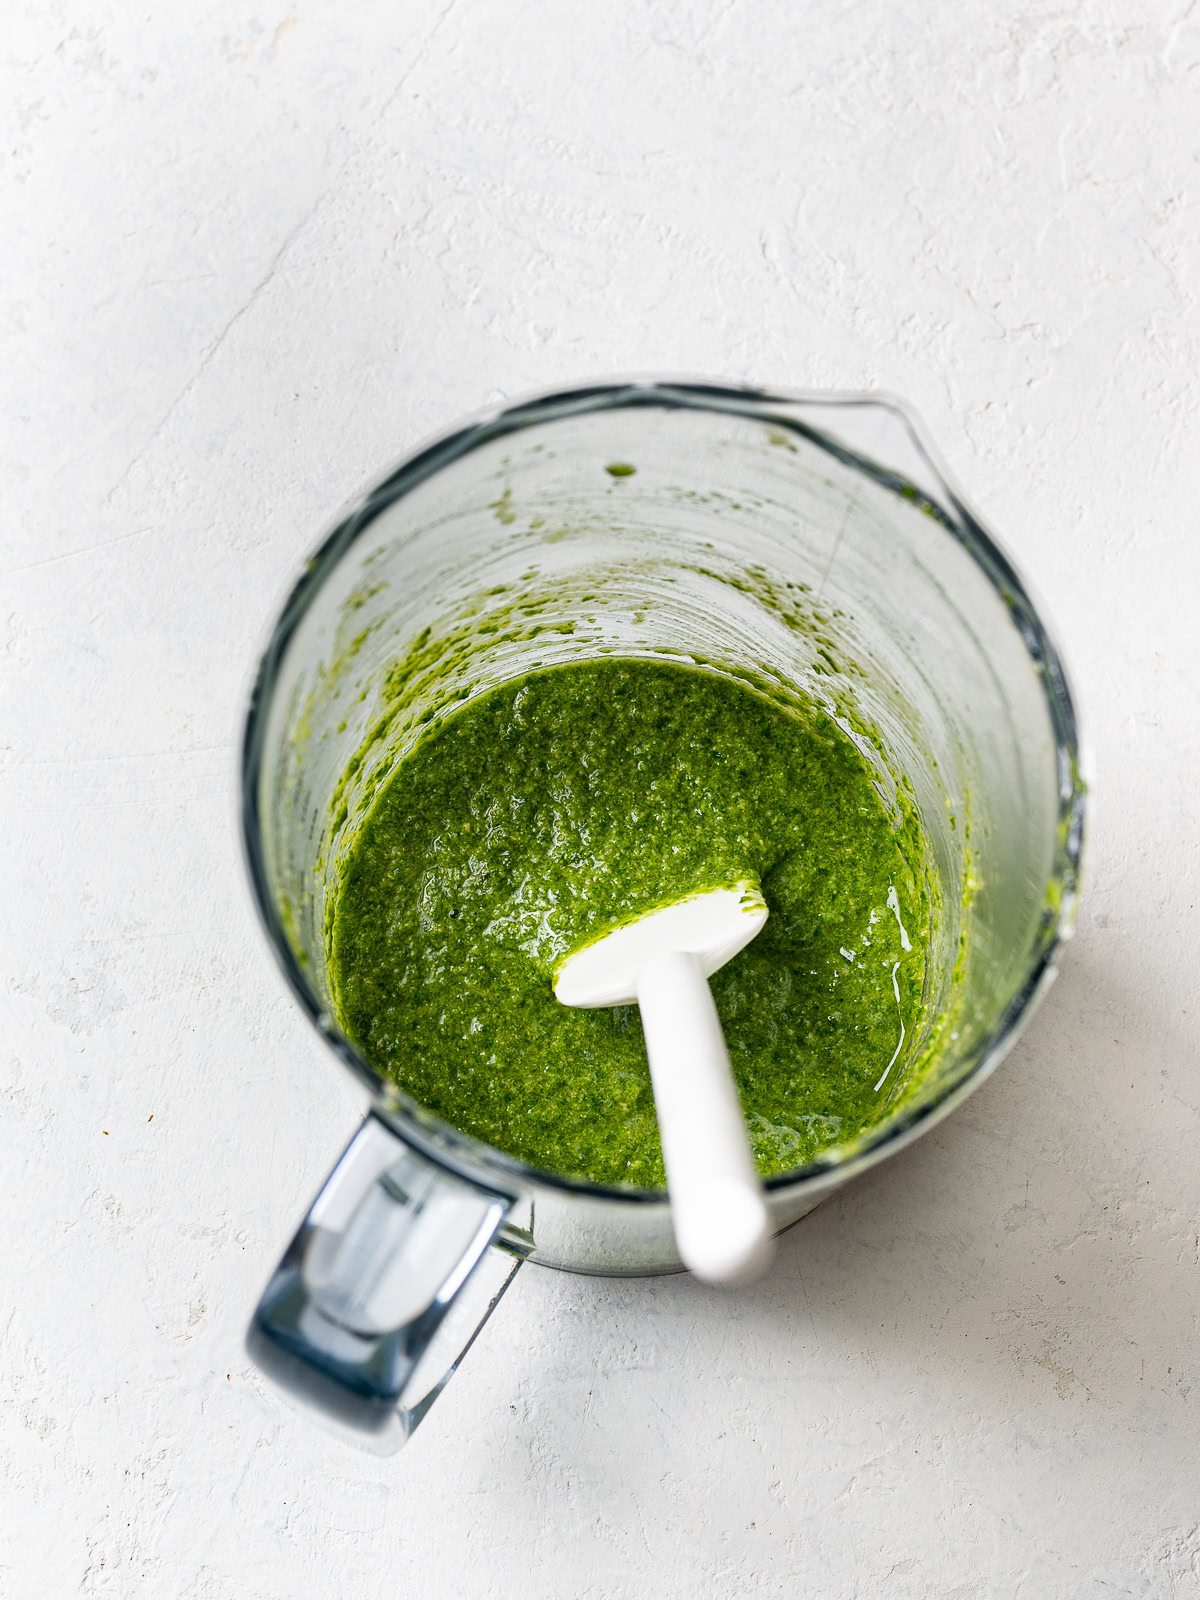
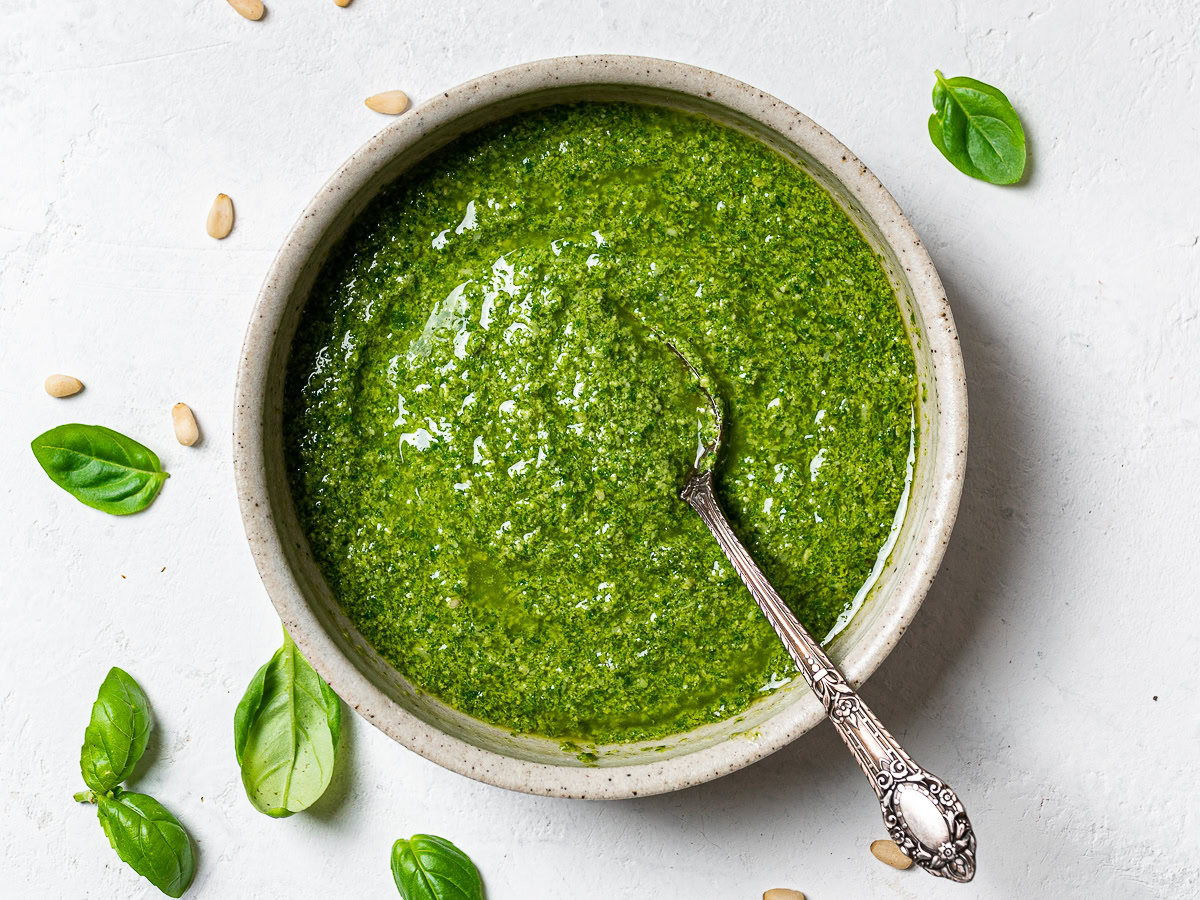
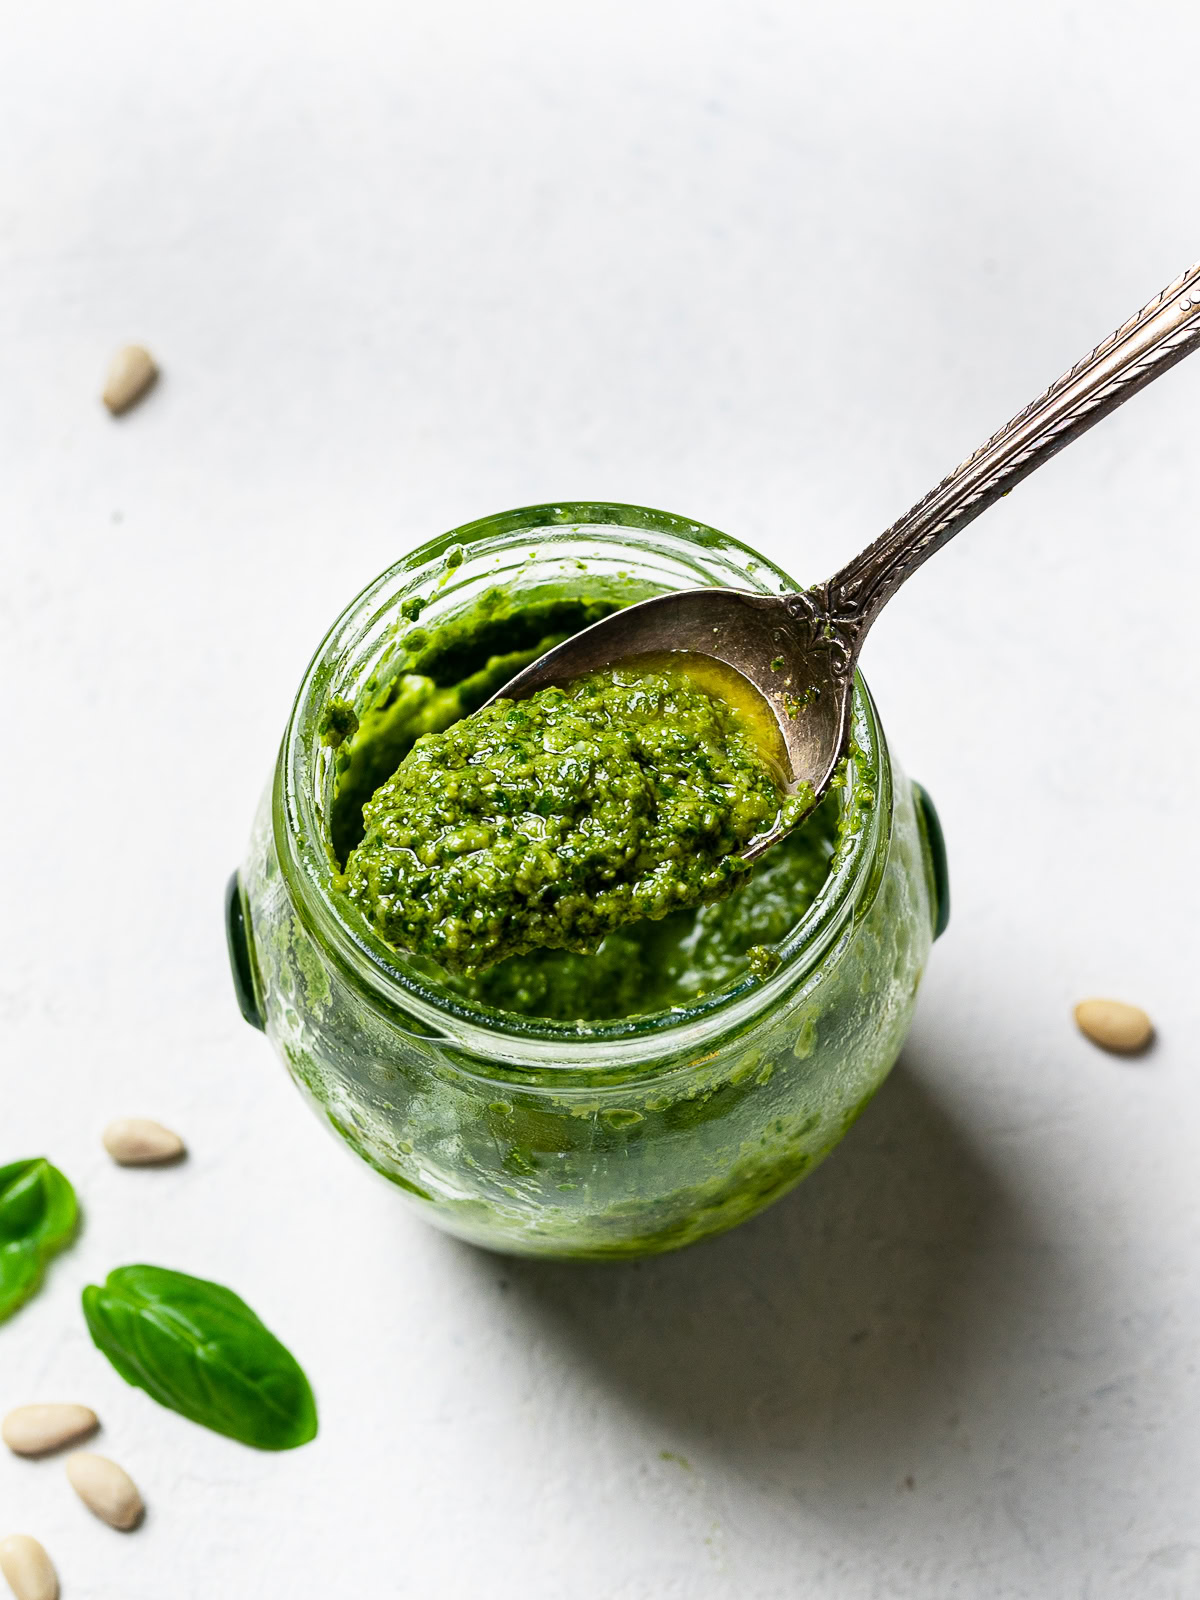
Use immediately or store. Using a rubber spatula, scrape every last bit of pesto into a bowl or jar. If not using immediately, drizzle a little olive oil to cover the entire surface of the pesto. This will preserve the fresh flavor and bright green color. Cover the jar or bowl tightly and refrigerate until ready to use. The pesto will be good for up to 5 days.
Do You Toast The Pine Nuts?
The pine nuts in a classic basil pesto are never toasted. When left raw, the pine nuts will be creamier and sweeter so I never toast them.
Ways To Use Basil Pesto
So many wonderful ways to use your pesto but there is one caveat. No matter how you use it, don’t ever cook or heat the pesto. Cooking the pesto will make it taste bitter and it will lose its silky texture.
- Toss with pasta. The most obvious, and perhaps one of my favorite things to eat in summer, is of course pasta tossed with basil pesto. Any pasta shape is wonderful with pesto though some Italians would never serve it with any other past than trofie (shown in photos) or trenette (a pasta noodle shaped similar to tagliatelle). Both are hard to find unless you have a good Italian deli near you so use any good quality pasta you like. See section below for instructions on how to use your pesto alla Genovese with pasta.
- Spoon over salads. Elevate any tomato salad by drizzling it with this delicious basil pesto.
- On pizza. Pesto pizza anyone? Drizzle the pesto over any cooked pizza for a blast of summer flavour – yum!
- In sandwiches. Basil pesto is wonderful to use as a sandwich spread.
- On roasted veggies. So good spooned over any roasted veggie. Try it with baby roasted potatoes, sweet potatoes, or cauliflower.
- Stirred into risotto. Make this Instant Pot Risotto and stir in some pesto – delish!
- With scrambled eggs. My fave!
- Stirred into soup. Particularly delicious with this Creamy Zucchini Tomato soup, this easy Roasted Tomato Soup, or this Italian Vegetable Soup.
- With baked or grilled chicken, fish, or beef. I love baking lightly seasoned chicken thighs, then serving them drizzled with pesto. Also fantastic with simple and quick grilled chicken breast.
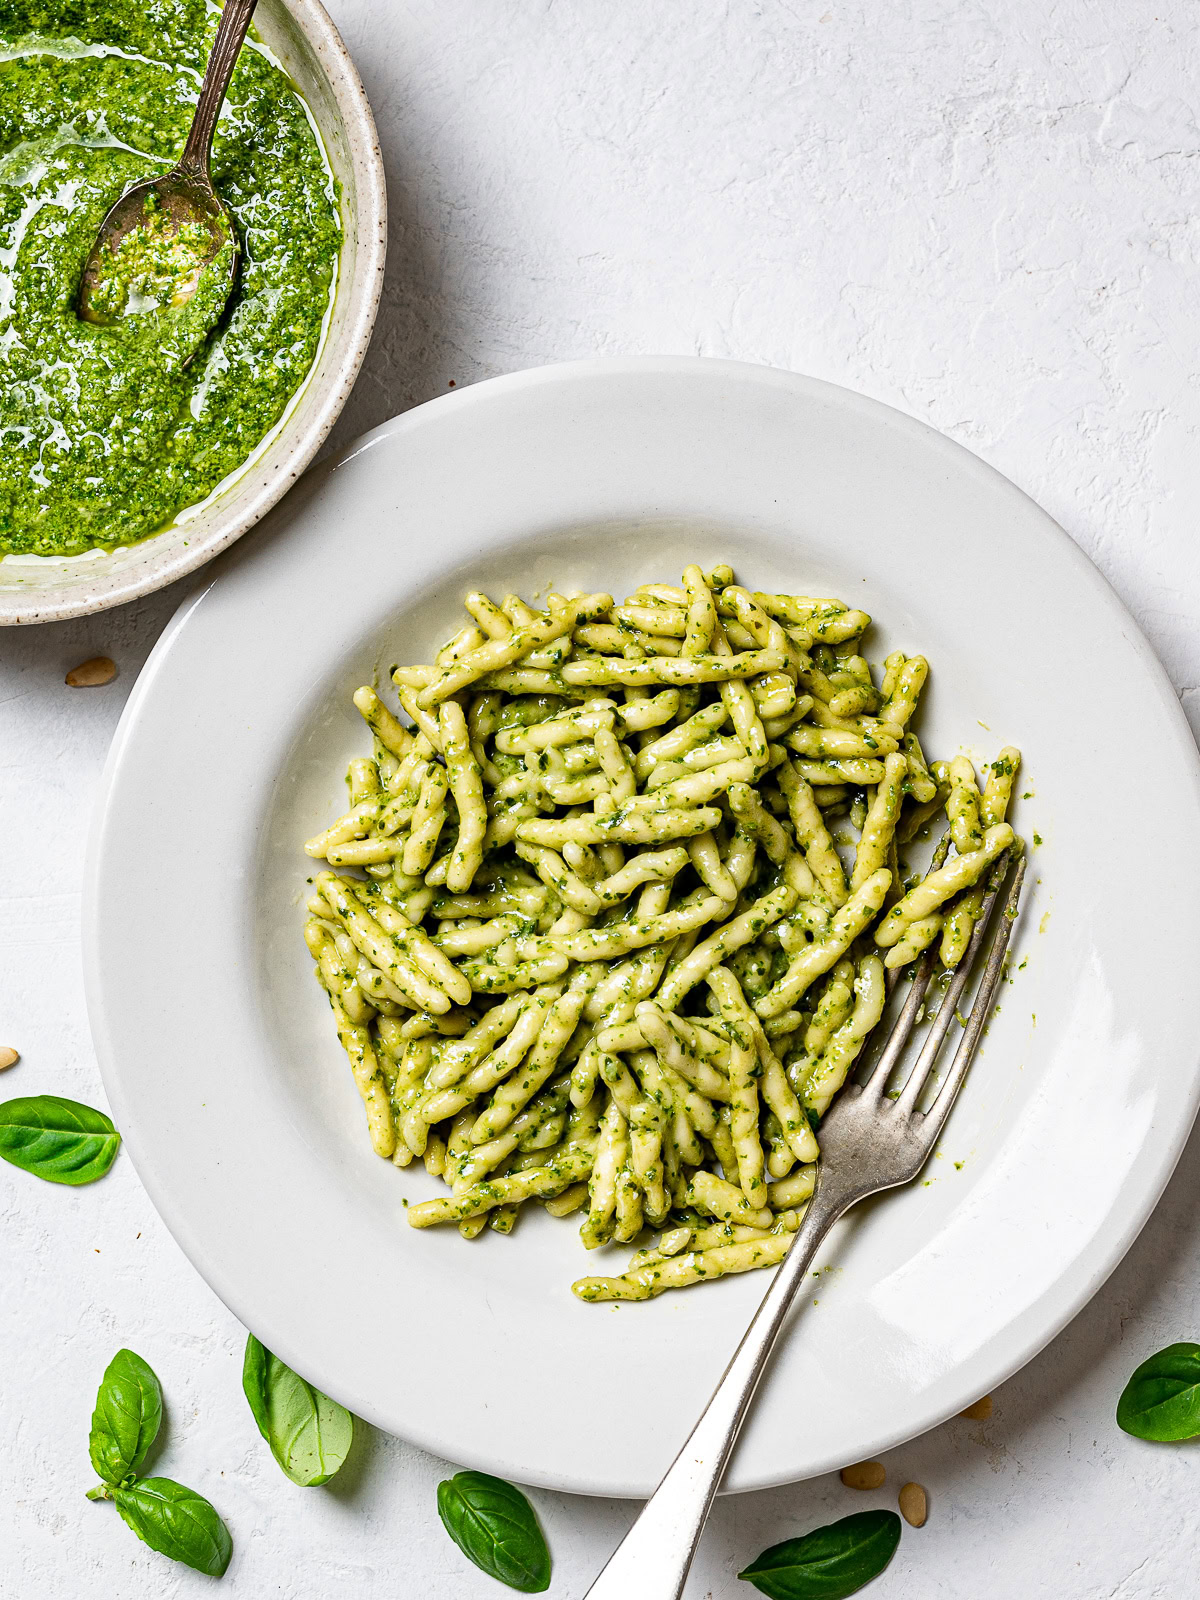
How To Toss Pasta With Pesto alla Genovese
As mentioned above, pesto alla Genovese should always be treated as a cold sauce. Never place it over direct heat or sauté it in a pan like you would other sauces. Instead, you want to always add the hot pasta to the pesto, not the other way around. Here is how to serve it tossed with pasta:
- Place the amount of pesto you are going to use in a large mixing bowl.
- Drain the pasta reserving about 1/3 cup of the water.
- Add 2 tablespoons of pasta water to the pesto and stir until creamy. Stir in the pasta and toss until well combined, adding another splash or two of pasta water if it seems a little dry.
- Serve with extra parmesan, if desired.
Storage Tips
- To store in the fridge: The good news is, if you follow the tips and steps in this recipe, this pesto will stay flavourful and vibrant for days! To store it, place it in a small bowl or jar and drizzle a thin layer of olive oil over top. Cover tightly and refrigerate for up to 5 days.
- To freeze: Basil pesto also freezes beautifully. I like to pour it into a silicone ice cube tray and freeze it. Once frozen, it is best to transfer to a freezer-safe storage container so it doesn’t get freezer burn. Freeze for up to 2 months and thaw in the refrigerator when ready to use.
If you give this Pesto Alla Genovese (Basil Pesto) recipe a try, please feel free to leave a comment and/or a star rating below. We appreciate and welcome all your feedback. Thank you!
Pesto Alla Genovese (Basil Pesto)

Ingredients
- 2 ounces small-ish basil leaves about 5 cups loosely packed
- 1/4 cup pine nuts
- 1 small garlic clove, smashed and roughly chopped
- 1/2 cup mild extra-virgin olive oil, divided (chill in fridge for 20 minutes – see notes))
- 1/2 teaspoon kosher or flakey sea salt
- 1/3 cup very finely grated Parmigiano-Reggiano cheese
- 3 Tablespoons very finely grated aged Pecorino Toscano or Pecorino Romano cheese
Instructions
Please read through the tips in Recipe Notes below before you start!
- Place blades and/or bowl of blender in freezer to chill for 20-30 minutes.
- Fill a bowl with cold water and place all the basil leaves in it. Gently lift and submerge the leaves a few times to wash them. Holding the basil leaves back with one hand, tip the bowl to pour out the water. Refill with water doing your best not to let the water hit the leaves too harshly. Soak the cleaned leaves for 5-10 minutes. Gently lift them out of the water and place them on a clean tea towel (or two). They don't need to be dry but you don't want them dripping with too much water, either.
- Remove chilled blades and bowl from freezer. Working quickly, add the pine nuts, garlic, salt, and half of the chilled olive to the bowl. Purée until mixture is as smooth as you can get it. Add about 1/4 of the basil leaves and use just 3 or 4 short pulses to break them down. Repeat with 3 more additions, pulsing in short intervals just until all the basil leaves are broken down. Slowly drizzle in the rest of the olive oil and the cheese and ontinue pulsing until you have a creamy, slightly loose pesto. Do not overblend.
- Using a rubber spatula, scrape every last bit of pesto into a bowl or jar. If not using immediately, drizzle a little olive oil to cover the entire surface of the pesto. This will prevent it from oxidizing. Cover the jar or bowl tightly and refrigerate until ready to use. The pesto will be good for up to 5 days.
Notes
-
- Start with the best basil leaves. Smaller basil leaves from a basil Genovese plant will give you the best pesto. Leaves that are bigger than 3-inches, tend to be more bitter and not as vibrant.
-
- Chill the blades and bowl of the blender or food processor. The blades of a blender or food processor can heat up pretty quickly. Chilling the blades and the bowl will mimic the cold marble mortar which helps prevent the basil leaves from oxidizing when they are mashed or blended. Place the blades and bowl in the freezer for 20-30 minutes. If the bowl doesn’t fit in your freezer, you can put it in the refrigerator for 30-40 minutes.
-
- Wash and soak the basil leaves in cold water. Soaking the leaves both softens and washes them and also helps remove any bitterness. If your basil is squeaky clean, you can skip the washing steps but still soak them for 5 minutes, if time permits.
-
- Chill the olive oil. Place the olive oil in the fridge or freezer for 10-15 minutes to get it really cold. This is extra insurance to keep the pesto vibrant green.
-
- Finely grate the cheese. Use a microplane or the smallest holes of a box grater to grate the cheese(s). The lighter and fluffier the better because the last thing you want is heavy grated cheese weighing down your pesto.
-
- Add the ingredients in steps: This is not a dump and blitz process. When pesto is made with a mortar and pestle, the ingredients are pounded in a very particular order to achieve the perfect texture. Here, we are foregoing the mortar and pestle but still following the tradition of adding the ingredients in steps so that the pesto is just as spectacular.
- Don’t remove the basil leaves from the plant too far in advance. Once you pick the leaves off the plant, make the pesto quickly so they are as fresh as possible when you make the pesto.
- Cheese: Pecorino Fiore Sardo, a sheep’s milk cheese, is the traditional cheese used for a classic basil pesto. It has a salty, smoky flavour yet it isn’t as salty as Pecorino Romano. Unfortunately, this cheese is hard to find so even Italians will often use a mix of 75% Parmesan and 25% Pecorino Toscano, or Pecorino Romano.




Lisa
Ok, I have to admit I did not want to follow all the steps of this recipe, but I did and it was worth it! I make pesto all the time and didn’t give it a whole lot of thought, however this recipe changed everything! I forgot to chill my olive oil but otherwise I did it step per step and it was decidedly the best pesto I have ever made! Thank you Sandra!!
Sandra Valvassori
That’s so great to hear, Lisa! It sounds more fastidious than it really is, and the end result is so worth it. Thank you for writing and sharing 😊
Lisa
Hi again I realized that I meant to leave a 5 star review, and I inadvertently hit 4 stars! Sorry! This is a 5 star recipe and well worth the effort!! Thanks Sandra!
Sandra Valvassori
Aw thank you so much, Lisa. Really appreciate your support!