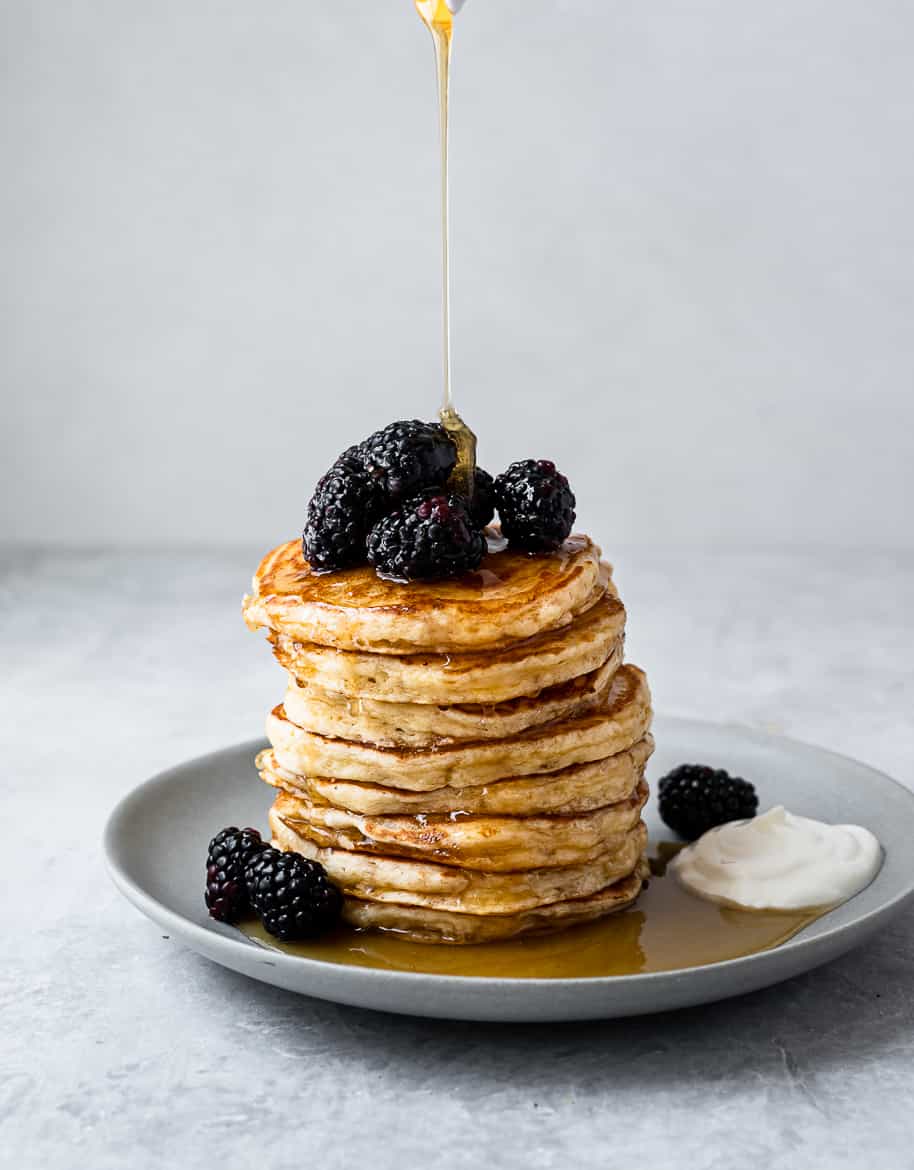
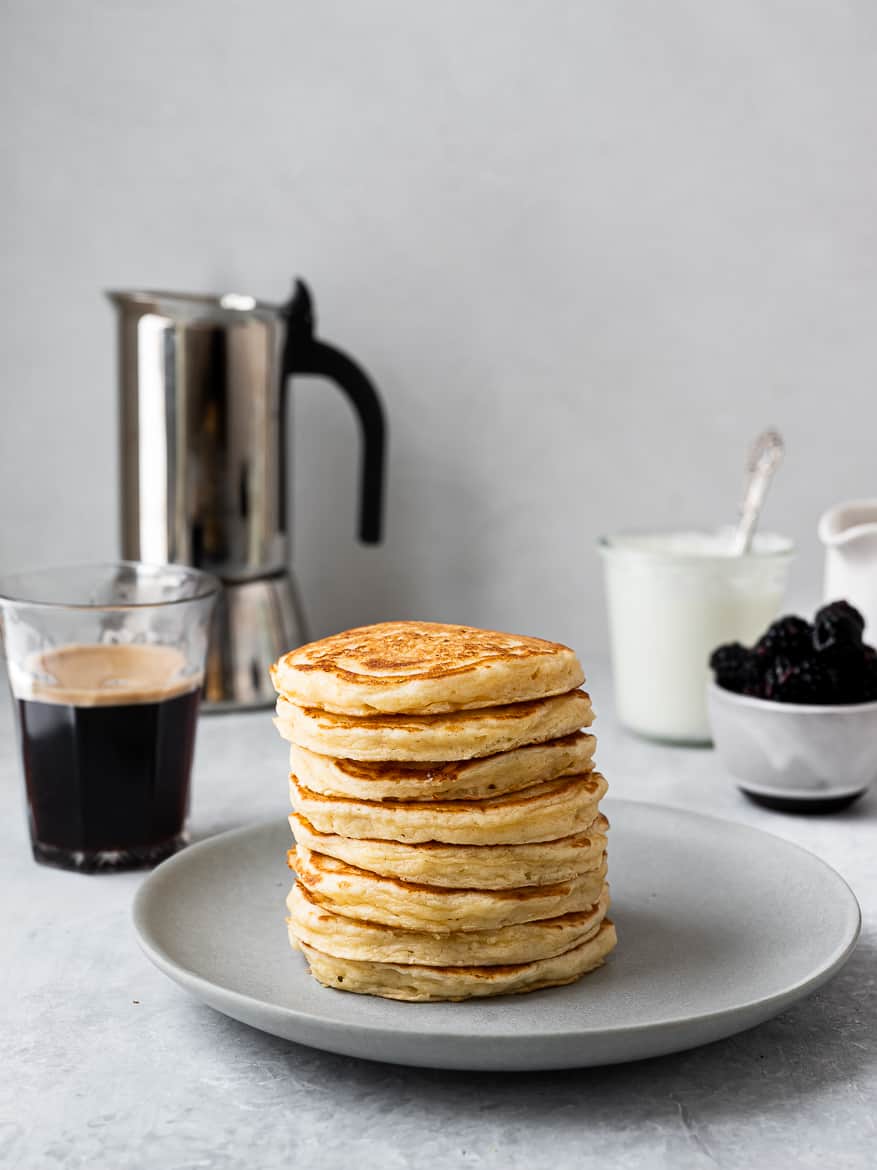
These one-bowl fluffy yogurt pancakes are not only incredibly light and flavourful, but they won’t deflate upon hitting your plate. This pancake recipe is so reliable and tasty it will immediately become your new weekend staple.
Chilly, lazy weekends call for cozy breakfasts, and these fluffy yogurt pancakes are exactly what you need to warm you up. I have been making buttermilk pancakes almost every single Sunday for the better part of my now-grown children’s lives. If I forgot to buy buttermilk, I would make the cheater version with milk and vinegar which, let’s be honest, is just not as good. Yogurt, on the hand, is my kitchen staple and I seem to always have a tub, or two, in my fridge. Once I discovered that replacing buttermilk with yogurt worked like a charm, it was adios to buttermilk pancakes.
- Ingredients For Fluffy Yogurt Pancakes
- How To Make Fluffy Yogurt Pancakes
- Tips For Making The Best Fluffy Yogurt Pancakes
- #1: get the batter right
- #2: the right pan
- #3: use oil instead of butter
- # 4: get the temperature right
- # 5: make smaller-sized pancakes
- # 6: don’t flip too soon
- To Serve
- Other Breakfast Recipes You Might Enjoy
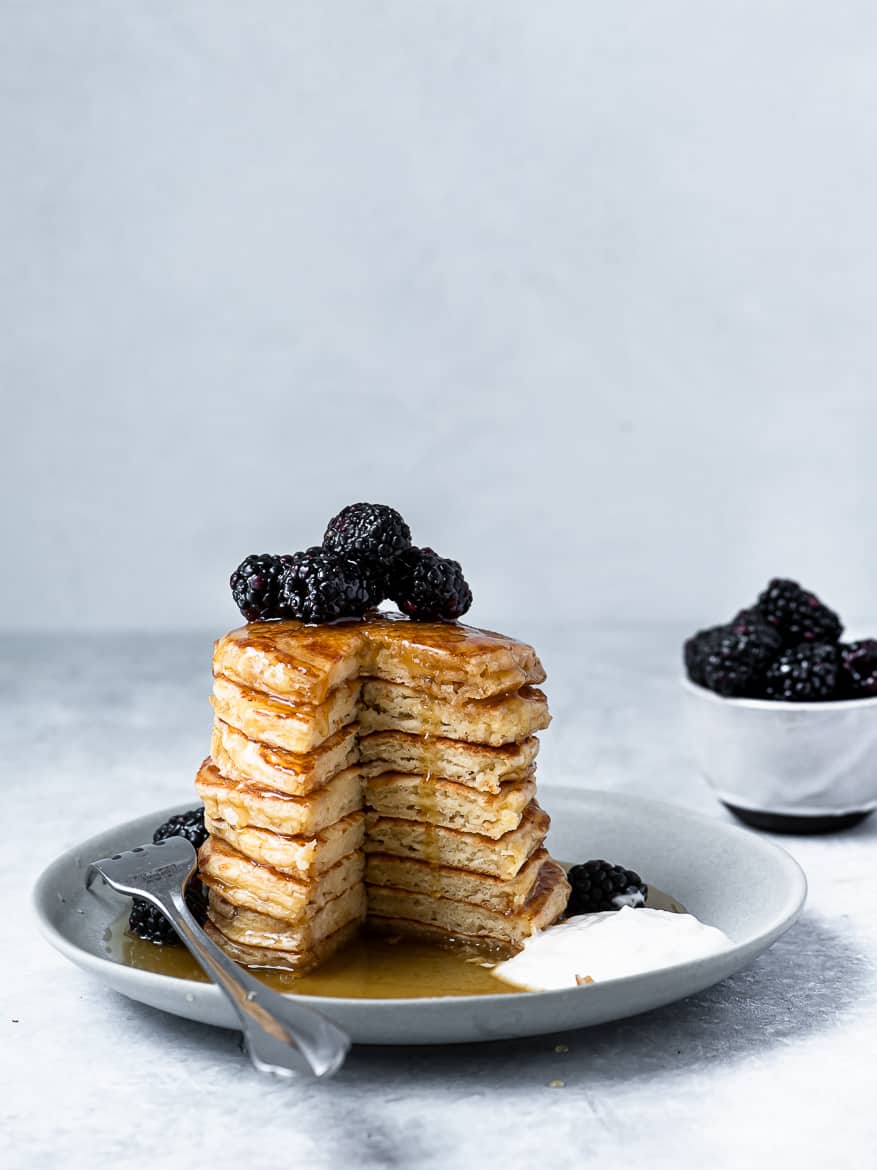
These yogurt pancakes have a lovely, complex tang that works beautifully with whatever sweet topping you apply – honey, maple syrup, berries or other fruit. They are fluffy like little golden sponges and have an impossibly tender crumb. Hot off the pan, they’re completely addictive and I dare you to resist sneaking a few as you flip them.
Ingredients For Fluffy Yogurt Pancakes
Aside from the yogurt, the ingredient list for these fluffy yogurt pancakes is pretty classic.
- Whole milk greek yogurt –Any yogurt will work but for the best pancakes you really want to use slightly thick, plain whole milk yogurt. Low-fat yogurts could potentially make the pancakes dense or gummy.
- Flour – You can keep these pancakes classic with all-purpose flour or experiment by substituting a third of the all-purpose flour with whole-wheat or rye flour. Buckwheat and oat flour are other great choices for giving these pancakes a little protein boost.
- Baking powder and baking soda – You will need both to get the ideal lift and light texture in your pancakes.
- Sugar – Just a bit of sugar will help give you a crispier, more golden-coloured pancake. You can use maple syrup if you prefer or even omit the sweetener all together.
- Salt – As with most baked goods containing eggs, pancakes benefit greatly when seasoned with a little salt.
- Milk – Milk will help give these yogurt pancakes the right consistency. I use 2% but any dairy free milk will also work.
- Butter – A few tablespoons of melted butter are added to the batter. This makes the pancakes more flavourful and ultra creamy on the inside. I sometimes leave it out but find I miss it when I do.
- Eggs – You’ll need two room temperature eggs in these pancakes.
- Vanilla – An optional ingredient but I find pancakes are tastier with a splash of vanilla.
- Coconut oil – For cooking the pancakes, my favourite fat is refined coconut oil. It has a very high smoke point and no flavour or smell. Unrefined is fine too and the faint flavour of coconut is barely detectable once you add the maple syrup and toppings.
- Optional add-ins – Feel free to stir in a 1/2 cup of your favourites into the batter such as chocolate chips or blueberries.
How To Make Fluffy Yogurt Pancakes
These airy, delicate and crisp-edged pancakes are so fabulous, yet so simple to throw together, they’re destined to become part of your weekend breakfast routine. Best of all, all you need is one bowl to whip up these addictively fluffy, yogurt pancakes.
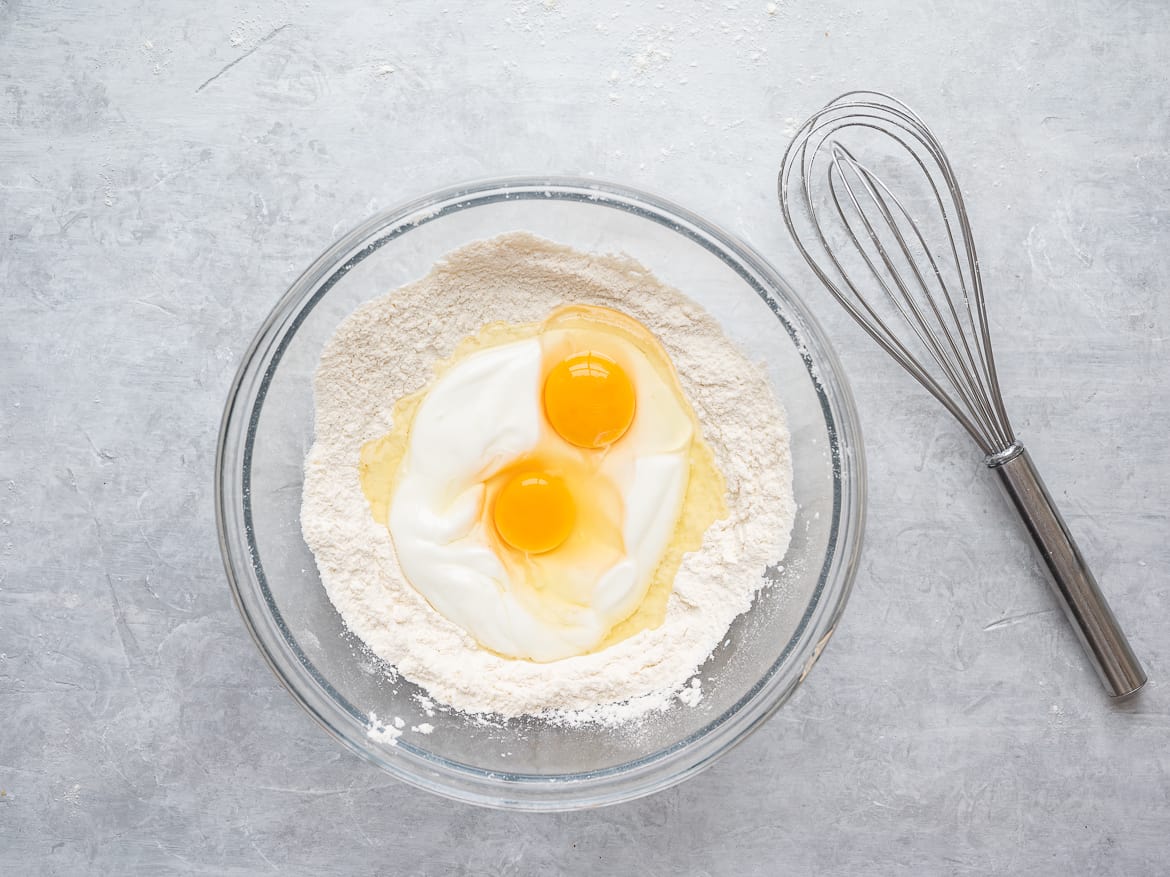
- Whisk all the dry ingredients together in a large bowl, then create a well in the center.
- Add the yogurt to the well and crack in the two eggs. Tip: if you don’t feel confident cracking the eggs straight into the bowl, crack them into a small separate bowl first.
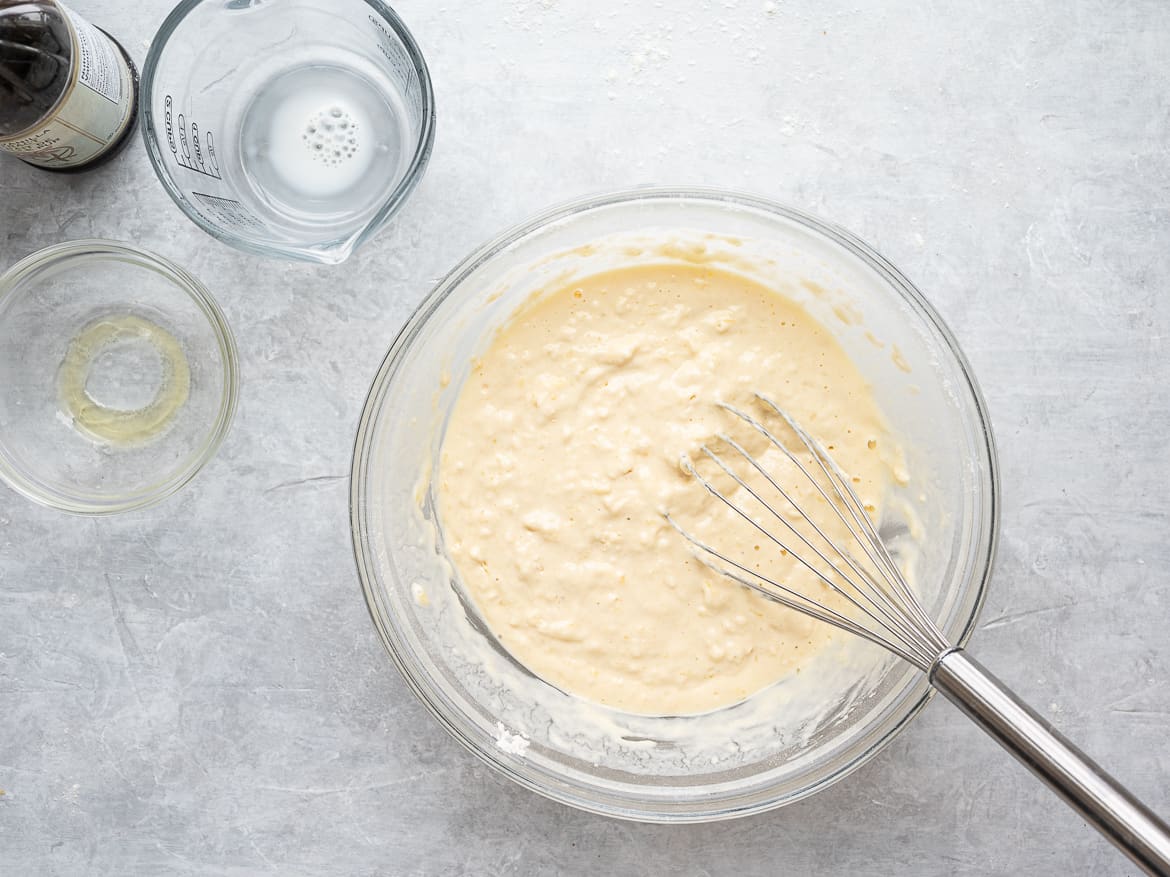
- Mix the eggs and yogurt until combined.
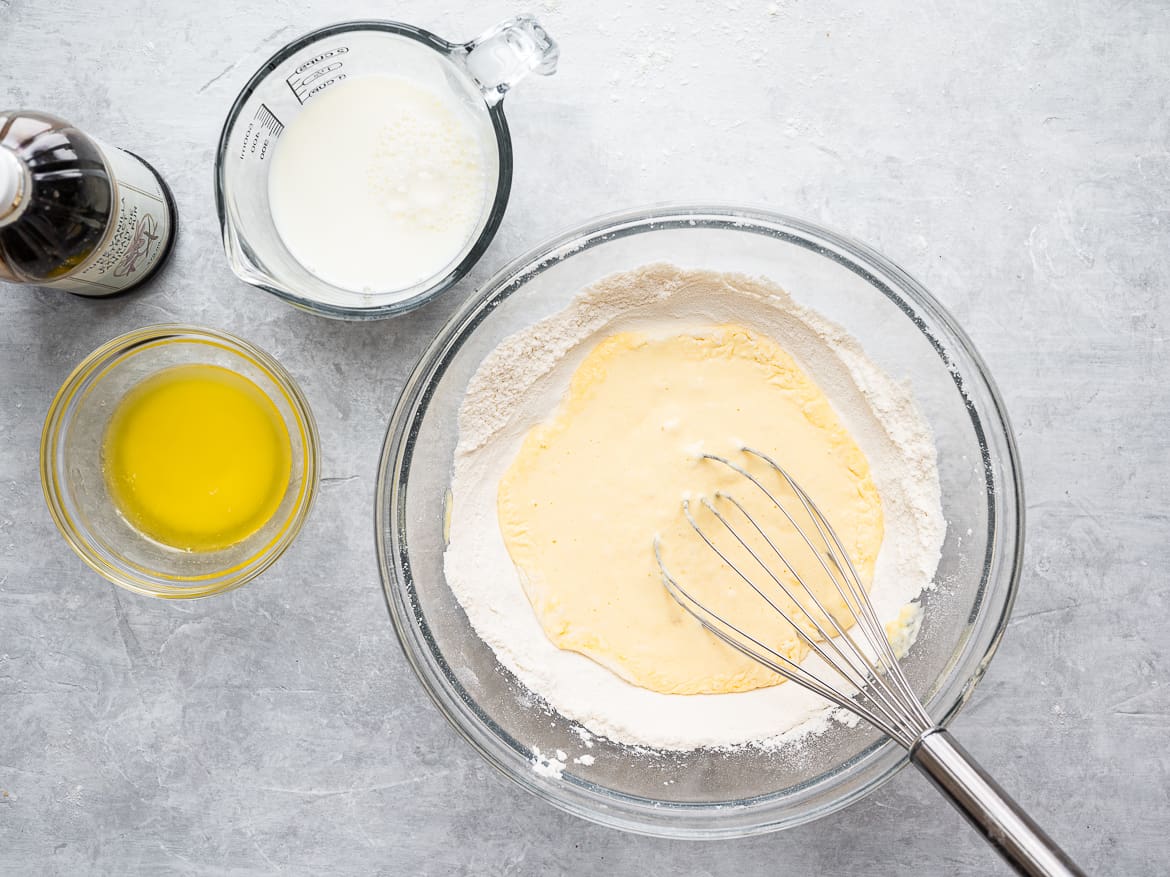
- Next, pour in the milk, vanilla, and meted butter. Using a whisk, or a large fork, mix the wet ingredients in the middle first. Then slowly start incorporating in the dry ingredients from the side, as though you were making pasta dough. Mix only until the dry flour bits are no longer visible. A lumpy batter is fine so don’t overmix.
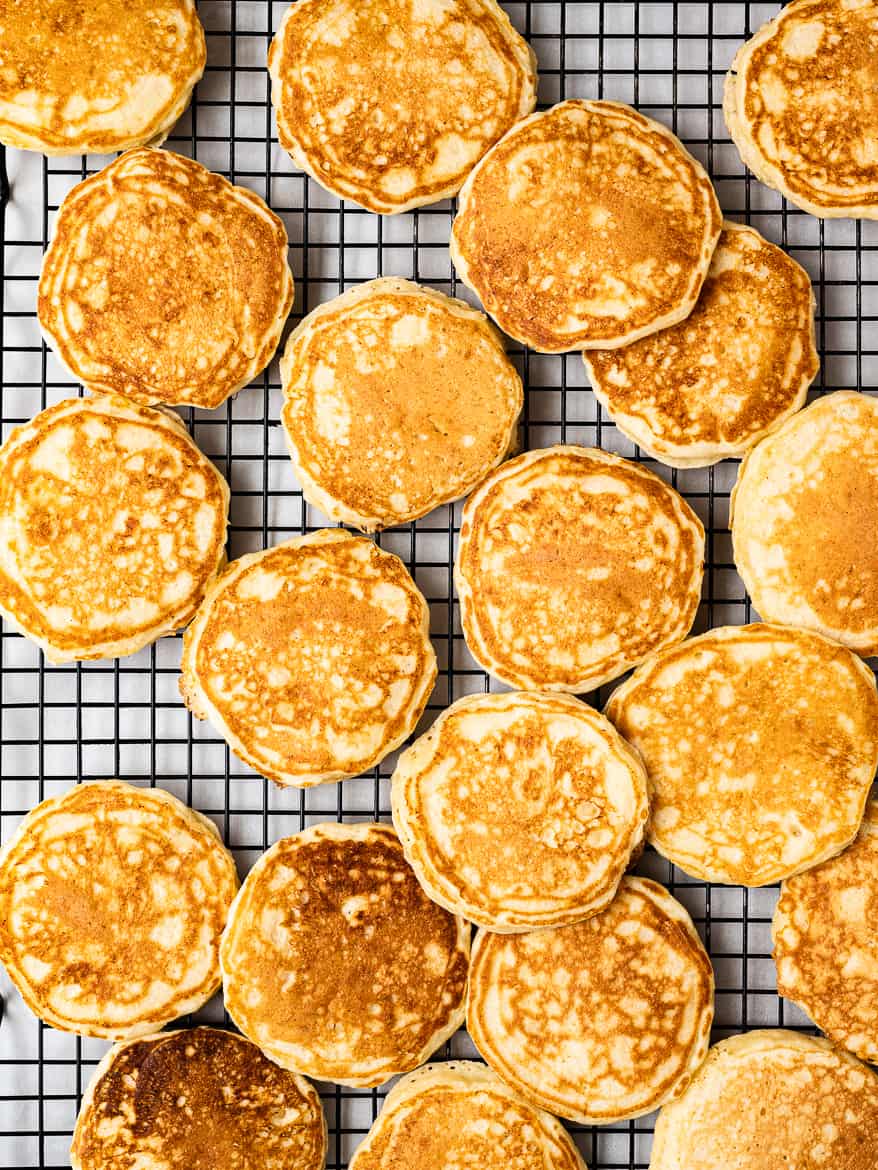
- Ladle a small amount of pancake batter into the hot skillet, without overcrowding the pan. Cook for about 2 minutes a side. If making a large batch, preheat your oven to 250 degrees, place the made pancakes on a wire rack-lined baking sheet and keep warm until all the rest of the pancakes are made.
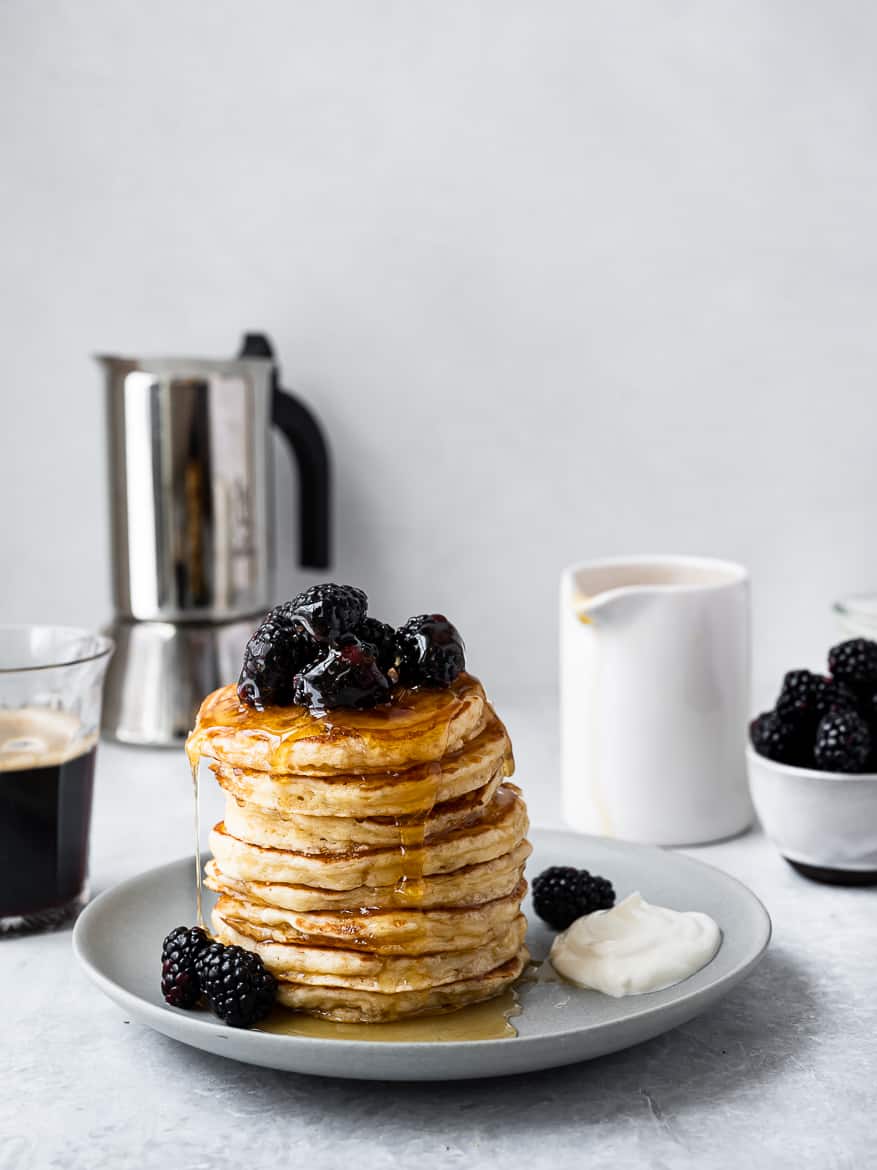
- Serve with seasonal fruit and pure maple syrup.
Note: To make and cook the best pancake, refer to all the tips below.
Tips For Making The Best Fluffy Yogurt Pancakes
A well-made pancake is a glorious thing. Crispy-edged and golden on the outside, tender and perfectly cooked on the inside. Because this is the first pancake recipe I have posted here, I will share a pretty extensive list of tips to ensure your pancakes turn out flawless.
Here are my best tips to always get your pancakes right.
#1: get the batter right
- Room temperature eggs: Cold eggs will make the batter harder to mix and make it lumpier. If you forget to take the eggs out ahead of time, simply place them in a little bowl with warm water while you prepare the rest of the ingredients.
- A thicker batter is best: A loose thin batter will give you thin, life-less pancakes. Whatever recipe you use, make sure it makes a thick batter for the fluffiest pancakes.
- Don’t over-mix the batter – I’m sure you’ve heard this repeatedly but it is important to overstate; pancake batter should never be over-mixed. This will develop gluten in the batter which will make a tough pancake. Mix only until the dry flour is no longer visible but a few lumps are perfectly acceptable.
- Rest the batter: Letting the batter rest for just 10 minutes will give the baking powder time to activate. The resting time will also the batter to thicken nicely.
#2: the right pan
Use a griddle or cast iron pan: A cast iron pan or griddle will distribute the heat evenly which is ideal for making pancakes. If you don’t have either, a large non-skillet will also work.
#3: use oil instead of butter
To cook the pancakes oil will work much better than butter. Butter burns easily and quickly and will give your pancakes an unpleasant burnt smell. Use a high smoke point oil such as refined coconut oil, or grapeseed oil. If you must use butter, be sure to wipe the pan clean in between batches.
# 4: get the temperature right
- Preheat the pan: It is important for the pan you are using to be at the right temperature before you stat adding the batter. Too hot and the pancakes will burn before they cook on the inside, too low and your pancakes will not rise properly or get a nice golden colour. Cast iron pans and griddles need to be preheated for at least 10 minutes to get the temperature right. All pans and burners will heat differently so it will take some trial and error to get the temperature just right.
- For cast iron: This approach seems to work well for cast iron pans: Start heating on medium high, then after about 5 minutes reduce heat to medium low. Allow the pan to continue to heat for at least 5 more minutes.
- Non-stick pan: Place the pan over medium heat and add the oil. As soon as the oil starts to shimmer, the pan should be ready for the pancakes. Reduce or increase the heat accordingly.
- Make a tester pancake: Once you think the skillet is the right temperature, test it by making just one pancake. If the pancake doesn’t sizzle when it hits the pan, turn the heat up slightly. If it starts to burn before you see bubbles forming on top, the heat is too high. Lower the heat and wait a few minutes before starting again.
# 5: make smaller-sized pancakes
I know it is tempting to make larger pancakes in order to finish up the batter quickly. Pancakes are so easy to throw together but do require a little patience to cook right. This recipe makes a thick batter so a smaller pancake will be much easier to flip. A smaller-sized pancake, no larger than 4 to 5-inches in diameter, will also cook up taller and fluffier than a large one. I find it best to use a 1/4 cup or 1/3 cup-sized measuring cup to ladle the batter.
# 6: don’t flip too soon
- The flip: Don’t flip the pancake too soon or it will not have enough time to fluff up and cook on the inside. Wait until you see the bubbles appear on the surface, and the sides don’t look so wet. I find for these pancakes to be perfectly cooked on the inside they need at least 2 minutes on the first side and at least 1 full minute on the other side.
- Don’t overcrowd the pan: The pancakes will spread while they cook. This also makes it less awkward when flipping the pancakes.
- Flip only once: If possible, it is best to flip the pancake only once. Too much flipping or moving around and the pancake will become dense and lose its fluffiness.
To Serve
We enjoy these fluffy yogurt pancakes with the classic combo of butter and maple syrup and lots of berries on the side. My little stack will almost always be accompanied by a generous dollop of thick yogurt, so good.
Needless to say, these pancakes are as lovely for dinner as they are for breakfast. If going that route, consider serving them with scrambled or fried eggs, and perhaps some grilled chicken sausage. Yum.
Other Breakfast Recipes You Might Enjoy
Fluffy Yogurt Pancakes
Ingredients
- 2 cups unbleached all-purpose flour or substitute a third of the all-purpose flour with whole-wheat, rye, oat, or buckwheat flour.
- 2 teaspoons baking powder aluminum-free, if possible
- 1/2 teaspoon baking soda
- 2 tablespoons sugar (I use cane sugar)
- 1 teaspoon kosher salt
- 1 cup whole milk plain yogurt
- 2 eggs room temperature
- 1 cup whole milk
- 1 teaspoon splash of vanilla extract optional, but delicious
- 3 tablespoons unsalted butter melted and slightly cooled
- vegetable or melted coconut oil for oiling the pan
To serve
- fresh fruit such as seasonal berries
- pure maple syrup gently heated
Instructions
- Heat the oven to 250º F. Prepare a wire rack inside a large baking sheet. This is to keep the panckaes warm as you cook them. If you are not making a very large batch, feel free to skip this step.
- Whisk flour, baking powder, baking soda, sugar, and kosher salt together in a bowl. Using the whisk, make a well in the center. Add the yogurt to the well and crack in the two eggs. Pour in the milk, vanilla, and melted butter. Using a whisk, or a large fork, beat the eggs and wet ingredients slowly incorporating it all with the dry ingredients, as though you were making pasta dough. Mix only until the dry stripes of flour have disappeared and are no longer visible. A lumpy batter is fine so don't overmix. Allow the batter to rest for 10 minutes. Tip: if you don't feel confident cracking the eggs straight into the bowl, crack them into a small separate bowl first.
- While the batter is resting, heat a large cast-iron griddle or skillet over medium-low heat for about 10 minutes (see recipe notes if using a non-stick pan). Once the pan is hot, add 1 tablespoon oil to the skillet and spread to coat the bottom. Using a measuring cup, ladle 1/4 or 1/3 cup batter for each panckae into the skillet. Without disturbing the pancakes, cook for 2 - 3 minutes or until pancakes slightly puff up and bubbles appear on the surface.
- Flip the pancakes and cook until the underside is golden and the edges are crispy. Repeat the process with remaining batter, adding more oil to the pan as needed. If at any time you find the pancakes are browning too quickly, or the pan is smoking, lower the heat. If they are taking too long to cook, increase the heat slightly. I find that hovering over a medium to medium-low heat works best.
- Place the pancakes on prepared baking sheet to keep warm in heated oven until ready to serve, if desired. Serve the pancakes topped with berries and warm maple syrup.
Notes
If using a non-stick pan: Place the pan over medium heat and add the oil. As soon as the oil starts to shimmer, the pan should be ready for the pancakes. Reduce or increase the heat accordingly. Get the temperature right It is important for the pan you are using to be at the right temperature before you start adding the batter. Too hot and the pancakes will burn before they cook on the inside, too low and your pancakes will not rise properly or get a nice golden colour. Cast-iron pans and griddles need to be preheated for at least 10 minutes to get the temperature right. All pans and burners will heat differently so it will take some trial and error to get the temperature just right. Tip: A cast-iron pan keeps heat really well so it will take a while for the heat to wear off. Because of that, you don’t want to preheat your cast iron at too high of a heat.



Join the Conversation