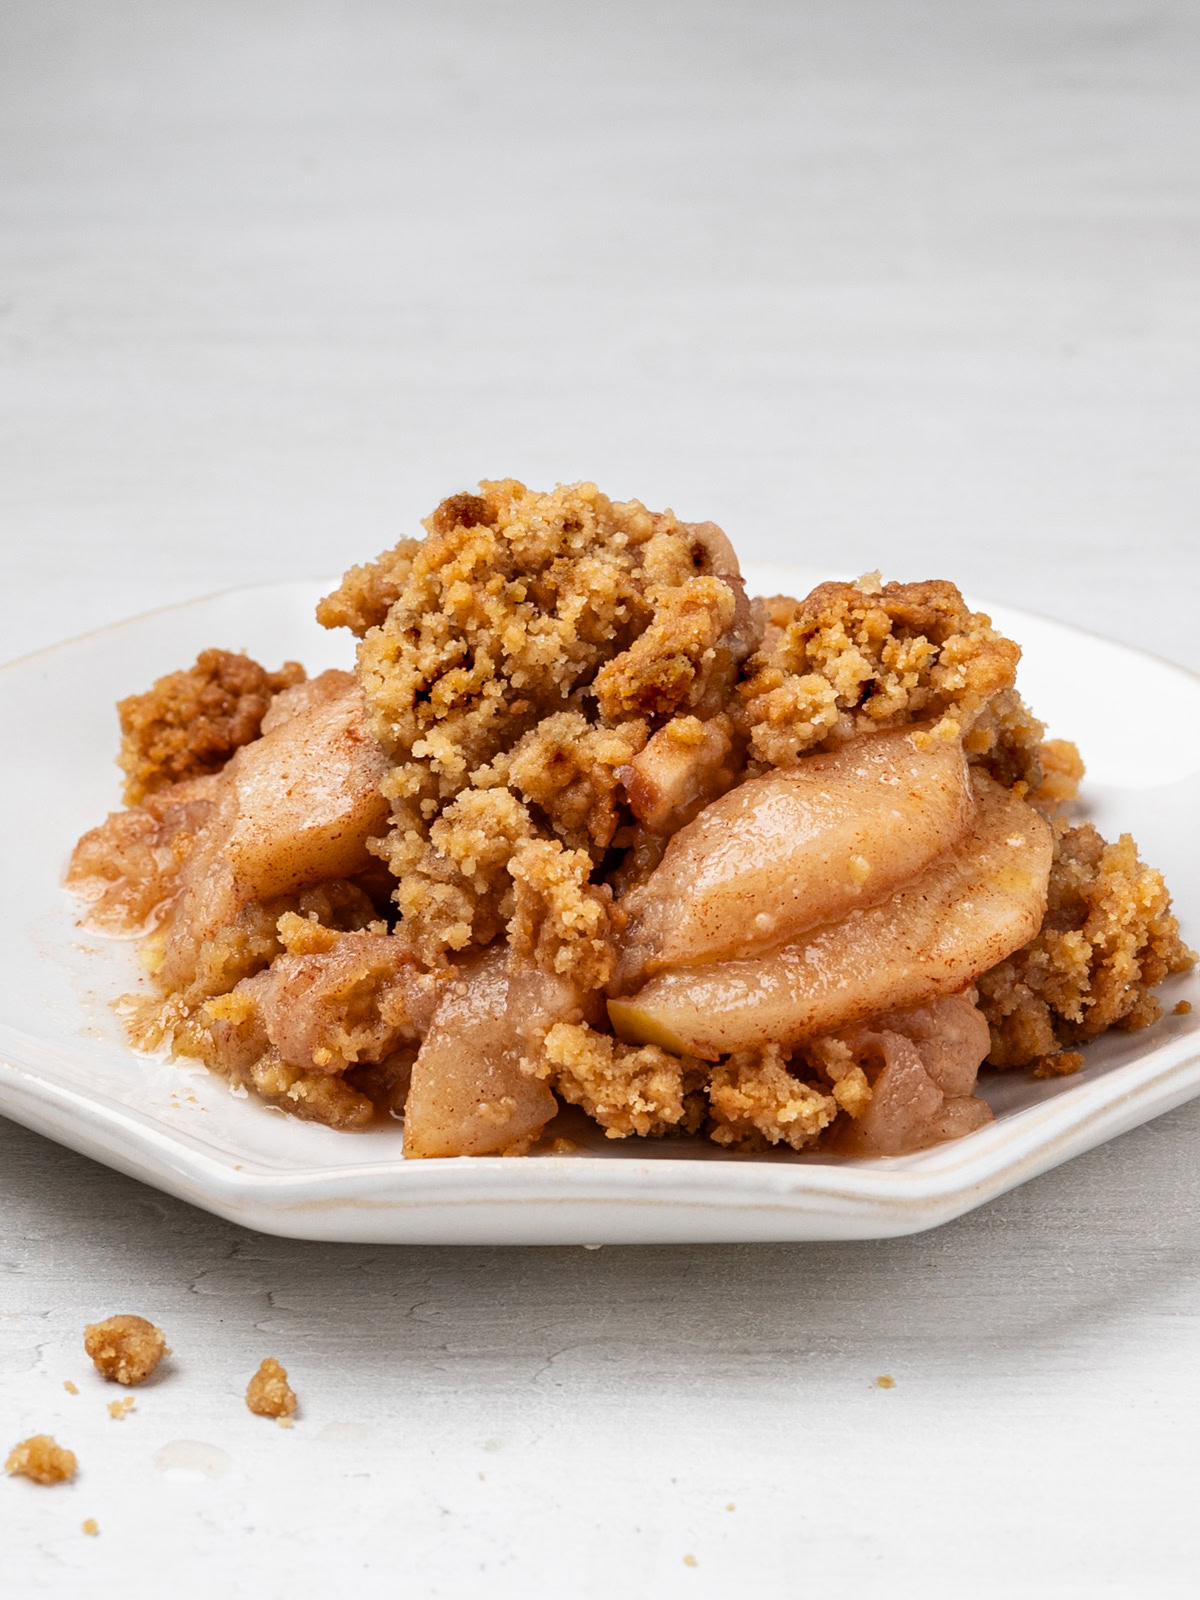
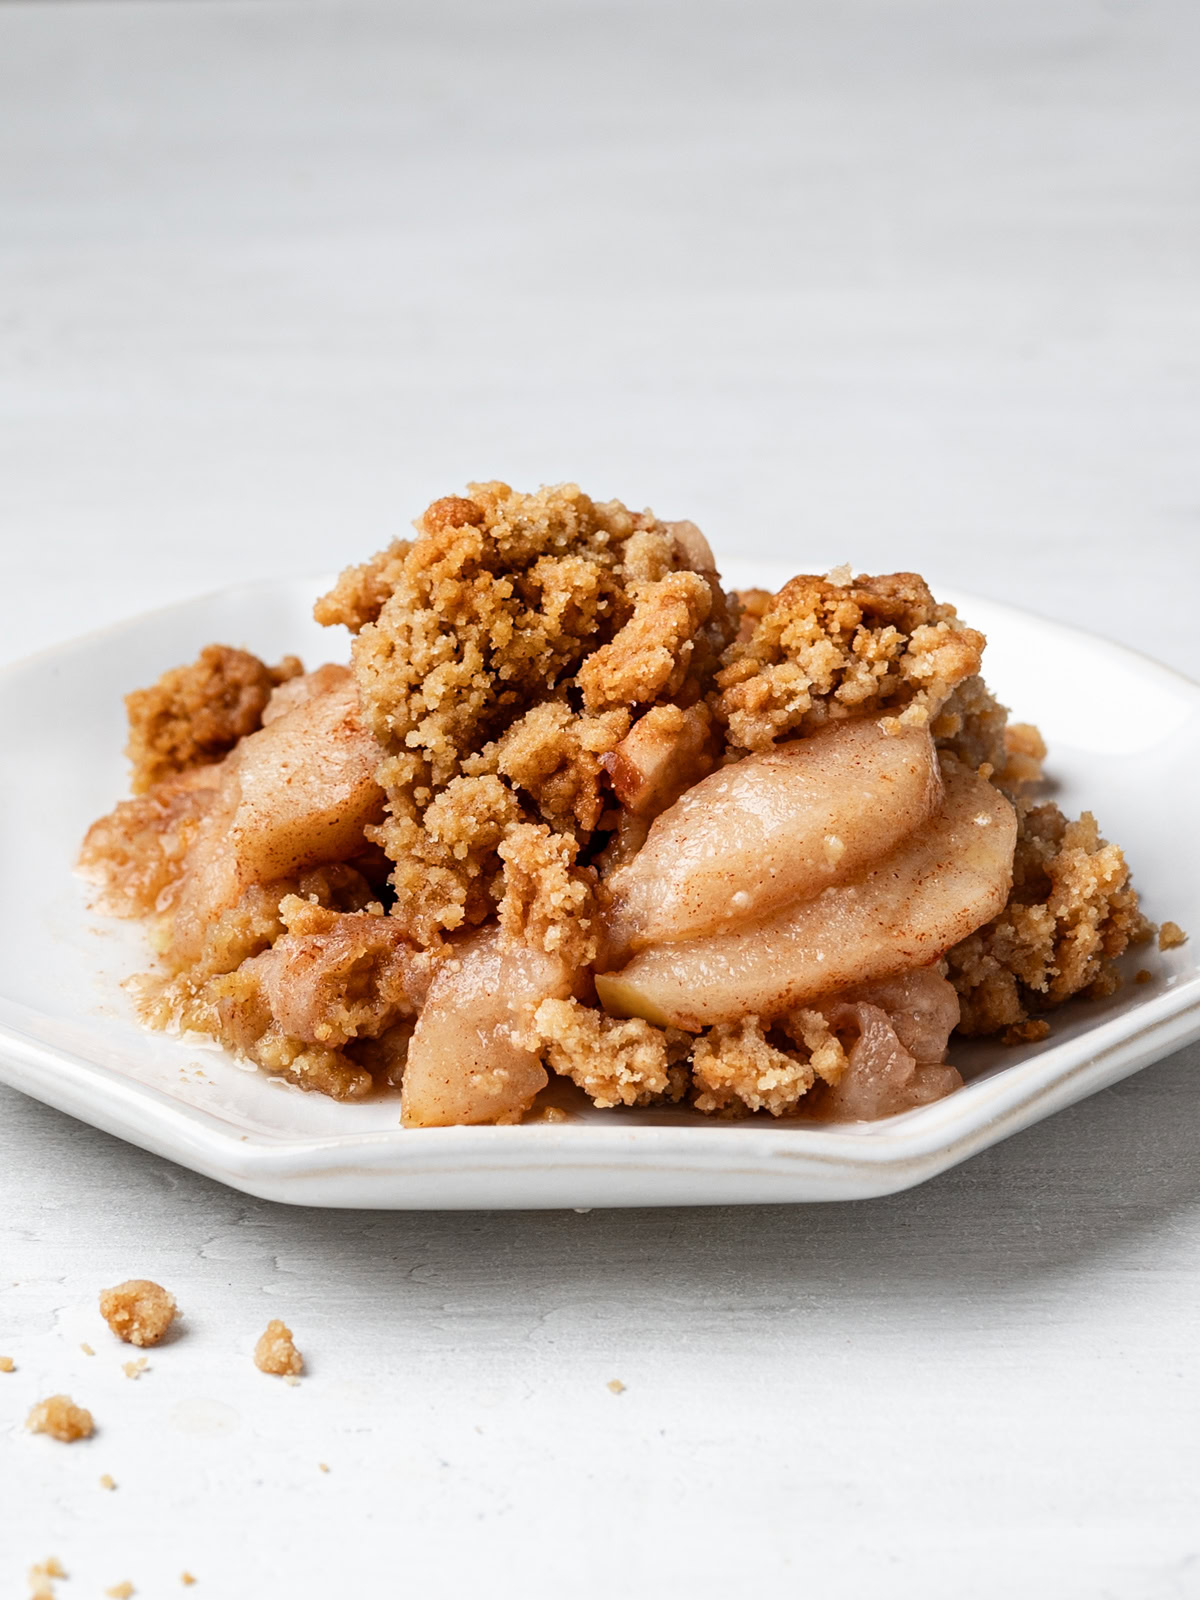
This Apple Crisp without Oats bids adieu to the fastidious pie crust but is no less warming, delicious or comforting than an old-fashioned apple pie. Loaded with sweet-tart apples, and a not-too-sweet crumble topping, it’s the perfect dessert for autumn and for all your holiday feasts. The best part? You can throw it together in about 20 minutes or less.
In Praise Of Apple Crisp
Canadian Thanksgiving is just around the corner which also means it’s pie season. In our home, an apple pie (or crisp) will beat out a pumpkin pie every time (though of course everyone wants both). Apple desserts are one of the joys of fall season and few are easier, quicker to make, or more comforting and delicious than an apple crisp.
With juicy, tender apples on the bottom, and a chewy, crumbly topping, this apple crisp recipe I share here today is not too sweet, not too tart, and evokes the flavors of your favorite old fashion apple pie, without the hassle of having to make a crust.
- In Praise Of Apple Crisp
- Sandra’s Notes
- Ingredient Notes
- Variations and Substitutes
- What Is the Best Type Of Apple For Baked Desserts?
- Do I have to Peel The Apples?
- How To Cut And Slice The Apples For Apple Crisp
- How To Make Apple Crisp Without Oats
- Expert Tips
- Frequently Asked Questions
- Make Ahead Apple Crisp
- To Serve
- Other Apple Desserts To Try
- Apple Crisp Without Oats
Aside from a few basic ingredients, all you really need to make this classic fall dessert is two bowls, a peeler, a pie dish and a spoon. Then, in less than 20 minutes, you can have the crisp assembled and in the oven where it will almost immediately start filling your home with all the nostalgic aromas you crave this time of year. You truly can’t beat it.
Sandra’s Notes
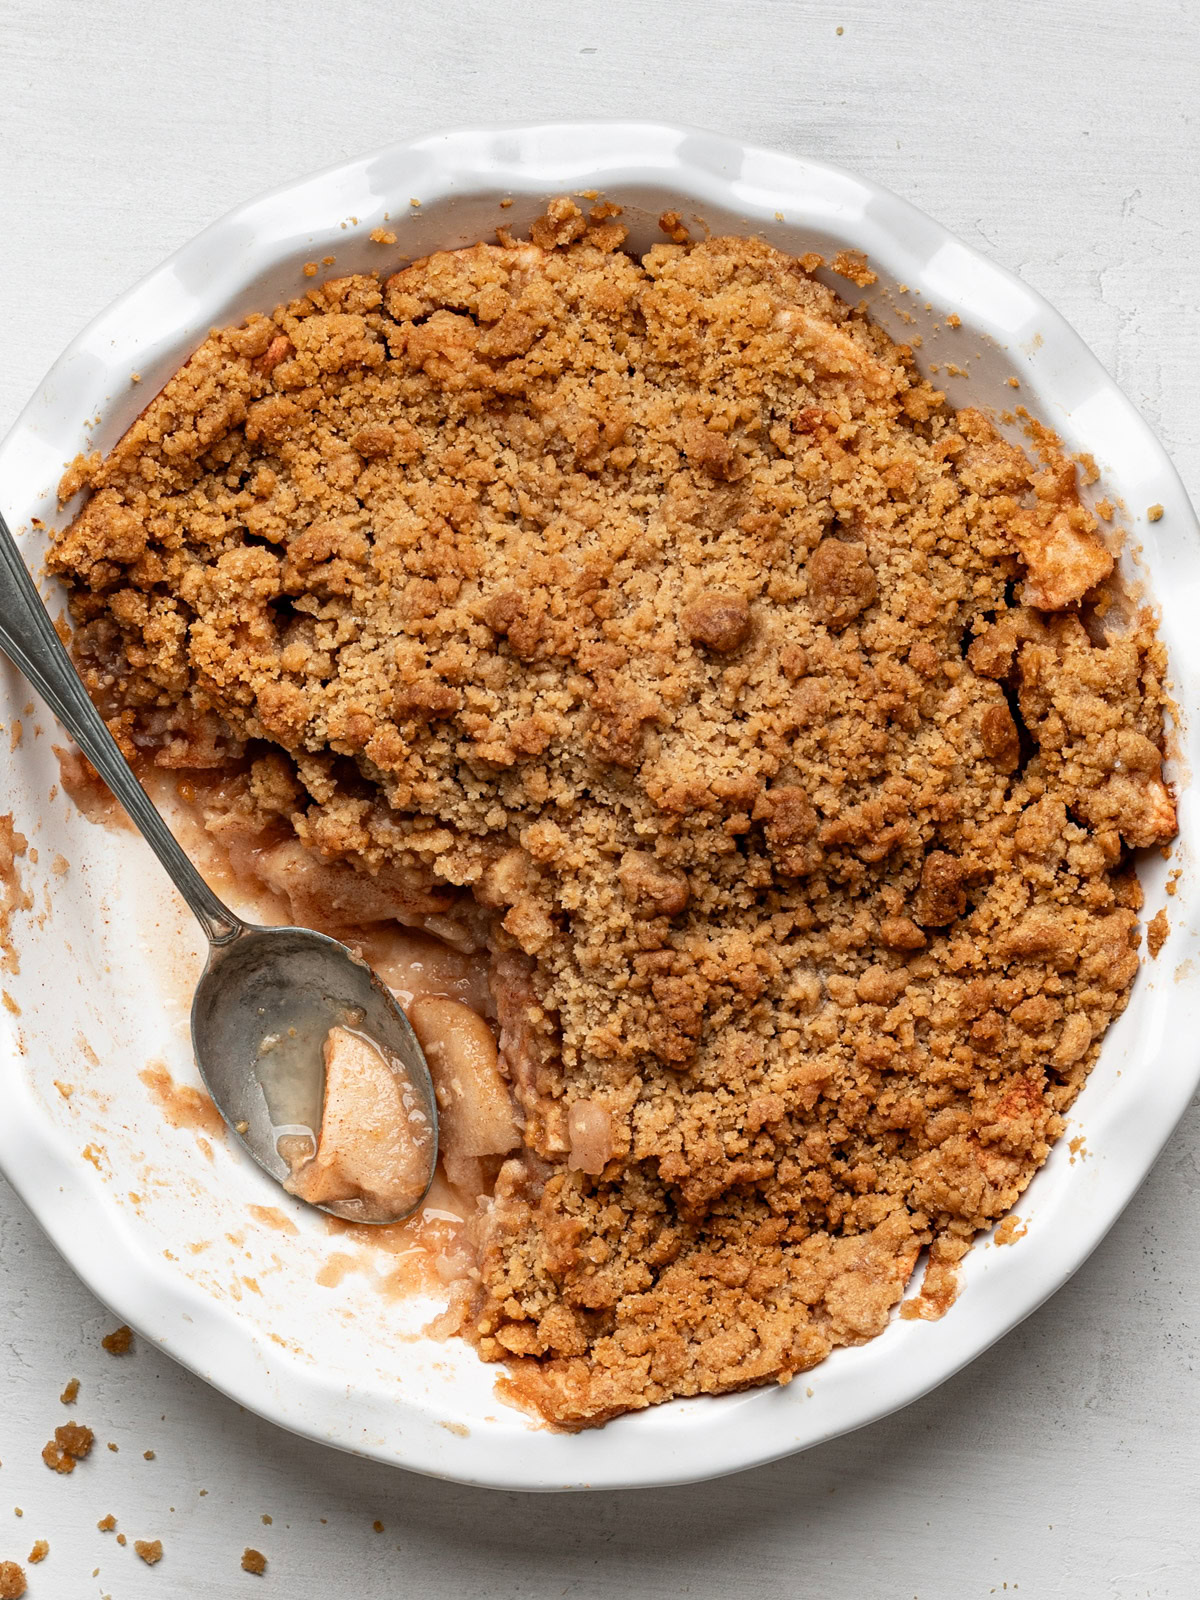
Though similar to my peach crisp recipe, there are a few differences with this apple crisp. For starters, the topping does not include oats. Though I obviously enjoy a crisp topping with oats, I wanted to keep this apple crisp recipe exactly how my mom used to make it; no oats or nuts in the topping and no lemon juice, cornstarch or flour in the filling. And let me tell you, despite being biased, my mom’s apple pies and apple crisps were pretty famous and absolutley to-die-for.
Aside from the fact that adding oats to my mom’s apple crisp would feel very wrong, I find the lack of oats makes for a crispier, more hydrated topping. A crispier topping creates a delightful textural contrast between topping and tender fruit.
I have never loved lemon juice in my apple pies nor did my mom ever add it. But if for some reason I end up with really sweet apples, I will toss the apples with a tiny bit of apple cider vinegar. This will add the perfect amount of acid, complementing the apple flavor and balancing the sweetness.
As for adding cornstarch or flour to the filling, I simply don’t think it is necessary in this apple crisp. But if your apples are oozing juices as you slice them, perhaps err on the side of caution and add a tablespoon of cornstarch.
Ingredient Notes
Check out the short list of simple ingredients for this easy recipe for apple crisp without oats—it’s almost too good to be true.

- Apples – It is a wonderful time of year when apples straight from the orchards arrive. Here, they are definitely the star of this show and this crisp does not skimp on the amount of fruit filling. You will need 6 large apples which seems like a lot but they really do cook down considerably.
- Sugar – I use a little bit of white sugar (or cane sugar) for the apples and light brown sugar for the topping. If your apples are super tart, go ahead and increase the amount of sugar in the filling by one or two tablespoons. You can also use coconut sugar, is you wish.
- Flour – This crisp topping has 1 cup of flour. I use all purpose flour but I also make it with 3/4 cup all-purpose and 1/4 cup rye and it is delicious. See more flour variations below.
- Butter – Here we use cold butter which helps the topping bake up nice and crispy.
- Cinnamon – As we all know, cinnamon is a natural and wonderful pairing with apple pies. But we enjoy this apple crisp without adding too, too much. Just a little in the filling and in the topping. Feel free to use a little more if you wish.
- Kosher salt – Just a pinch for the topping.
Variations and Substitutes
- Fruit: If apples aren’t in season and you are craving a crisp, use the exact formula of this recipe with other fruit such as blueberries, blackberries, rhubarb, strawberries, plums, or any nectarine.
- Flours: Crisp toppings will work with just about any flour, or combination of flours, so feel free to experiment. For a gluten-free version, you could give this delicious topping a try or use a gluten-free flour. For a more rustic topping, with delicious nutty flavour, you can use all rye flour. That said, I sometimes find the bright sharp flavours of rye might be a little overpowering for some fillings. Try a half and half flour mix, or a 3/4 regular flour to 1/4 rye.
- Spices: Aside from cinnamon, many apple crisp recipes call for a dash of nutmeg which offers a slight bitterness against the sweetness of the fruit. Go for it if you love nutmeg, but here I prefer it without. If you like cardamom, the warm, musky spice has a nice citrusy-floral flavour that pairs beautifully with the apples. You can add it to the apple filling, or the topping. It can be quite strong so be sure to use only a teaspoon or less.
- Add oats: As mentioned, if you love your crisps with oats, go ahead and add 1/2 to 1 cup of rolled oats to the topping mixture.
What Is the Best Type Of Apple For Baked Desserts?
For most apple baked desserts, you are looking for apple varieties that will retain their shape while becoming tender, and also taste great.
In many apple baked desserts, you will find that Granny Smith is the variety most recommended. For some reason, I have never loved using Granny Smith apples and in fact, America’s Test Kitchen claims they “break down to mush” when baked. That said, Claire Saffitz, baker extraordinare whom I love, uses exclusively Granny Smith apples to make her apple pies soooo…
To me, using a mix of sweet and tart apples that soften at slightly different rates is key to a great apple crisp. Fuji, cortland, Northern Spy, are great sweet-tart options. Honeycrisp apples will taste great and hold their shape, but they are on the sweeter side so adjust the sugar accordingly if using only Honeycrisp.
If you have to use just one variety of apple, I would go with Cortland which have never failed me and make a delicious apple crisp.
Do I have to Peel The Apples?
I prefer my apple crisps with peeled apples. I remember watching my mom peel apples and being fascinated by how she peeled each and every apple in one long peel strand. In retrospect, it was probably a source of pride to her that her peel strands never, ever, broke.
I’m not that talented, or that patient, so I peel mine in short strands. But I do always peel them. I find apple peels get very hard and unpleasantly chewy when baked. That said, I know a lot of people that like the texture and leave the peel on for their apple desserts. I’m leaving that up to you.
How To Cut And Slice The Apples For Apple Crisp
To cut the apple slices, I find it easiest to start by cutting 4 chunks around the core of the apple. To do this, stand your peeled apple upright, place your knife close to the core and cut downward to remove large chunks of apples. You should get 4 chunks from each apple. Then, cut each chunk into slices that are a little thicker than 1/4-inch – so about three-eighths of an inch.
Peel the apples using a T-shaped vegetable peeler. Cut the apple flesh off the core by standing a peeled apple upright and cutting downward next to the core to remove large chunks of apples. Place the chunks cut side-down and slice them fairly thin – about three-eighths of an inch.


Alternatively, you can cut the apple into 3/4-inch chucks, instead of slices, if you wish.
How To Make Apple Crisp Without Oats
Infinitely easier than making a pie, a homemade apple crisp is one of my favourite desserts to make. Once you get the hang of the basic technique of making a crisp, you can throw it together with your eyes closed. No joke.
In this recipe, we start out baking the crisp at 400ºF for 15 minutes, then the temperature is lowered to 350ºF for the rest of the baking time. The higher temperature really helps with crisping up the topping and getting the filling cooking faster. If this seems too fastidious for you, go ahead and bake the crisp at 350ºF for the entire baking time.
Note: This is just an overview of the recipe. For exact amounts and detailed instructions, scroll down to the printable recipe card below.
Here is the step-by-step:
Heat oven to 400ºF. Lightly butter a 9-inch or 10-inch round baking dish.
In a medium bowl, stir together the flour, brown sugar, cinnamon and salt. Add the cold butter and using your hands, toss the butter pieces until coated. Using your finger tips, start to smash the butter pieces into the dry mixture.
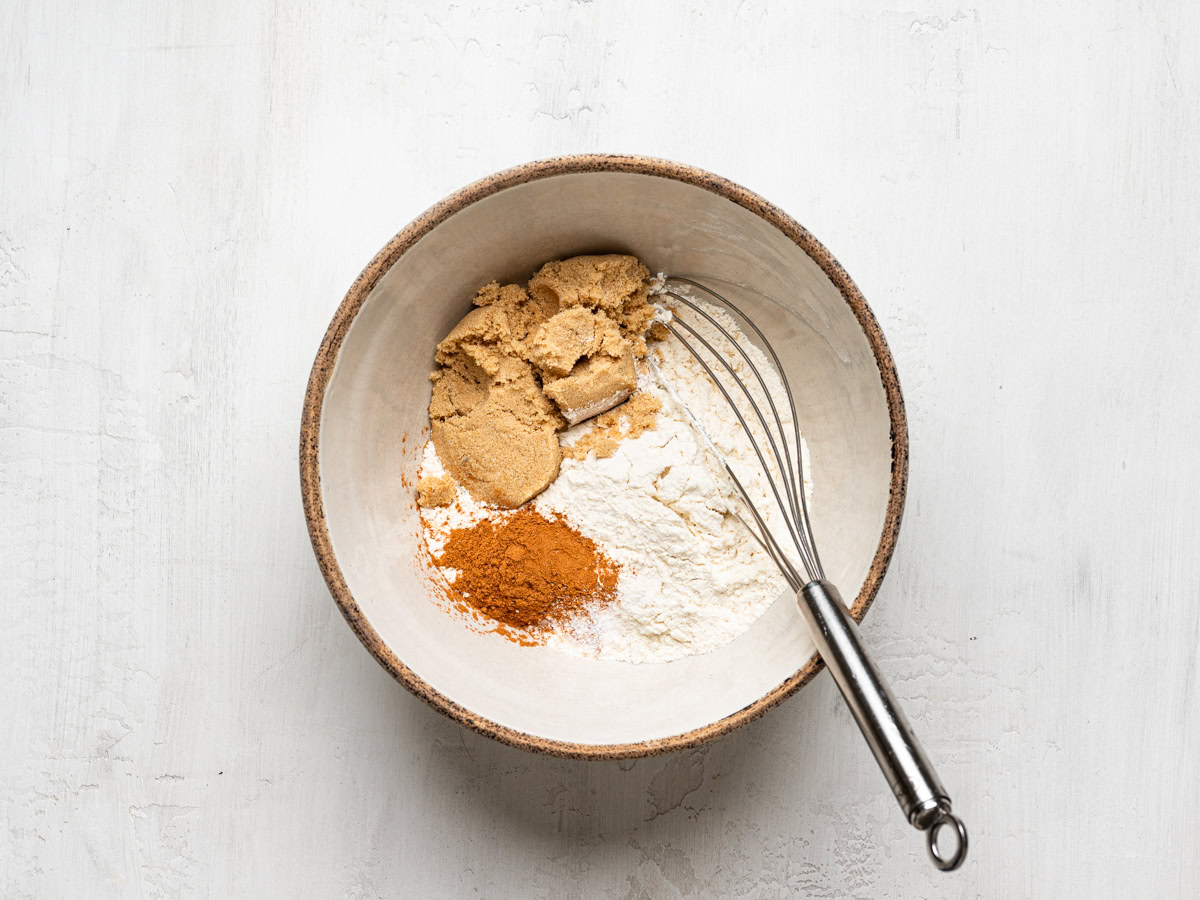

It is done when there are no visible large pieces of butter left, and the mixture holds together when you squeeze it. (Alternatively, you can use a pastry cutter to work in the butter.) Tip: Transfer the topping to the fridge or freezer while you prepare the apples. This will make it easier to scatter the topping evenly over apples and it will also brown more evenly.

Peel and slice the apples and place them in a large bowl. Add the brown sugar and cinnamon and toss to combine.

Transfer the sliced apples to the prepared baking dish and spread out evenly across the bottom of the dish. Evenly scatter the crumble mixture over the fruit.


Bake for 15 minutes then lower heat to 350ºF and bake for 30 more minutes, or until topping is golden brown and filling is bubbling through around the edges. Let cool on a rack for 15 to 20 minutes, then serve and enjoy!

Expert Tips
- Use cold butter. When oats are included in the topping, I like to use soft butter. Otherwise, the dry oats will not hydrate enough to cook properly. For a crisp topping without oats, however, I like to use really cold butter. This prevents the topping from getting soggy and will ensure it is bakes up nice and crispy.
- Adjust the amount of sugar accordingly. If your apples are sweet, add only 1 tablespoon of sugar to the filling. For apples that are sweet-tart, add two tablespoons. If you are using all tart apples, add 3 tablespoons of sugar.
- If your apples are super juicy, add a tablespoon of cornstarch. Some apples, especially really fresh ones, are oozing juices as you slice them. If your apples are super juicy, perhaps err on the side of caution and add a tablespoon of cornstarch.
- If adding cornstarch, don’t use too much. Too much cornstarch can make the filling become gloopy and slimy and muddy the flavours of the fruit.
- Use less topping. You need a mound of fruit for the amount of topping this recipe calls for. If working with less fruit, make sure to use less topping. Any leftover topping can be frozen for later use.
- Once baked, let the crisp cool. Though I go bananas over a warm crisp, it shouldn’t be served piping hot from the oven. It is best to allow it to cool so the filling sets and the juices don’t spill out everywhere. That said, as long as you don’t burn your mouth, I think juices spilling out everywhere sounds pretty darn good to me.
- A note on salt. I only use Diamond Crystal Kosher salt for all my cooking and baking. Other brands, or tables salt, might be saltier so err on the side of caution and use a little less.
Tips go here, you can change this into a bullet list too.
Frequently Asked Questions
There is butter in this easy apple crisp recipe without oats so it is not dairy-free. However, you can use vegan butter and the crisp will still be delicious.
You can leave the apple crisp, covered in plastic wrap, or in an airtight container, at room temperature for up to 2 days. After that, store in the refrigerator for up to 2 more days.
The apple crisp without oats is excellent at room temperature and even cold straight fro the fridge. However, if you would prefer it warm, you can reheat it in a preheated 350ºF oven for about 10 minutes. You can also reheat it for a minute in the microwave, but the topping may get a little soft.
Make Ahead Apple Crisp
Crisps are so quick to make, you barely need to set aside much time to quickly assemble one together. But if you like to plan ahead, you can make the crisp topping a few days in advance and store it in the fridge for 2 days. You can also freeze the crumb mixture in an airtight container for up to 1 month.
Though best eaten on the day you bake it because the topping will lose its crispiness,, the whole crisp can also be baked in advance then reheated gently just before serving. And I guarantee absolutely no one will turn it down the next day, or the day after that, either.
To Serve
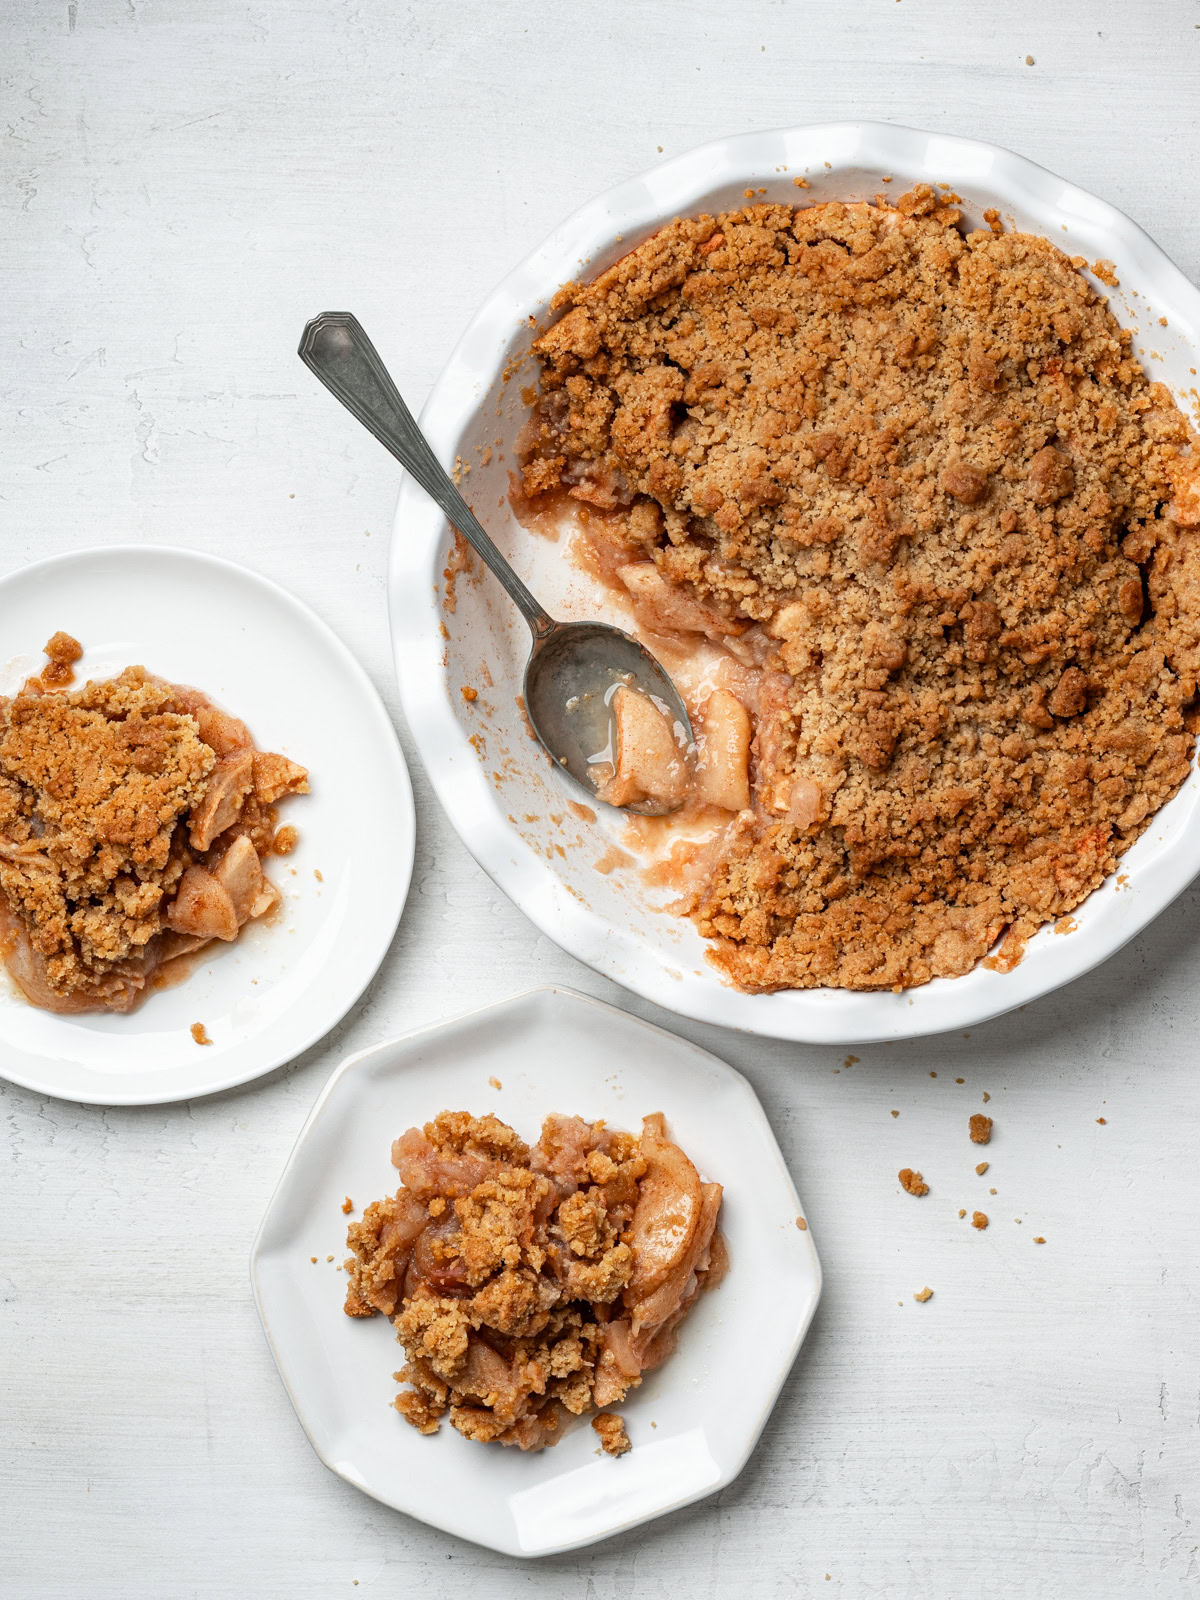
You can serve this apple crisp as is and no one will send it back. But crown it with a spoonful of whipped cream or a scoop of vanilla ice cream and this apple crisp dessert will truly be as good as it gets.
Did you really enjoy this recipe? Please let us know in the comments section below and leave a 5-star ⭐️⭐️⭐️⭐️⭐️ rating. Thank you!
Other Apple Desserts To Try
Apple Crisp Without Oats
Ingredients
For The Crisp Topping
- 1 cup (130 g) all-purpose flour
- 1/2 cup (106 g) light brown sugar, tightly packed
- 3/4 teaspoon cinnamon
- pinch of kosher salt
- 1 stick (115 g) unsalted butter, cold and diced
For The Apple Filling
- 6 large apples, about 2 1/2 to 3 pounds (I use a mix of sweet-tart apples-see notes below)
- 2 tablespoons granulated sugar
- 1 teaspoon cinnamon
- pinch of kosher salt
- 1 teaspoon apple cider vinegar (optional-see notes below)
Instructions
- Preheat oven to 400ºF. (See notes below for dual temperature tips). Lightly butter a 9-inch, deep pie dish or a 9×9 casserole dish.
- In a medium bowl, stir together the flour, brown sugar, cinnamon and salt. Add the cold butter and using your hands, toss the butter pieces until coated. Using your finger tips, start to smash the butter pieces into the dry mixture. It is done when there are no visible large pieces of butter left, and the mixture holds together when you squeeze it. (Alternatively, you can use a pastry cutter to work in the butter.)
- Transfer the topping to the fridge or freezer while you prepare the apples. This will make it easier to scatter the topping evenly over apples and it will also brown more evenly.
- Using a vegetable peeler, peel all the apples. Stand your peeled apple upright, place your knife close to the core and cut downward to remove large chunks of apples. You should get 4 chunks from each apple. Then, cut each chunk into slices that are a little thicker than 1/4-inch – so about three-eighths of an inch.
- Place the apple slices in a large bowl and toss them with the sugar, cinnamon, salt and apple cider vinegar, if using.
- Place the apples and any juices that accumulated in the prepared baking dish and spread out evenly across the bottom of the dish. Evenly scatter the crumble mixture over the fruit.
- Bake for 15 minutes then lower heat to 350ºF and bake for 30 more minutes, or until topping is golden brown and filling is bubbling through around the edges. Let cool on a rack for 15 to 20 minutes, then serve and enjoy!
Notes
- Apple cider vinegar: If your apples are really sweet, toss them with a tiny bit of apple cider vinegar. This will add the perfect amount of acid, complementing the apple flavor and balancing the sweetness.
- Dual baking temperature: In this recipe, we start out baking the crisp at 400ºF for 15 minutes, then the temperature is lowered to 350ºF for the rest of the baking time. The higher temperature really helps with crisping up the topping and getting the filling cooking faster. If this seems too fastidious for you, go ahead and bake the crisp at 350ºF for the entire baking time.
- Adjust the amount of sugar accordingly. If your apples are sweet, add only 1 tablespoon of sugar to the filling. For apples that are sweet-tart, add two tablespoons. If you are using all tart apples, add 3 tablespoons of sugar.
- If your apples are super juicy, add a tablespoon of cornstarch. Some apples, especially really fresh ones, are oozing juices as you slice them. If your apples are super juicy, perhaps err on the side of caution and add a tablespoon of cornstarch. Be sure not to add too much as it can make the filling become gloopy and slimy and muddy the flavours of the fruit.
- Once baked, let the crisp cool. It is best to allow the crisp to cool so the filling sets and the juices don’t spill out everywhere.
- A note on salt. I only use Diamond Crystal Kosher salt for all my cooking and baking. Other brands, or tables salt, might be saltier so err on the side of caution and use a little less.
- To store: The apple crisp can be covered in plastic wrap, or in an airtight container, and kept at room temperature for up to 2 days. After that, store in the refrigerator for up to 2 more days.



Join the Conversation